Breath Of Fire IV Guide
by DEH Designs
by DEH Designs
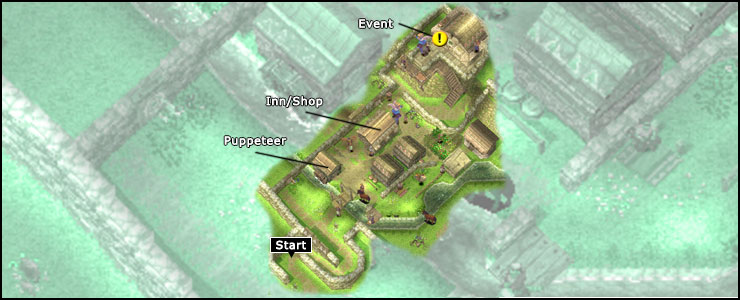
Ludia

Items Shop
| Item | Cost |
|---|---|
| Healing Herb | 20z |
| Panacea | 100z |
| Ammonia | 250z |
Weapons Shop
| Item | Cost |
|---|---|
| Katzbalger | 1800z |
| Reed Baton | 1600z |
| Curiass | 840z |
| Crepe Cape | 730z |
| Faceguard | 450z |
Manillo Shop
| Item | Cost |
|---|---|
| N/A | N/A |
Things do not look very promising for the group. Cray is on trial and Nina is under surveillance at all times through Scias.
Upgrade your equipment if possible through the merchant next door from the building you rest at. Once that is done, head over to the castle to check on Cray.
A short scene will take place when you leave the castle and Nina seems to have an idea. She proposes to head to Worent (Cray's tribe-land) pointing out that they may be have a guard with them at all times, but they were never told they couldn't go anywhere. Off to Worent it is!
You can unlock another Fishing Spot at this point. Between the (?) spot North-East of Ludia and Shyde, you will find another Sign Post area which will reveal the location of Fishing Spot: Ocean Spot 1.
First stop to Worent, Wychwood.
Wychwood

| HP | 150 | XP | 170 |
|---|---|---|---|
| TYPE | Humanoid |
|---|---|
| ZNY | 60 |
| ITEM 1 | Scramasax |
| ITEM 2 | Berries |
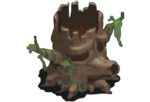
| HP | 900 | XP | 140 |
|---|---|---|---|
| TYPE | Plant |
|---|---|
| ZNY | 65 |
| ITEM 1 | Berries |
| ITEM 2 | PointedStick |
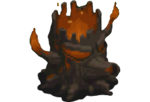
| HP | 900 | XP | 280 |
|---|---|---|---|
| TYPE | Plant |
|---|---|
| ZNY | 65 |
| ITEM 1 | ScorchedRice |
| ITEM 2 | Fire Seed |

| HP | 1200 | XP | 250 |
|---|---|---|---|
| TYPE | Boss |
|---|---|
| ZNY | 100 |
| ITEM 1 | Bird Drop |
| ITEM 2 | Wooden Rod |
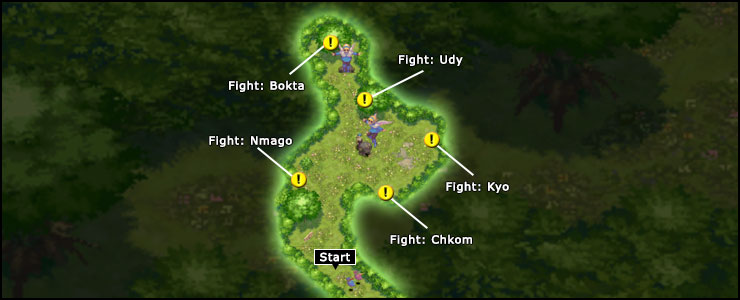
Objectives
Available Skill(s)
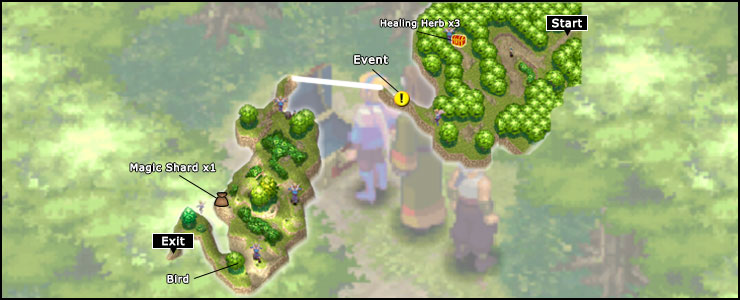
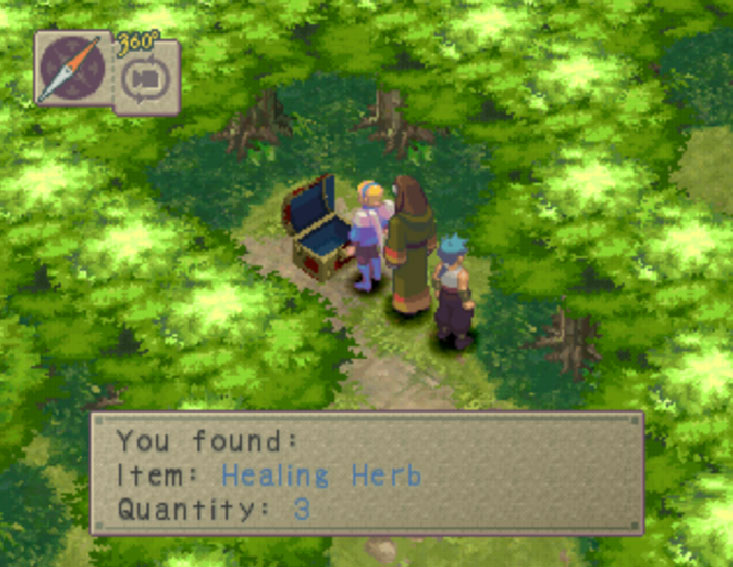
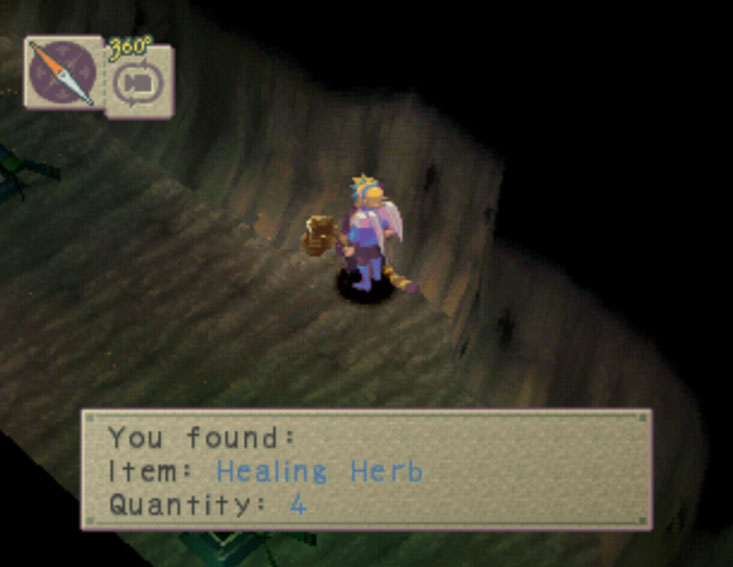
Grab the Healing Herb x3 within the chest nearby the way you came in, then freely move on forward until a scene takes place.
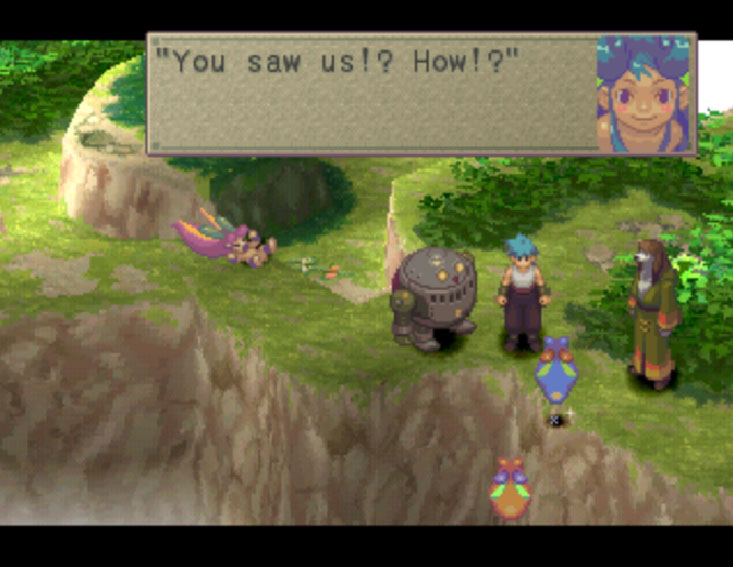
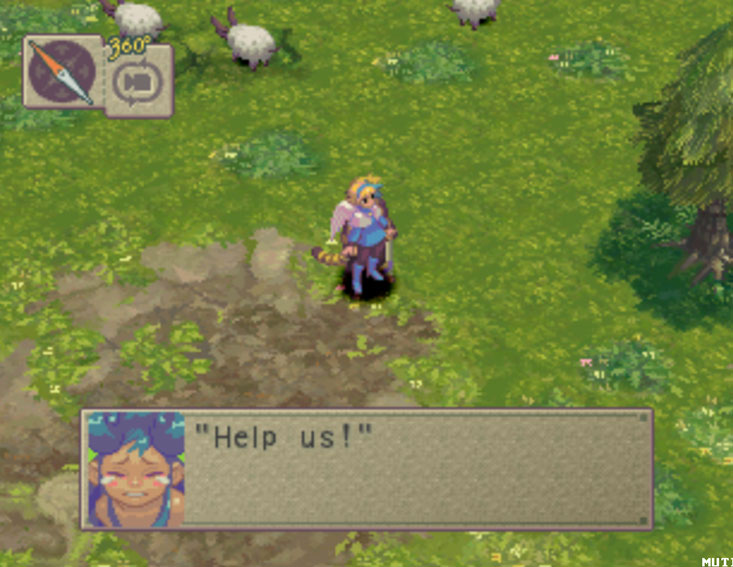
After Nina has been shrunk and taken by a bird, continue with the confused until another scene takes over and Ryu spots the culprits behind this act of mischief.
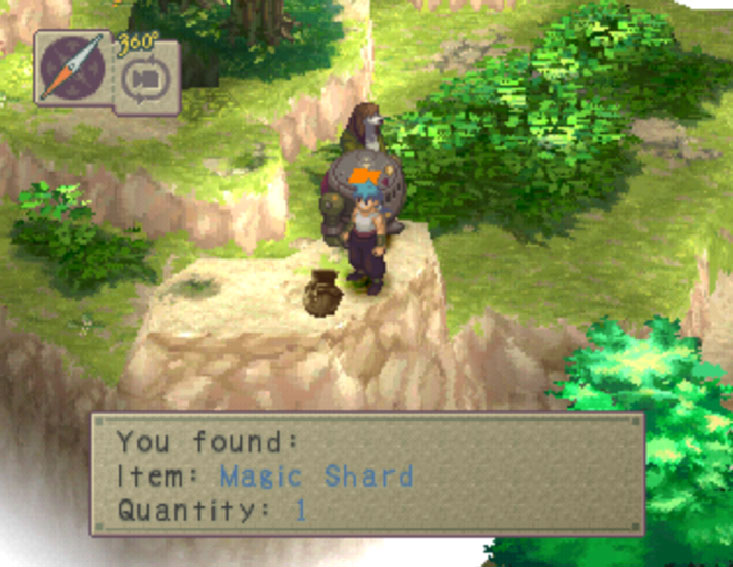
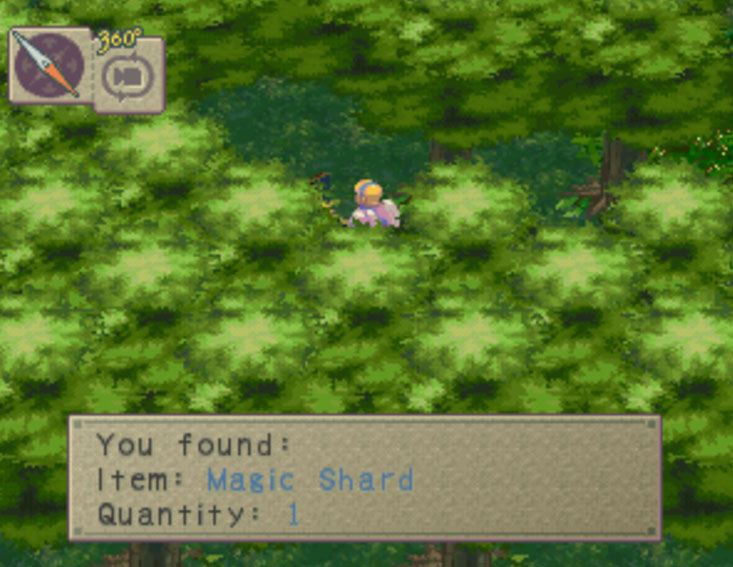
The game's afoot! Time to find Nina within this forest. But first! grab the Magic Shard found at the edge of the map as indicated in the map. Now, to find the bird that took Nina you can just find that on the map as well, or continue on until you hear the singing of a bird get louder. Headbutt the tree with Ershin once you have pinpointed its location.
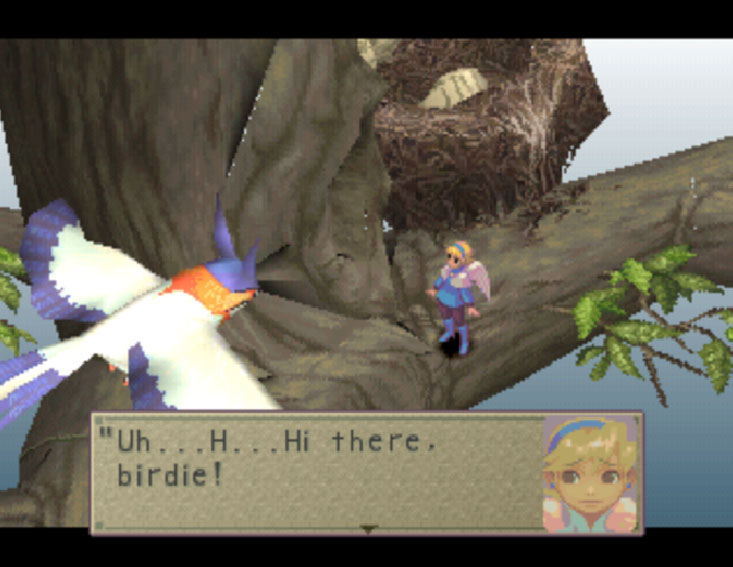
Now you control Nina. As you try to leave with her, the bird will be back and will try to feed Nina a caterpillar. Then an altercation starts.
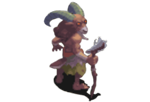
Sparrow
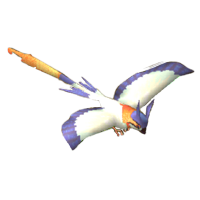
Extremely easy fight. Simply cast Cyclone twice on it and will make it run away.
The scene concludes and Nina is back in your group. Now you can leave the Wychwood and head over to Worent.
Worent
Items Shop
| Item | Cost |
|---|---|
| Healing Herb | 20z |
| Molotov | 100z |
| Water Bomb | 100z |
Weapons Shop
| Item | Cost |
|---|---|
| Katzbalger | 1800z |
| Reed Baton | 1600z |
| Spiked Rod | 2200z |
| Ranger Garb | 1500z |
| BronzeShield | 380z |
Manillo Shop
| Item | Cost |
|---|---|
| N/A | N/A |
The store here has a couple new things in stock, may want to check it out. Head over to the big building all the way within Worent and a scene will take place.
You are not to find Tarhn, Cray's mother, in the Golden Plains. But before that, head to the basement on the right-hand side and you will find a pouch with a ManlyClothes. Nice body piece with little weight and strong DEF. Would be wise to equip it before you leave.
Exit this building and head down the stairs, you will be stopped by a very familiar individual and challeged to a duel.

Kahn (2nd Encounter)
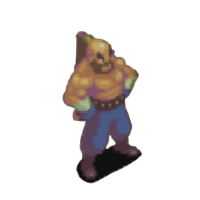
Kahn is back for revenge and (?)stronger than before after training with Una in Worent. Don't be alarmed, he's not. He will show you his new flashy skill "Tiger Fist". Sounds scary right? Well no, don't be intimidated. Not only does it hit for very little damage, but he can only use it once due to his AP limit. Just beat him like you did before. Meditate Ryu into Astral and bash him with a barage of Melee combos after having hindered him down with Molasses and he's toast.
Kahn defeated(Again), head over to the stable and talk to the man with the apron by the whelk (Floating snail-like creature) since you need a horse to pass through the Golden Plains. Once the you have your ride to go through the Golden Plains, get to it.
Golden Plains

| HP | 150 | XP | 170 |
|---|---|---|---|
| TYPE | Humanoid |
|---|---|
| ZNY | 60 |
| ITEM 1 | Scramasax |
| ITEM 2 | Berries |

| HP | 100 | XP | 180 |
|---|---|---|---|
| TYPE | Humanoid |
|---|---|
| ZNY | 50 |
| ITEM 1 | Face Guard |
| ITEM 2 | Berries |

| HP | 100 | XP | 200 |
|---|---|---|---|
| TYPE | Humanoid |
|---|---|
| ZNY | 70 |
| ITEM 1 | Molotov |
| ITEM 2 | Berries |
There is only one task to do in this area. Simply find Tarhn, Cray's Mother.
Keep in mind that this is a trip that Ryu will do alone. It would be wise to make sure that Ryu has a couple of offensive spells at his disposal. This is because there will still be random battles that you will encounter as you travel through the plains. Additionally, these are Nut foes, meaning they are highly evasive to physical attacks.
It is easy to get lost in this place, so here are some directions:
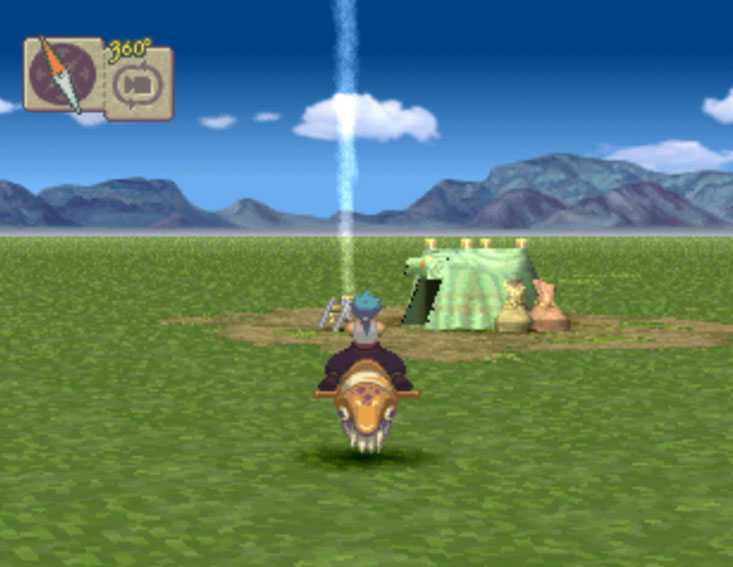
Head East (Same direction you start facing). You will eventually find a big rock with some white paint on it for you to use as a marker. Having reached this rock, start heading North East (Birds guide you to points of interest in this area) and you will reach another stone arrangement marker. Now keep heaing NE and you will notice the white smoke of Tarhn's camp in the distance. Head towards it and you will find her camp.
Here's a Video to help you find it:
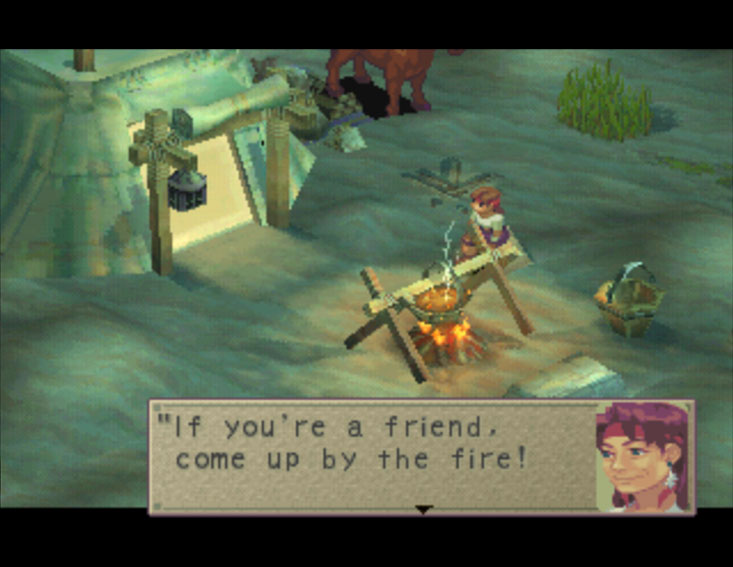
After meeting and updating Tarhn as to Cray's current situation, she sends Ryu off to rest while she thinks of a way to solve this dilemma. Take Ryu into her tent to get some sleep. This will start off a scene which will show you what Ryu's Dragon's Eye is seeing.
Exit her tent and talk to her. Tell her about your visions regarding the King's Sword. She will then connect the dots and come up with a theory on how to calm things down for Cray.
Now that she has explained your new task, it is time to move on forward.
After the next scene upon leaving the Golden Plains, head over to Worent and speak to the elders. They will tell you the whereabouts of Mt. Glom's location.
This one is much easier to find. Simply enter the Golden Plains, head to the same initial big rock. Once you reach this marker, look South (You will see an active volcano in the distance) and run all the way to the edge and exit the plains.
Mt. Glom

| HP | 900 | XP | 140 |
|---|---|---|---|
| TYPE | Plant |
|---|---|
| ZNY | 65 |
| ITEM 1 | Berries |
| ITEM 2 | PointedStick |
| HP | 900 | XP | 280 |
|---|---|---|---|
| TYPE | Plant |
|---|---|
| ZNY | 65 |
| ITEM 1 | ScorchedRice |
| ITEM 2 | Fire Seed |
| HP | 1000 | XP | 220 |
|---|---|---|---|
| TYPE | Beast |
|---|---|
| ZNY | 210 |
| ITEM 1 | Moon Sword |
| ITEM 2 | Fire Seed |
Objectives
Available Skill(s)
Fire-Based attacks triple Drake's EXP worth but alternatively increases their strength.
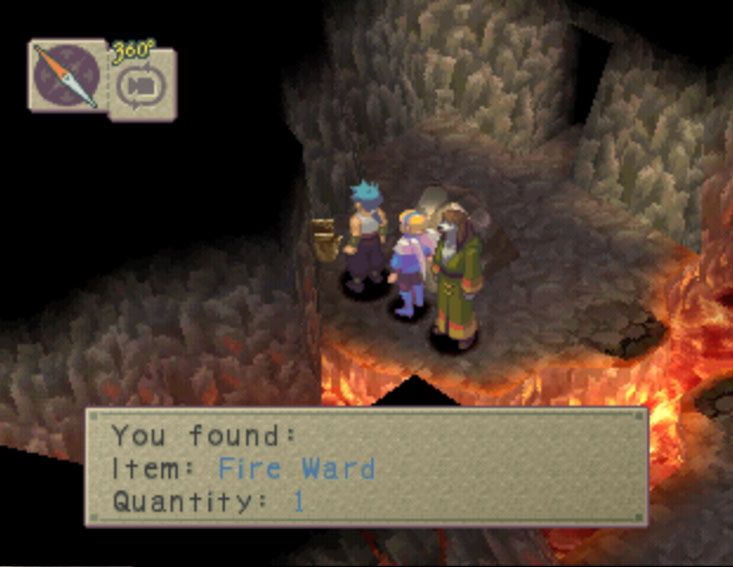
Upon entering the cave, go to the west wall until you find a pouch with a Fire Ward inside (Avoid the lava. It damages your group). Enter into the next area through the close by doorway. Nothing to pick up in this room, so continue North until you can go through the next doorway.
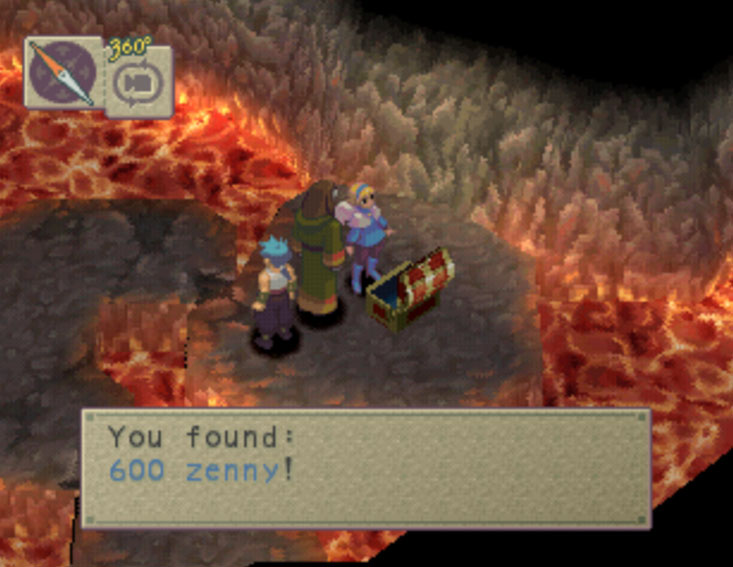
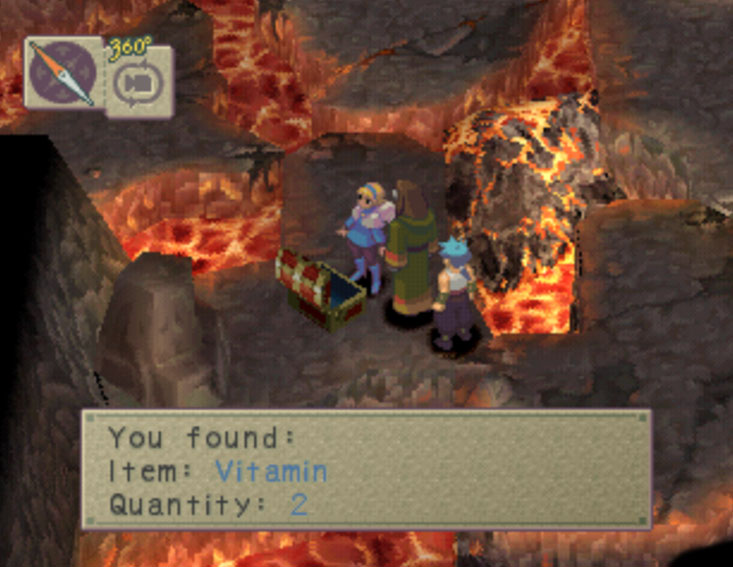
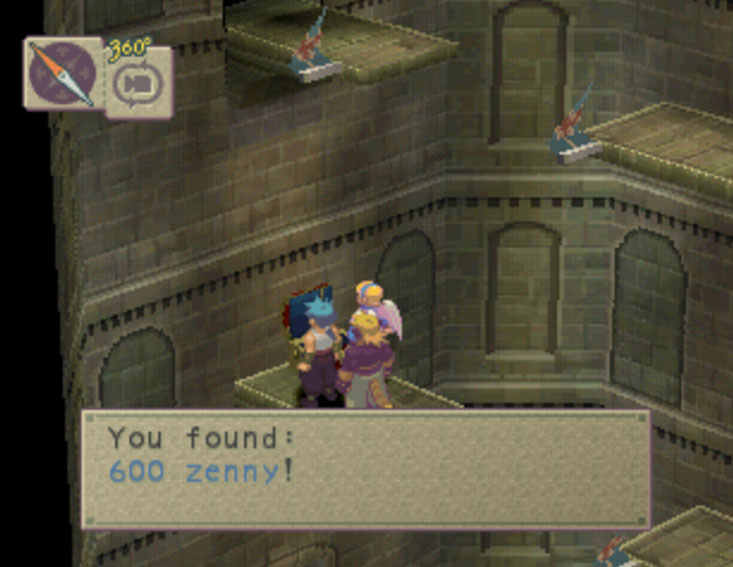
Now, in this area you will need to fight foes to move the platforms that are floating in the lava. They only alternate between two positions, so just watch every time the move to continue onward. Make sure you grab the 600 zenny on the first set of platforms and Vitamin x2 in the chest on the following platforms set before you head onward
Nothing special is this area yet, simply proceed onto the house on the other side of the bridge for a scene.
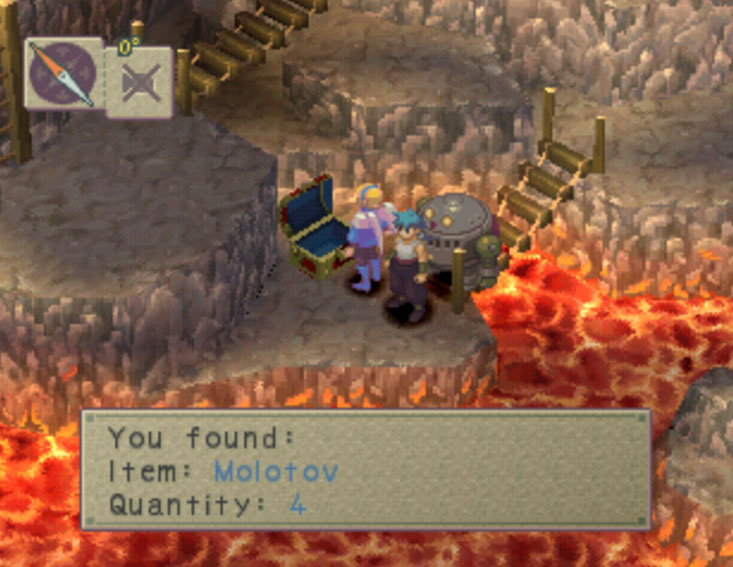
Gaining back control of your group, head down the trapdoor into a tunnel. Enter the doorway to the Westen passage and go cross the two bridges over the lava until you reach a chest where you will find Molotov x4. Having grabbed the contents of that last chest, head back to the tunnel and follow it on the opposite direction which leads to the exit of Mt. Glom.
Time to head back to Wychwood for the Faerie Drop the Blacksmith needs to remake the King's Sword.
Once back in Wychwood, simply track back your steps until you find a sparkling area near the bushes not far from where Nina was being held captive by the Sparrow. When you try interacting with it, you will reveal it's one of the fairies which ultimately will trigger a scene and take you to Faerie Village.
Faerie Village

| HP | 1500 | XP | 320 |
|---|---|---|---|
| TYPE | Demon |
|---|---|
| ZNY | 50 |
| ITEM 1 | Magic Shard |
| ITEM 2 | Nothing |
| HP | 1750 | XP | 360 |
|---|---|---|---|
| TYPE | Demon |
|---|---|
| ZNY | 30 |
| ITEM 1 | Nothing |
| ITEM 2 | Nothing |

| HP | 1600 | XP | 340 |
|---|---|---|---|
| TYPE | Demon |
|---|---|
| ZNY | 40 |
| ITEM 1 | Life Shard |
| ITEM 2 | Nothing |
| HP | 2000 | XP | 380 |
|---|---|---|---|
| TYPE | Demon |
|---|---|
| ZNY | 20 |
| ITEM 1 | Life Shard |
| ITEM 2 | Nothing |
| HP | 1300 | XP | 300 |
|---|---|---|---|
| TYPE | Demon |
|---|---|
| ZNY | 60 |
| ITEM 1 | Life Shard |
| ITEM 2 | Nothing |
| HP | 5000 | XP | 4000 |
|---|---|---|---|
| TYPE | Boss |
|---|---|
| ZNY | 1800 |
| ITEM 1 | Magic Shard |
| ITEM 2 | Nothing |
Help the Faeries by disposing of the Nightmare Brothers. They are not much of a threat really. Magic works well on all of them. Unite your spells in powerful combos and they'll be gone in no time.
Once they are no longer a threat, the real menace will come forward....
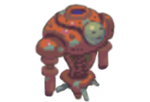
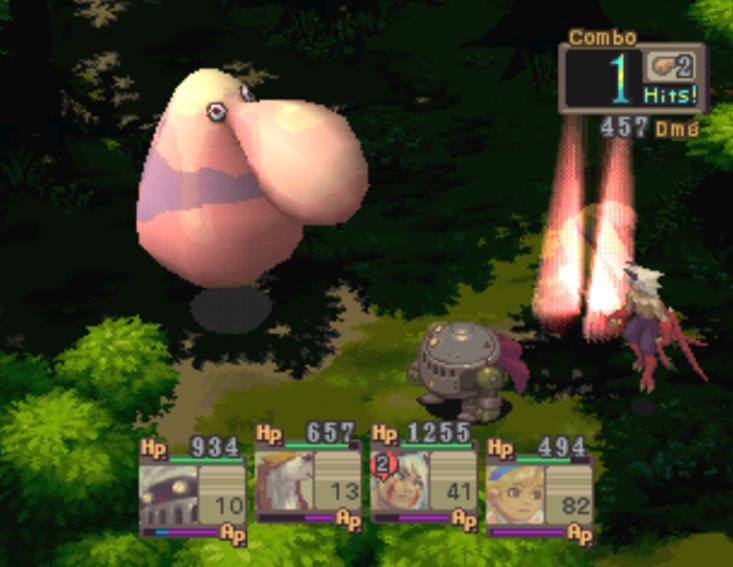
Fantam

Now this is an interesting opponent. Its weakness and strengths change depending on the type of attacks it's hit with. Physical attacks increase its size and build up its resistance against them meanwhile its magic resistance decreases. In contrast, it gets smaller when it is attacked with magic also increasing its resistance vs magic but weakening its melee resistance. Alternate by attack-type combos to get the job done.
The fairies will thank you after Fantam has been defeated and will grant you the Faerie Drop you needed for the Blacksmith. With it in your possession, head back to Mt. Glom and have the King's Sword made.
Time to head back to Ludia with the new King's Sword. Enter the Castle and a scene will take place.
Things did not go as plan. The Empire seems to be plotting something since they came up with a new King's Sword themselves.
The time for diplomatic approach is over. Nina realizes that the only way they can help Cray now is to break him out of the Castle, so they wait for the night to cover the skies to infiltrate it. Scias, surprisingly helps the group out.
Castle Ludia

| HP | 100 | XP | 45 |
|---|---|---|---|
| TYPE | Insect |
|---|---|
| ZNY | 15 |
| ITEM 1 | Twister |
| ITEM 2 | Antidote |
| HP | 700 | XP | 70 |
|---|---|---|---|
| TYPE | Insect |
|---|---|
| ZNY | 30 |
| ITEM 1 | Croc Tear |
| ITEM 2 | Healing Herb |

| HP | 500 | XP | 500 |
|---|---|---|---|
| TYPE | Humanoid |
|---|---|
| ZNY | 300 |
| ITEM 1 | Steel BPlate |
| ITEM 2 | BronzeShield |

| HP | 500 | XP | 200 |
|---|---|---|---|
| TYPE | Humanoid |
|---|---|
| ZNY | 100 |
| ITEM 1 | Healing Herb |
| ITEM 2 | Glass Domino |
Before you go to the Castle, make sure you upgrade your treasure with a man standing outside near factory-like buildings (You only have this chance to do so, otherwise you can only get all the upgrades until the end).(shot).
There are Soldiers on Guard duty who will attack the moment you approach them. However, this isn't your regular type of battle. They must be defeated in 1 round you and your group will be removed from the Castle. Not to worry, Nina should be able to dispose of them single-handedly with a single Cyclone attack dishing out 700+ of damage (Soldiers only have 500 HP).
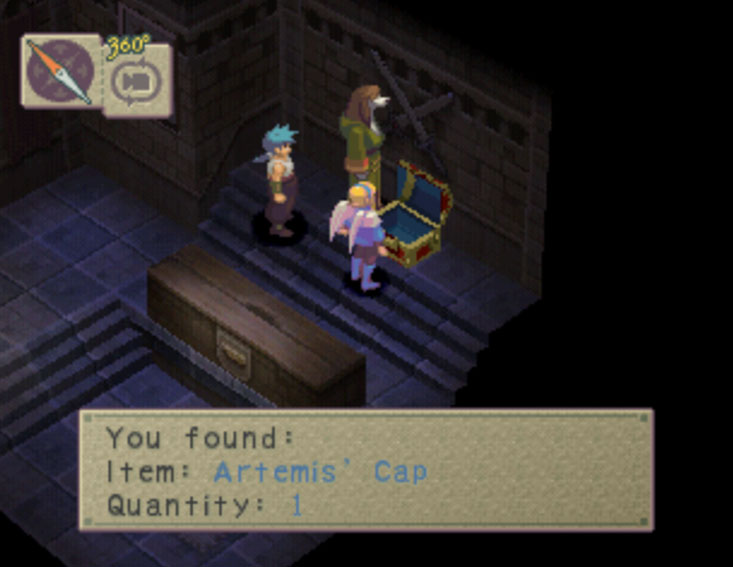
Collect the Artemis' Cap found within the chest in the Court Room where Cray was being interrogated. Having done that, continue upwards until you face and defeat the 3rd Guard on duty. A scene will commence upon his defeat.
Now leaving the Castle, pay Tarhn another visit with Cray amongst you.
There will be some dialogue followed by resting at Tarhn's camp. Talk with her the next morning to watch the remaining scene. She will then hand you the "Jadestone" which you will need to use to make it through the Dragon Shrine.
To reach the Dragon Shrine, you must enter the Golden Plains and simply head East (Follow the compass) all the way until you exit onto its entrance.
Dragon Shrine
| HP | 150 | XP | 170 |
|---|---|---|---|
| TYPE | Humanoid |
|---|---|
| ZNY | 60 |
| ITEM 1 | Scramasax |
| ITEM 2 | Berries |
| HP | 100 | XP | 180 |
|---|---|---|---|
| TYPE | Humanoid |
|---|---|
| ZNY | 50 |
| ITEM 1 | Face Guard |
| ITEM 2 | Berries |
| HP | 100 | XP | 200 |
|---|---|---|---|
| TYPE | Humanoid |
|---|---|
| ZNY | 70 |
| ITEM 1 | Molotov |
| ITEM 2 | Berries |
| HP | 1000 | XP | 220 |
|---|---|---|---|
| TYPE | Beast |
|---|---|
| ZNY | 210 |
| ITEM 1 | Moon Sword |
| ITEM 2 | Fire Seed |
| HP | 600 | XP | 90 |
|---|---|---|---|
| TYPE | Insect |
|---|---|
| ZNY | 50 |
| ITEM 1 | Berries |
| ITEM 2 | Panacea |
Items
Objectives
Available Skill(s)
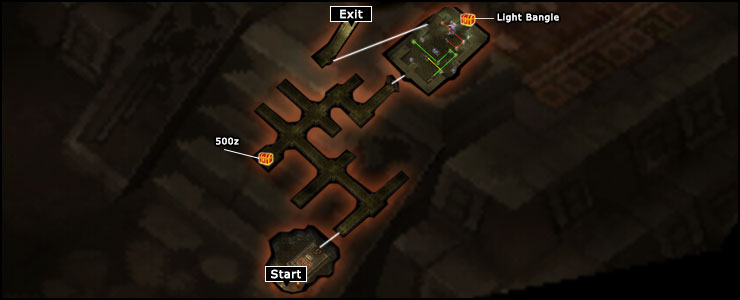
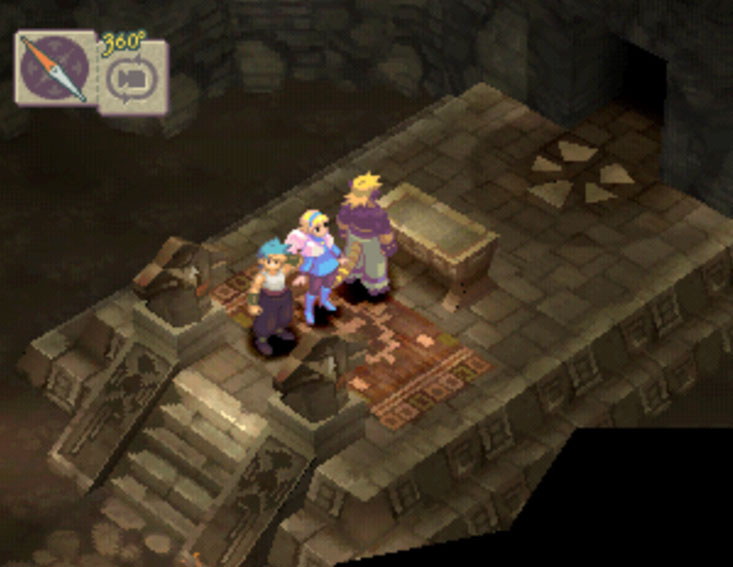
Place the Jadestone on the pedestal to open the path behind the statue in the main room.
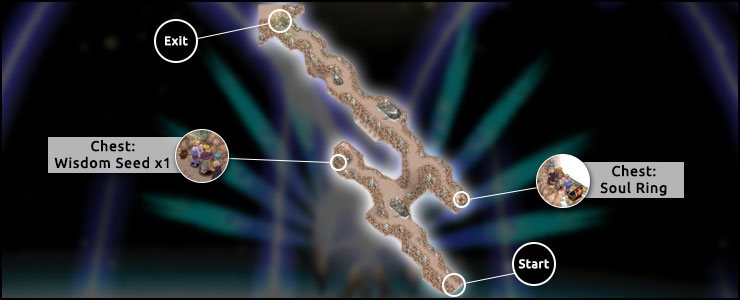
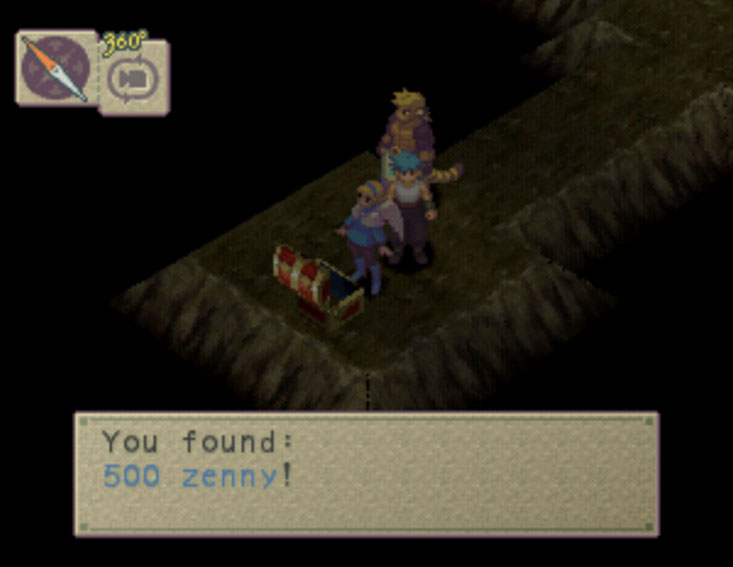
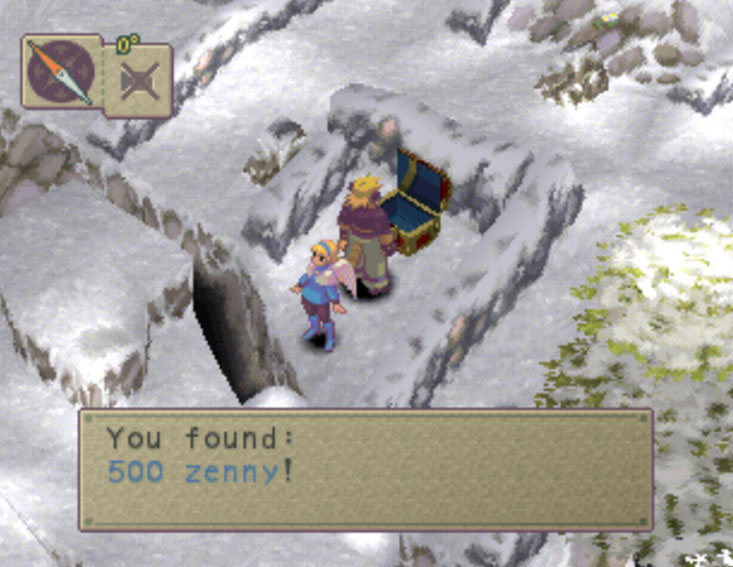
Follow the map above to collect the 500z and proceed through the right path to enter the next room.
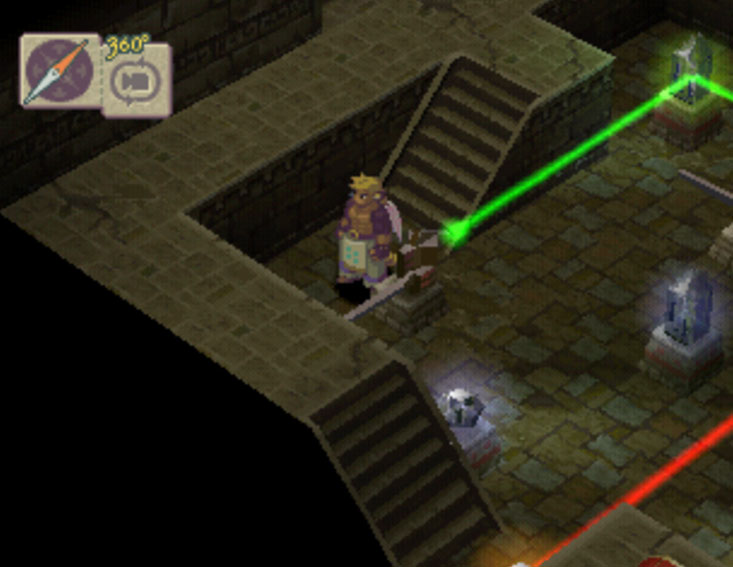
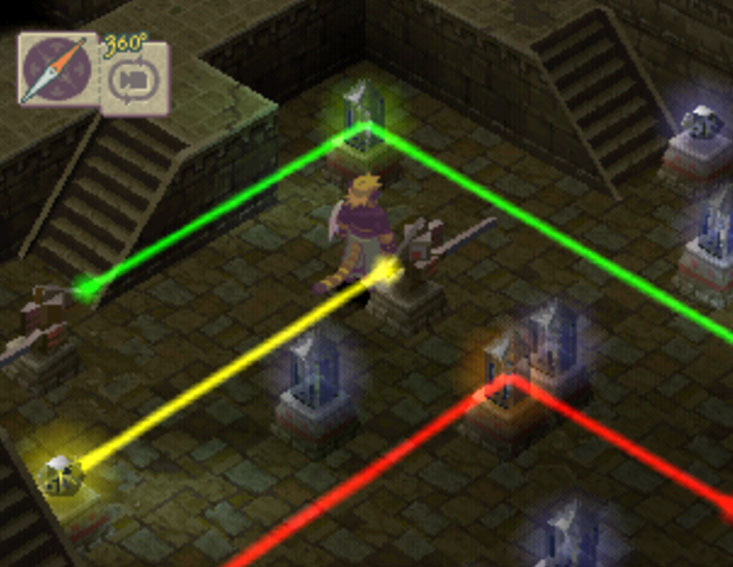
This next room is a puzzle, but is much easier than what it looks like. Place Cray in the front since you will need his push ability to move the beams around (NOTE: Touching the beams will inflict some damage to your party).
Start by rotating the Green beam to point North (shot).
Go around the Green Beam and reach the Yellow Beam to turn it South (shot).
Back track your steps to the entrance you came from (Do not exit) and now head to the flight of stairs to the South side of this area. Proceed through the space now cleared from beams to make your way to the chest on the far East side of this room to pick up Silver Top x4 from it.
Go all the way back to the Green Beam and turn it back to its original state (shot)
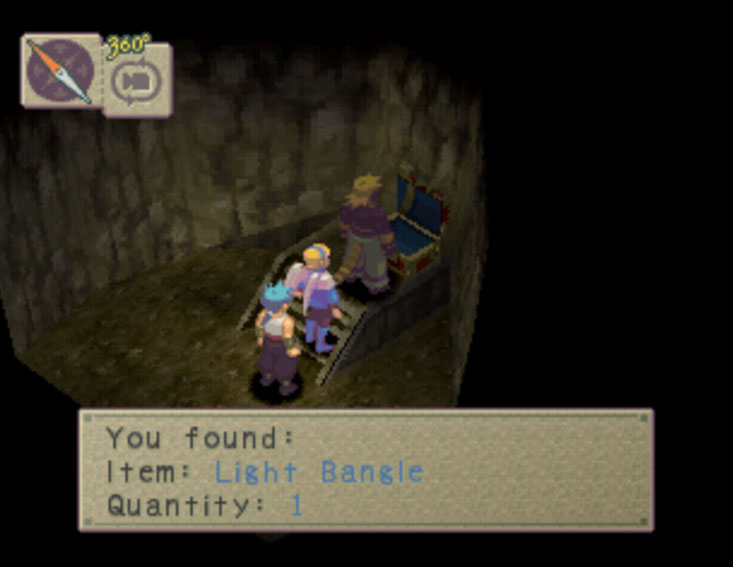
Now you can go to the Red Beam and turn it so you can enter the room it was blocking and grab the Light Bangle found within the chest in that little room.
In case any of that was confusing for you, here's a quick video to show you all which was explained above:
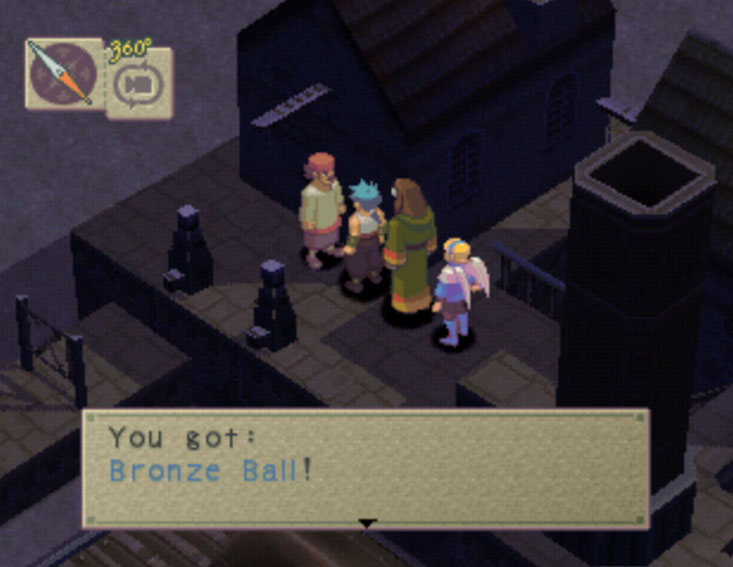
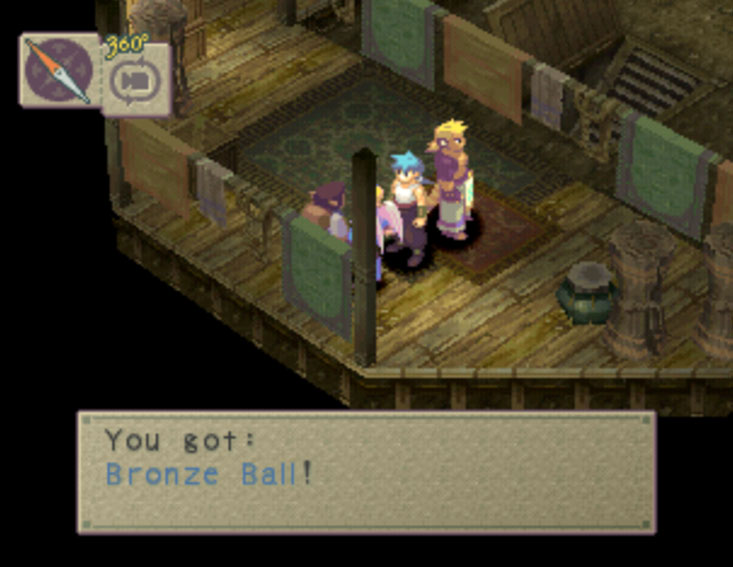
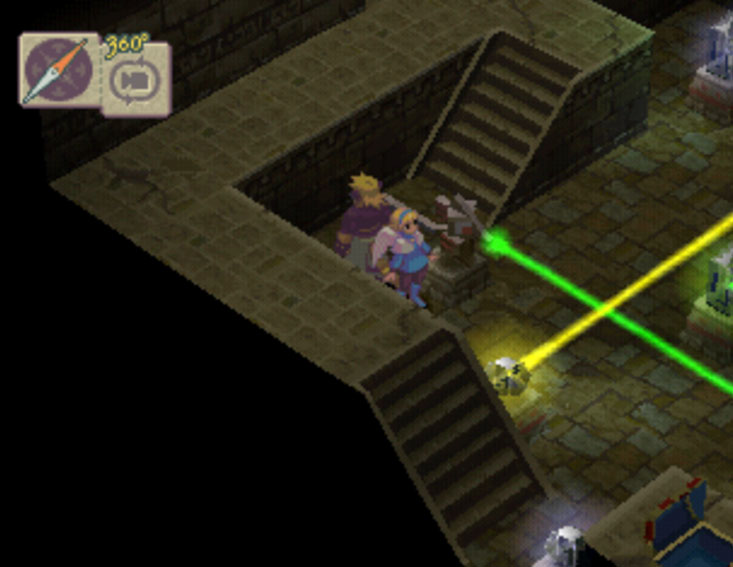
You are done here, go through the doorway on the far North wall of this room to find the next flight of stairs which will take out of this dungeon. However! in that room you will find a man resting. Talk to him and trade him your Lead Ball for his Bronze Ball which completes all the tasks available in this area
Exit to the World Map and head to the next available destination. Ahm Fen.
Ahm Fen
| HP | 100 | XP | 200 |
|---|---|---|---|
| TYPE | Humanoid |
|---|---|
| ZNY | 70 |
| ITEM 1 | Molotov |
| ITEM 2 | Berries |
| HP | 750 | XP | 240 |
|---|---|---|---|
| TYPE | Beast |
|---|---|
| ZNY | 75 |
| ITEM 1 | Berries |
| ITEM 2 | Swallow Eye |
| HP | 560 | XP | 220 |
|---|---|---|---|
| TYPE | Humanoid |
|---|---|
| ZNY | 80 |
| ITEM 1 | Steel BPlate |
| ITEM 2 | Roast |
Objectives
Available Skill(s)
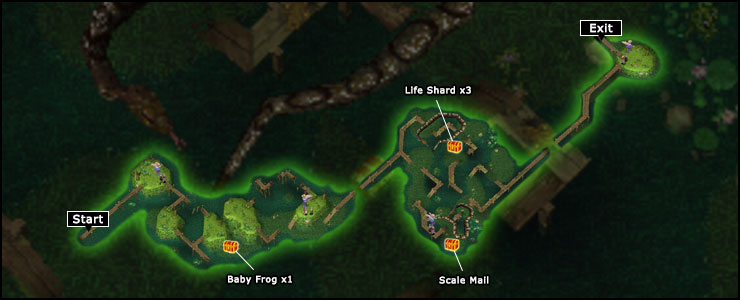
Not an eventful area. All you really have to do is get through it. The map will give you all the details you really need to know on how to proceed and what you can find.
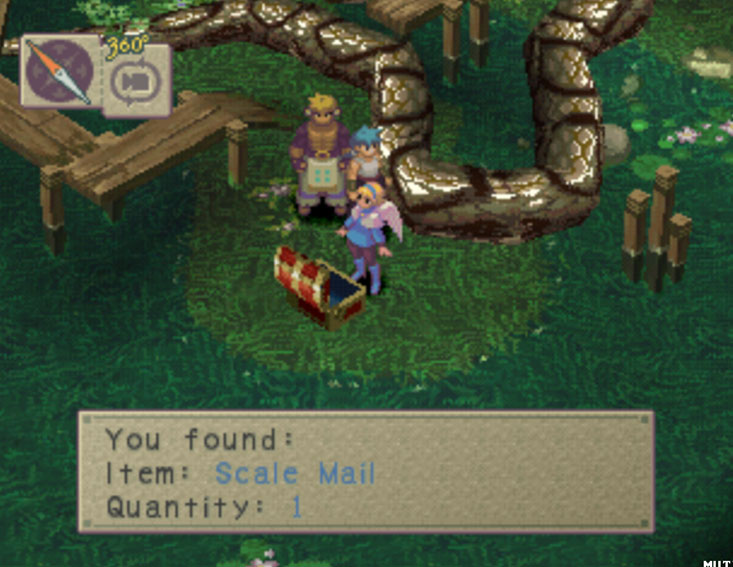
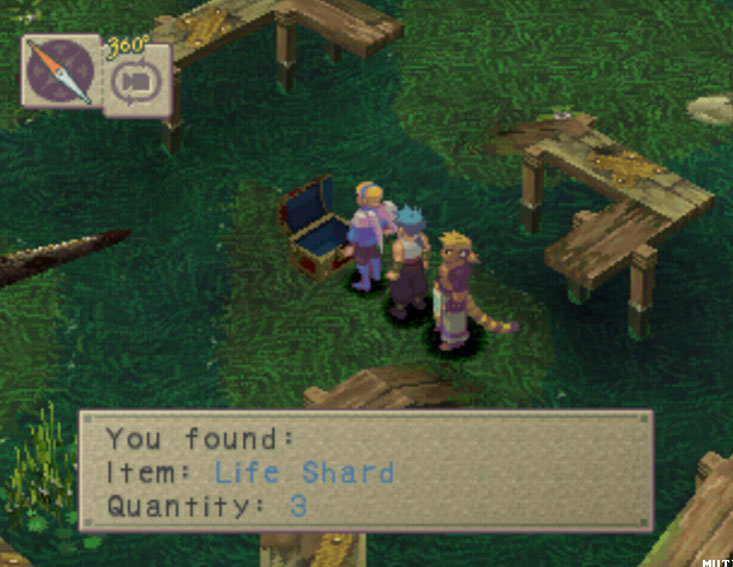
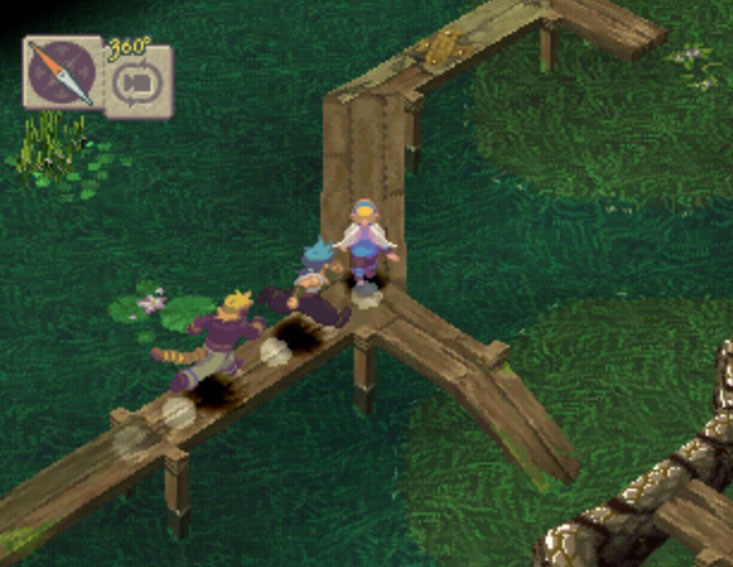
You will find an area where you will find giant snakes that move every time you step on one of the many planks that crak when you step on them. Watch closely their movements to use them as bridges to go from one platform to the next. Don't forget to pick up the Life Shard x3 and the Scale Mail found in chests in this area.
Exit out to the World Map once all is completed.
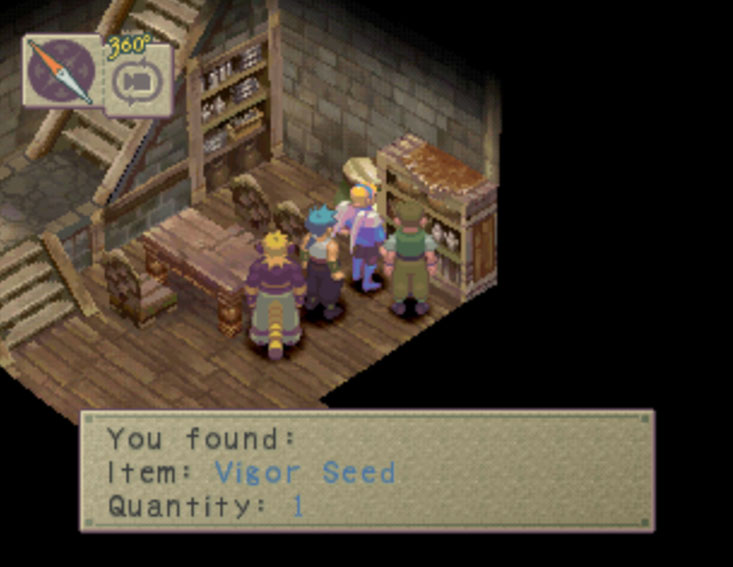
At the World Map, you will notice that there is a house with a (?) on it at the intersection. This happens to be the house of one of the Masters available in the game, Njomo. However, she's most likely not willing to teach you anything yet as her requirement is to be actively be helping out with the Faerie Colony. Only thing you can do in there is to pick up the Vigor Seed x1 you can find in a cupboard. Other than that, there is nothing else to do in here at the moment.
Go back to the World Map and make your way to Wyndia. Soon enough, a "!" in which you will have to enter to trigger a scene at the camp. Ryu and the others are invited back to the Faerie Village and are asked for their help in rebuilding the place. You can learn about the different jobs and activities you must perform to help with this endeavor. Get familiar with it since this will yield some very useful features for your adventure in the long run. More will be explained in the "Faerie Colony" under Secrets.
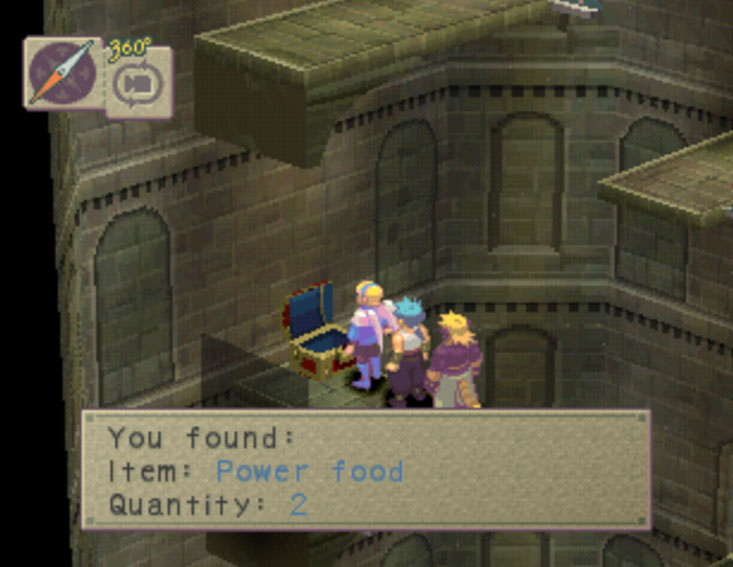
In Ocassions, some of the (?) spots you encounter in your travels will be a hunting mini-game if you have faeries in hunting duties. You can choose to give them the food you collect or keep it (shot).
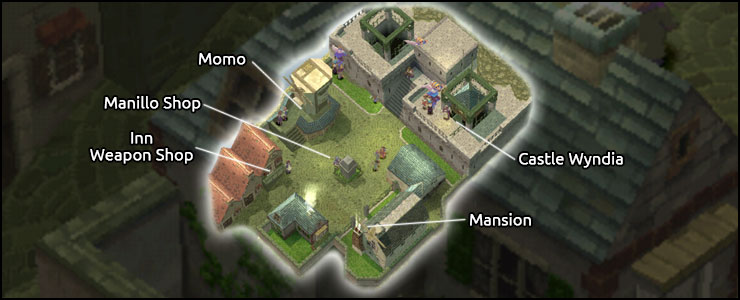
Now on to Wyndia
Wyndia
Items Shop
| Item | Cost |
|---|---|
| Healing Herb | 20z |
| Molotov | 100z |
| Water Bomb | 100z |
Weapons Shop
| Item | Cost |
|---|---|
| Katzbalger | 1800z |
| Reed Baton | 1600z |
| Spiked Rod | 2200z |
| Ranger Garb | 1500z |
| BronzeShield | 380z |
Manillo Shop
| Item | Cost |
|---|---|
| Gold Top | View |
| Warbler | View |
| Flat Top | View |
| Hanger | View |
| Toad | View |
| Tail | View |
| Bamboo Rod | View |
| Aurum | View |
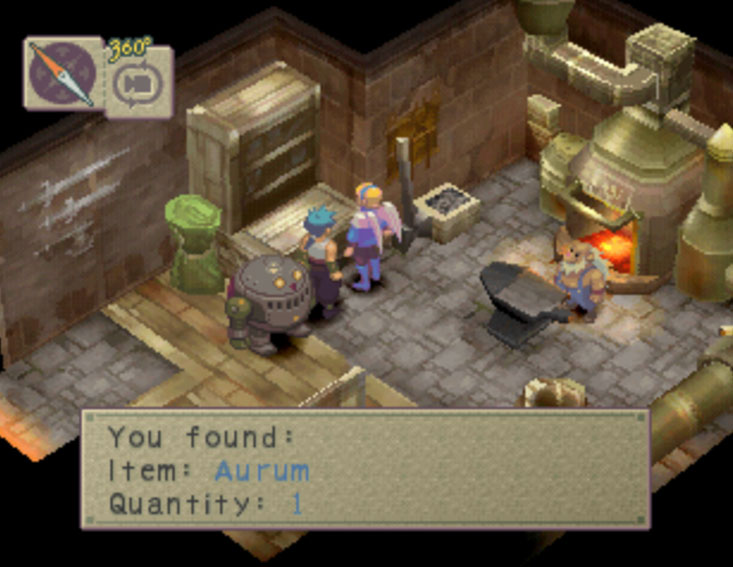
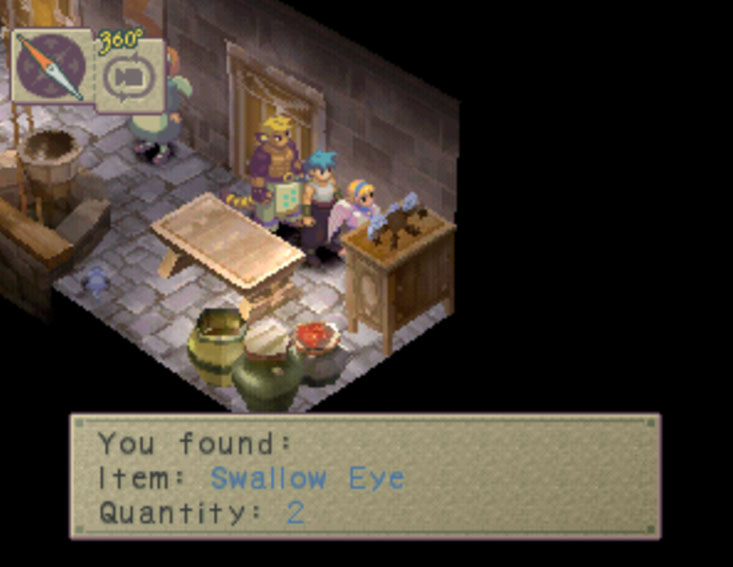
Nina's home kingdom. Here you my upgrade your equipment from the Merchant found on the 2nd floor of the Inn. Additionally, you may find some nice upgrades for your fishing equipment from the Manillo shop assuming you have been doing enough fishing to purchase them. Also, in the Mansion you may find some neat items in their Kitchen area (Swallow Eye x2, Fish-Head x2). There is also a chance to get some Aurum from the butler who will give you some in exchange for any silverware you may posses (Chopsticks, Spoons, Forks, etc).
There's also a new Master available here in Wyndia. Meet Momo

| HP | AP | PWR | DEF | AGI | WIS |
|---|---|---|---|---|---|
| +8 | - | - | - | - | - |
| WILL | Drowse (Fall asleep while in the back row) |
|---|---|
| Join Req | None |
Rewards: Based on total hours played
When you are done collecting the available items and the purchases you wanted, head to the elevator to head to the Castle
Here are the items that are available before talking with the King
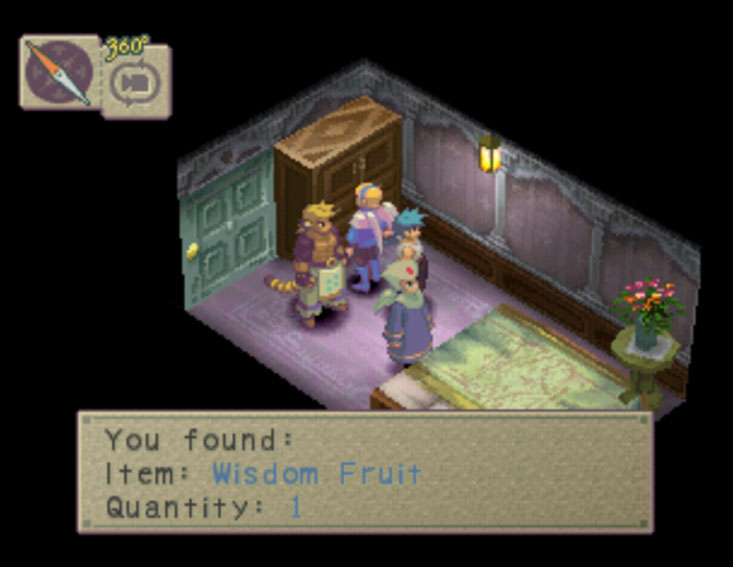
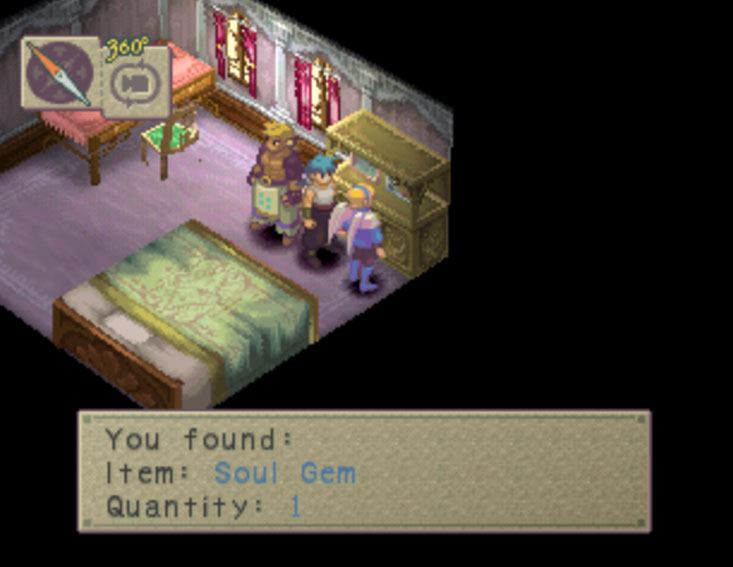
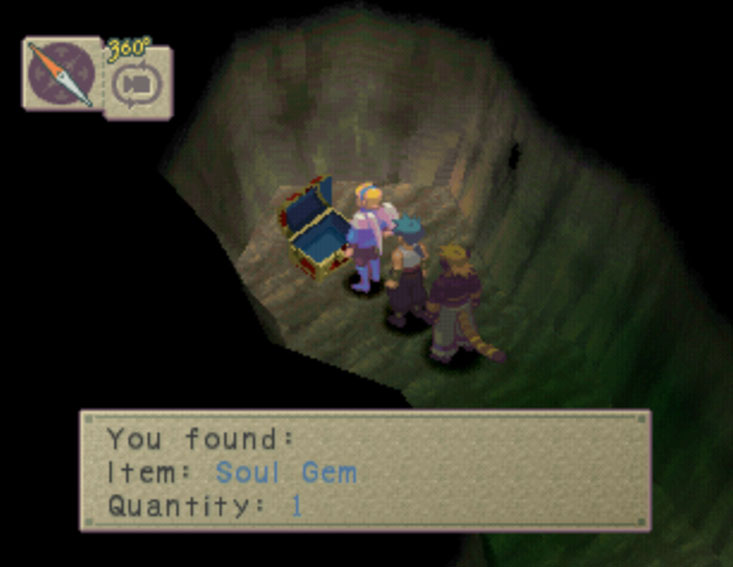
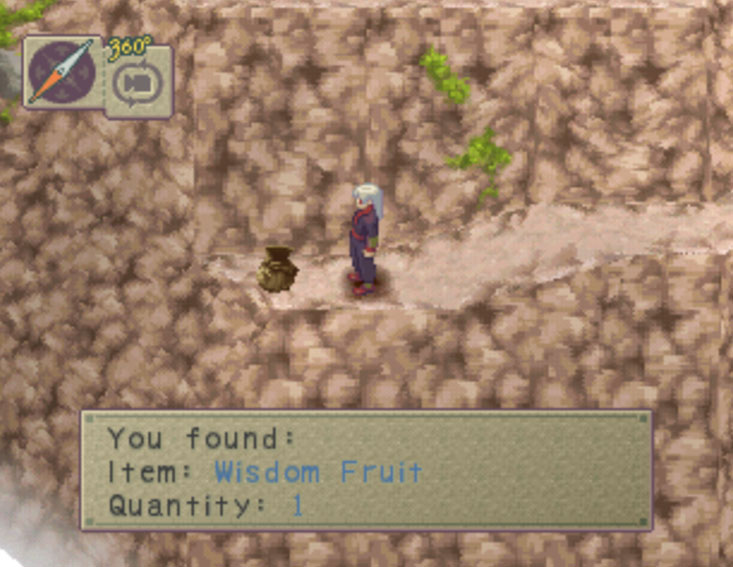
Wyndia Castle Items: Ring of Wind, Wisdom Fruit x1, Soul Gem
Now head to the King's room (Butler standing at the door) and a scene will take place.
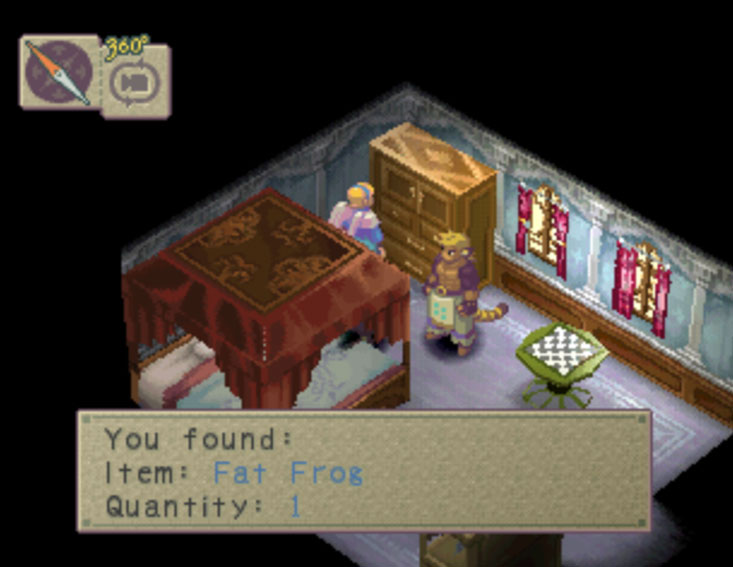
Before leaving the castle, go back to the King's room and collect the Fat Frog x1. Also, at the dungeon, you can trade your current treasure for an upgrade from the man in the cell.
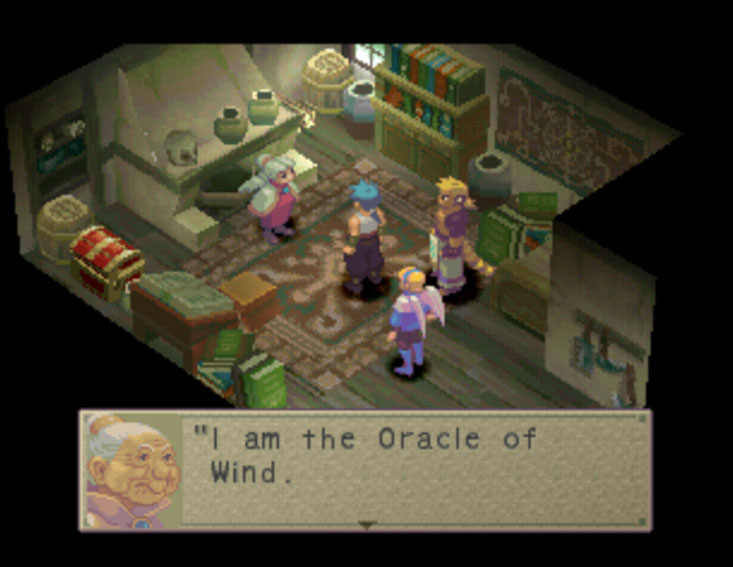
With a new lead, you are now to head to Kasq Woods to meet with the Oracle of Wind for further developments.
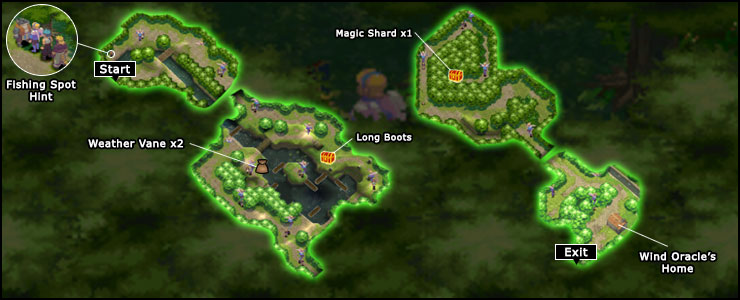
Kasq Woods
| HP | 800 | XP | 120 |
|---|---|---|---|
| TYPE | Insect |
|---|---|
| ZNY | 100 |
| ITEM 1 | Healing Herb |
| ITEM 2 | BronzeShield* |
| HP | 100 | XP | 200 |
|---|---|---|---|
| TYPE | Humanoid |
|---|---|
| ZNY | 70 |
| ITEM 1 | Molotov |
| ITEM 2 | Berries |
| HP | 750 | XP | 240 |
|---|---|---|---|
| TYPE | Beast |
|---|---|
| ZNY | 75 |
| ITEM 1 | Berries |
| ITEM 2 | Swallow Eye |
| HP | 2400 | XP | 230 |
|---|---|---|---|
| TYPE | Beast |
|---|---|
| ZNY | 80 |
| ITEM 1 | Roast |
| ITEM 2 | Ginseng |
Objectives
Available Skill(s)
Only two tasks to complete in here. Get information about a new fishing spot (River Spot 2), and find the Oracle of Wind
May as well just follow the map to gather the items layed out for pick up in this area and move on to complete the tasks.
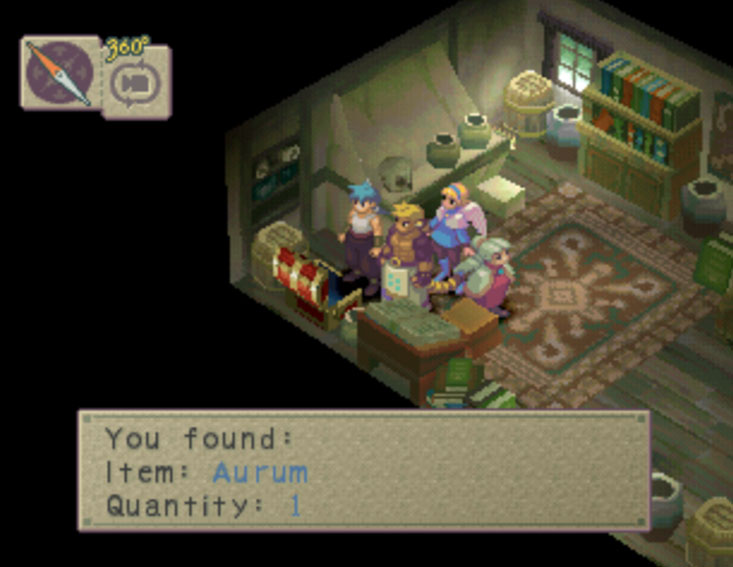
Once at the Oracle's home. A short scene will take place. The moment you gain back control over your group, collect the Aurum in the chest and the Flat Top x3 in the Cupboard. Now leave these woods triggering another scene.
Back to Wyndia, talk with Nina's father to get authorized to search for the Wind Flute.
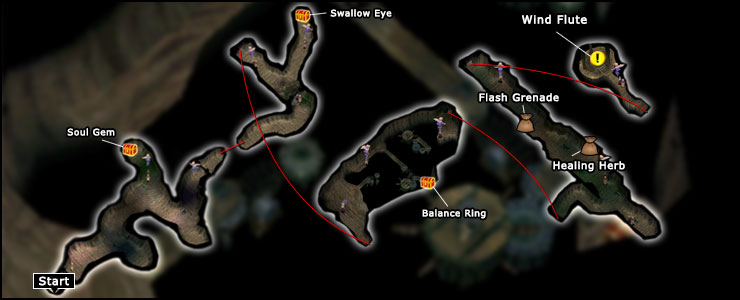
On to the Underhalls!
Castle Underhalls
| HP | 650 | XP | 17 |
|---|---|---|---|
| TYPE | Demon |
|---|---|
| ZNY | 20 |
| ITEM 1 | Bandana |
| ITEM 2 | Glass Domino |
| HP | 1000 | XP | 65 |
|---|---|---|---|
| TYPE | Demon |
|---|---|
| ZNY | 32 |
| ITEM 1 | Chain Cap |
| ITEM 2 | Rotten Meat |
| HP | 920 | XP | 290 |
|---|---|---|---|
| TYPE | Insect |
|---|---|
| ZNY | 120 |
| ITEM 1 | Healing Herb |
| ITEM 2 | Vitamin |
| HP | 1800 | XP | 260 |
|---|---|---|---|
| TYPE | Demon |
|---|---|
| ZNY | 90 |
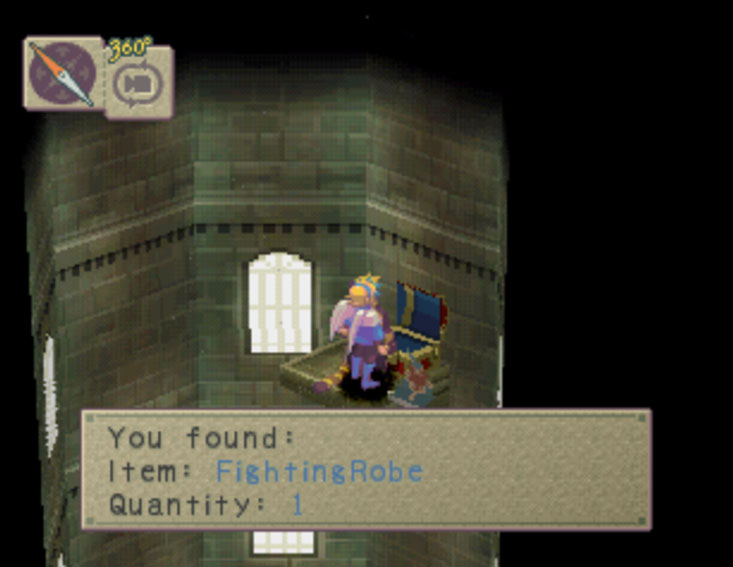
| ITEM 1 | FightingRobe |
| ITEM 2 | Panacea |
| HP | 600 | XP | 90 |
|---|---|---|---|
| TYPE | Insect |
|---|---|
| ZNY | 50 |
| ITEM 1 | Berries |
| ITEM 2 | Panacea |
Objectives
Available Skill(s)
The Underhalls is crawled with zombies and insects, but there is also some nice items that can be found throughout this dungeon. Not to mention that you are in here to find the Wind Flute. That said, it is a simple area and straight-lined to clear your only objective.
With the map available, it is easy to clear this area. Keep in mind that there are a couple of places where the fans can pull you back.
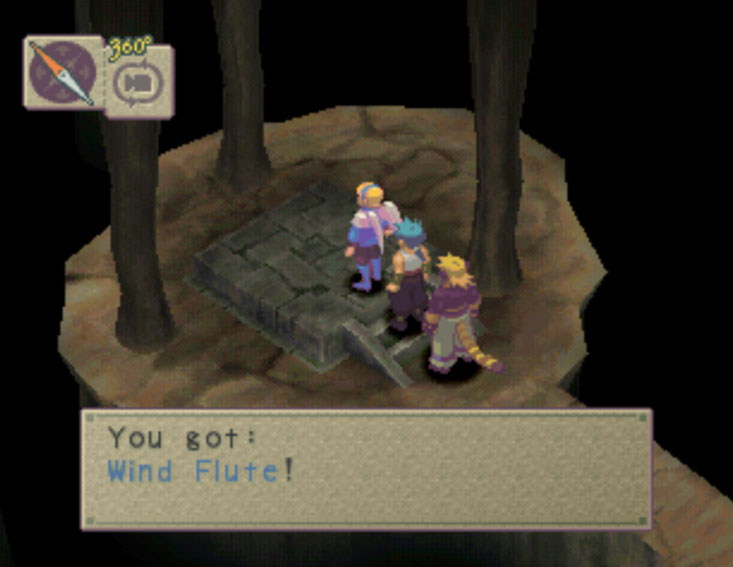
Grab the goodies, grab the flute, and make your way back out to Castle Wyndia.
A scene will come on and show you Scias' current whereabouts, when it ends, you regain control of your party. Time to head to Pung' Tap.
Pung' Tap
| HP | 250 | XP | 180 |
|---|---|---|---|
| TYPE | Demon |
|---|---|
| ZNY | 80 |
| ITEM 1 | Straw |
| ITEM 2 | Life Shard |
| HP | 1000 | XP | 220 |
|---|---|---|---|
| TYPE | Beast |
|---|---|
| ZNY | 210 |
| ITEM 1 | Moon Sword |
| ITEM 2 | Fire Seed |
| HP | 920 | XP | 290 |
|---|---|---|---|
| TYPE | Insect |
|---|---|
| ZNY | 120 |
| ITEM 1 | Healing Herb |
| ITEM 2 | Vitamin |
Items
Objectives
Available Skill(s)
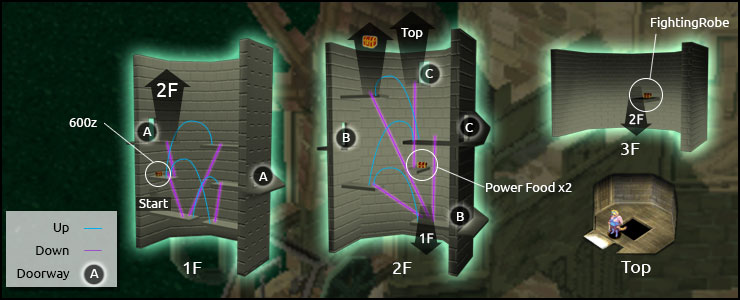
Now, this tower is a bit confusing at first, but once you understand how to move up with the wind drafts it is easier to get a hang of it.
The map above gives a brief description of the Ups-&-Downs from jumping off of each platform with or without the wind. Additionally, it also represents where each door will lead you. Lastly, the black arrows depict a jump that will take you to a whole new stage of this complex if taken up or down from a specific platform.
When you are ready to move on, reach the top and make sure your party is at full HP and AP. A battle approaches once you go through that door and try to make your way to the transport at the end.
Grunts
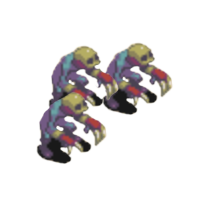
Grunt A
Grunt B
Grunt C
It won't be a very hard battle... all you really have to do is pound on them with physical attacks. Afterwards, Scias shows up and denounces his contract with the Master. Enraged, he sends three more Grunts after you! Scias will appear in this battle, though you won't control him. Don't use area magic attacks as they will hit Scias too, just pound on them with physical attacks as you did before.
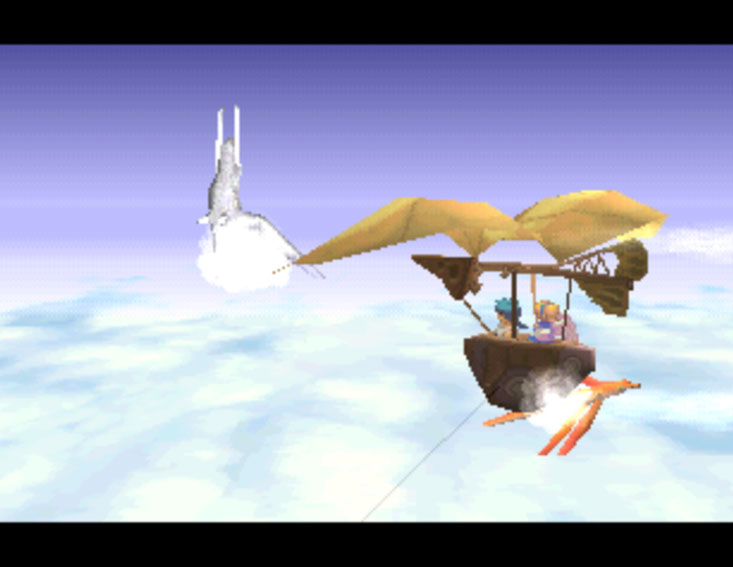
Once the battle is over, Ryu and the others are finally able to speak with the Wind Dragon. After the scene, you will be taken to the Ice Peak by the Wind Dragon.
Ice Peak
| HP | 2400 | XP | 230 |
|---|---|---|---|
| TYPE | Beast |
|---|---|
| ZNY | 80 |
| ITEM 1 | Roast |
| ITEM 2 | Ginseng |
| HP | 770 | XP | 280 |
|---|---|---|---|
| TYPE | Beast |
|---|---|
| ZNY | 60 |
| ITEM 1 | Roast |
| ITEM 2 | Protein |
| HP | 250 | XP | 180 |
|---|---|---|---|
| TYPE | Demon |
|---|---|
| ZNY | 80 |
| ITEM 1 | Straw |
| ITEM 2 | Life Shard |

| HP | 900 | XP | 190 |
|---|---|---|---|
| TYPE | Beast |
|---|---|
| ZNY | 40 |
| ITEM 1 | Bird Drop |
| ITEM 2 | Water Bomb |

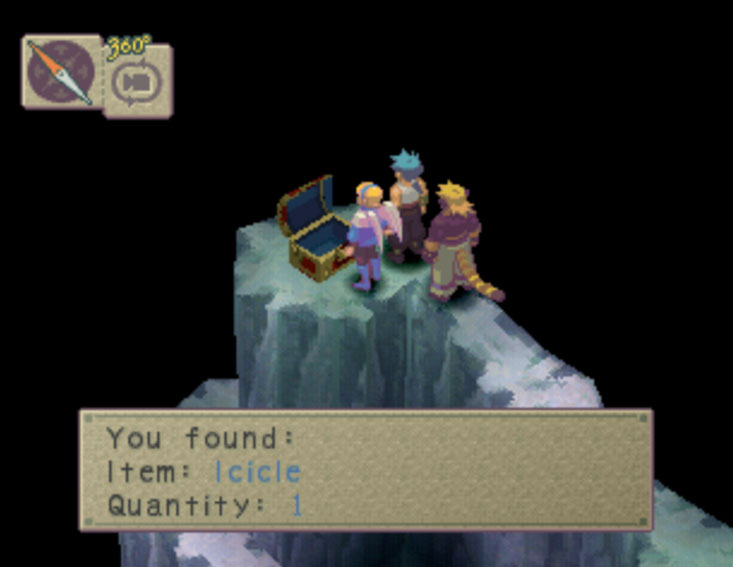
| HP | 1000 | XP | 320 |
|---|---|---|---|
| TYPE | Beast |
|---|---|
| ZNY | 160 |
| ITEM 1 | Water Bomb |
| ITEM 2 | Icicle |
| HP | 300 | XP | 42 |
|---|---|---|---|
| TYPE | Beast |
|---|---|
| ZNY | 25 |
| ITEM 1 | Glass Domino |
| ITEM 2 | Waistcloth |
Items
Objectives
Available Skill(s)
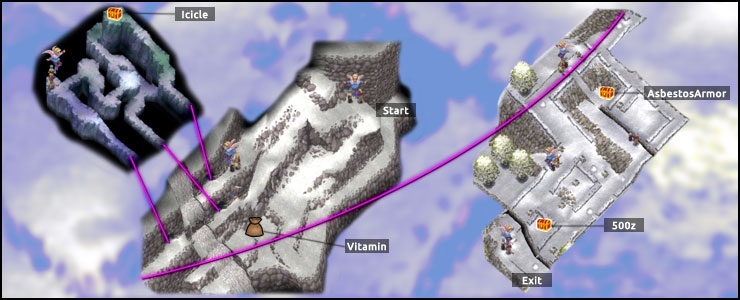
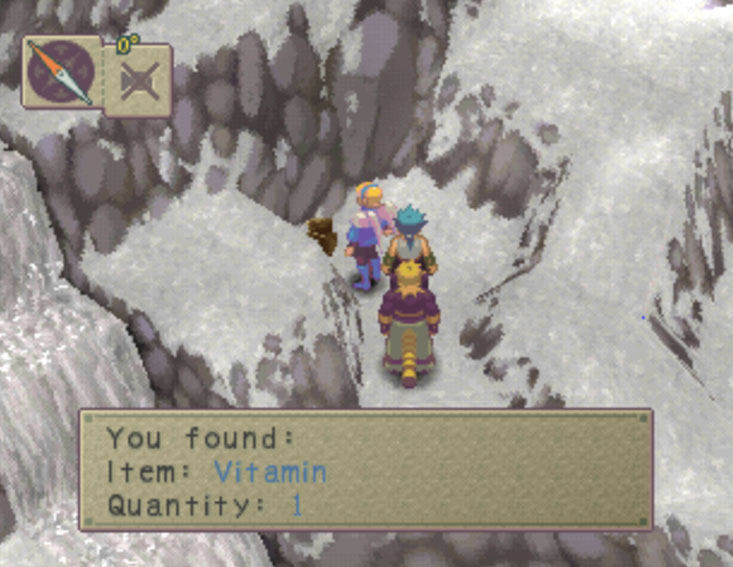
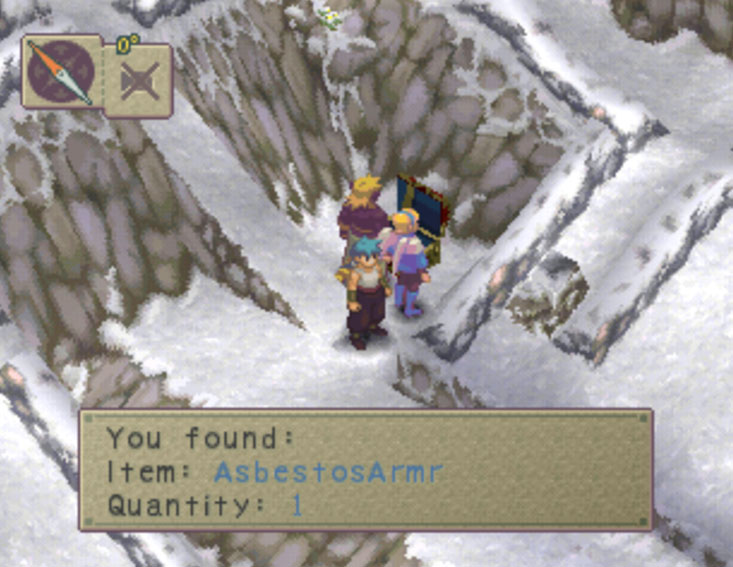
Exit the crash site when you regain control. Enter the Ice Peak and get through it. Most noticeable item to acquire in here is the AsbestosArmor. Nice def upgrade for one of your party members.
To get through the last area of the Ice Peak, you must move the snow balls placed throughout this environment. As you can soon notice, there is a crack that splits the area. By moving the snow ball into a crack, it will create a path that will allow you to cross over it.
Next stop. Chek!
Chek
Items Shop
| Item | Cost |
|---|---|
| Healing Herb | 20z |
| Panacea | 100z |
| Ammonia | 250z |
Weapons Shop
| Item | Cost |
|---|---|
| BastardSword | 3200z |
| Wand of Air | 3600z |
| Mace | 3300z |
| AsbestosArmr | 2700z |
| Mage's Robes | 2300z |
Manillo Shop
| Item | Cost |
|---|---|
| N/A | N/A |
You may find a couple of nice upgrades in the Items/Weapons store.
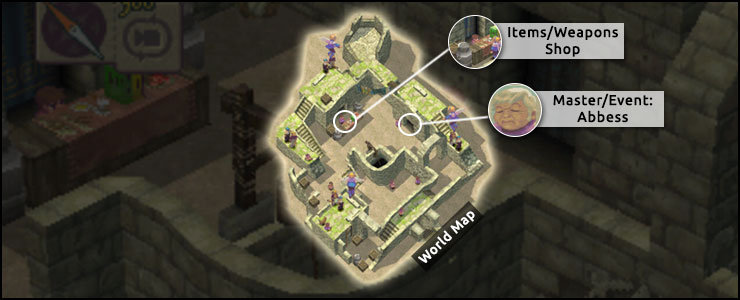
When done with browsing through those wares, head over to find Abbess. It is time for some answers regarding your concerns about dragons/gods/etc. She will provide some to all, but more importantly, to Ryu.
Through Abbess' attempts of talking with Ryu in privacy, she discovers that Ershin is in fact more special than everyone thought.
When Ryu wakes up for the second time, find Cray and Nina chatting right outside. When you regain control of them, head over to where Abbess and Ershin are sittin on the wall. Once close to then, you will learn what Abbess really discovered about Ershin and her plan to release what lies inside.
Time to dive into Ershin's Mind.
Ershin's Mind
| HP | 900 | XP | 250 |
|---|---|---|---|
| TYPE | Demon |
|---|---|
| ZNY | 105 |
| ITEM 1 | Magic Shard |
| ITEM 2 | Nothing |
| HP | 800 | XP | 300 |
|---|---|---|---|
| TYPE | Demon |
|---|---|
| ZNY | 30 |
| ITEM 1 | Headband |
| ITEM 2 | Magic Shard |
| HP | 1200 | XP | 2500 |
|---|---|---|---|
| TYPE | Boss |
|---|---|
| ZNY | 0 |
| ITEM 1 | Electrode |
| ITEM 2 | Earth Ward |
| HP | 1200 | XP | 1700 |
|---|---|---|---|
| TYPE | Boss |
|---|---|
| ZNY | 0 |
| ITEM 1 | Water Bomb |
| ITEM 2 | Water Ward |
| HP | 1200 | XP | 2500 |
|---|---|---|---|
| TYPE | Boss |
|---|---|
| ZNY | 0 |
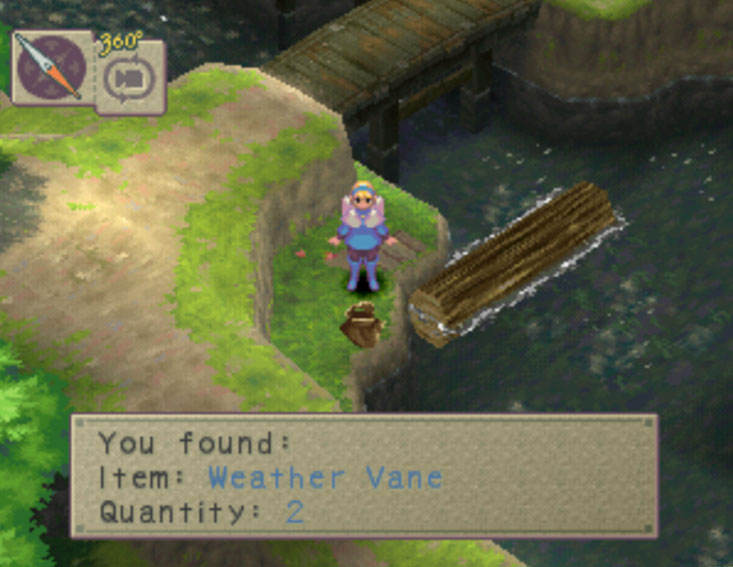
| ITEM 1 | Weather Vane |
| ITEM 2 | Wind Ward |
| HP | 1200 | XP | 2500 |
|---|---|---|---|
| TYPE | Boss |
|---|---|
| ZNY | 0 |
| ITEM 1 | Molotov |
| ITEM 2 | Fire Ward |
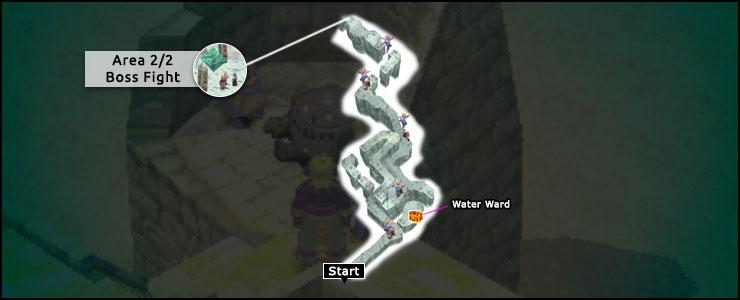
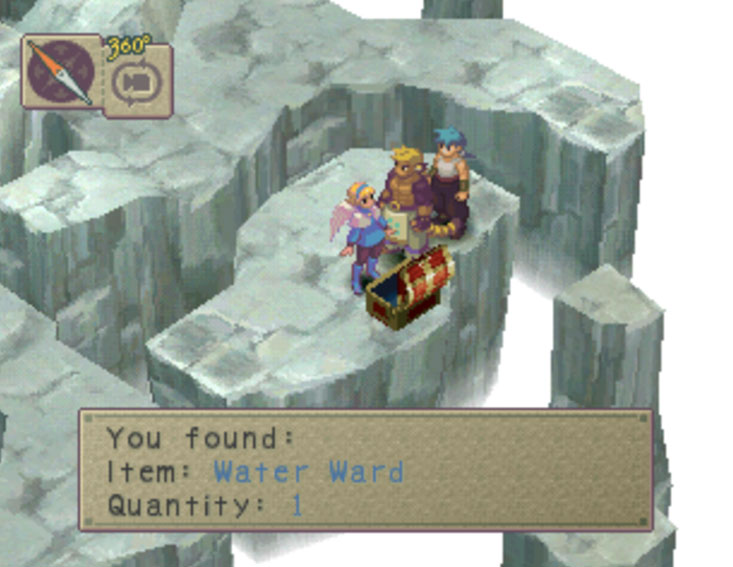
The path is very straight forward plus there is only one treasure to collect which you see the moment you have entered. Follow the path as there isn't anywhere to get lost to. Grab the Water Ward that is hold within the chest and then make your to the other end of the screen onto the next area.
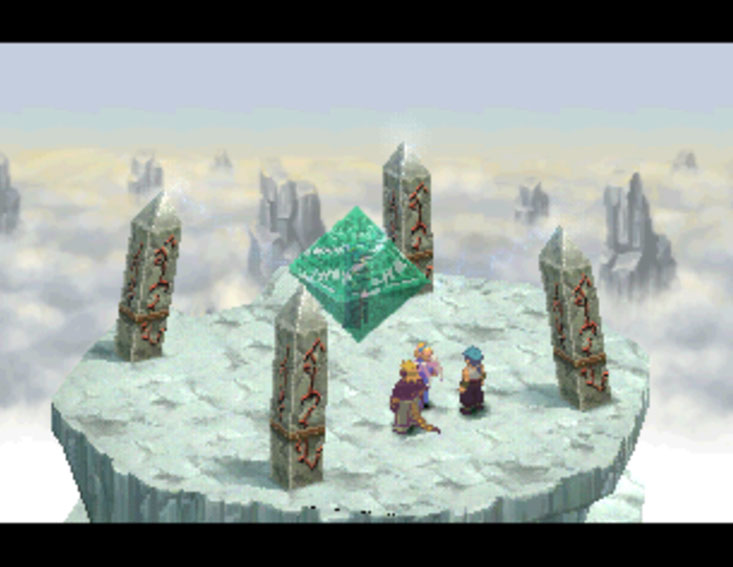
On the next screen, you'll appear to be high above the ground. Continue forward, across the gaps, and you'll see a spinning platform before you. Examine the white jewel nearby to stop the platform's spinning. Assuming you timed it right, you'll be able to jump across onto the platform. Manipulate it so that you can ascend up to the top, where you'll find a strange green crystal. Examine it and you will meet the "real" Ershin! In order to free her you will have to destroy the four pillars that are sealing her. Examine any of them and you'll have to fight!
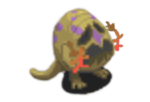
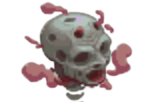
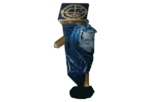
Agiel, Azeus, Umadap, Yeleb
Agiel/Water/Weak vs Fire
Azeus/Wind/Weak vs Earth
Umadap/Fire/Weak vs Water
Yeleb/Earth/Weak vs Wind
Since the pillars regain 600 HP each turn, it's best to get rid of them one at a time. Individually they aren't all that tough, but unfortunately you will fight all four at the same time.
Umadap: Water attacks such as Frost Strike and Icicle work well against this pillar.
Azeus: Earth attacks such as Stone Pillar and Plateau work well against this pillar.
Agiel: Fire attacks, like Flame Strike and Burn, deal a lot of damage to this pillar.
Yeleb: Wind attacks like Sever and Eddy can really hurt this pillar.
By using the correct types of attacks, you should be able to win this battle fairly easily.
Make your way out of Ershin's Mind the same way you came through.
You will witness a quick update on Fou-Lu's condition and then regain control of Ryu and company. Make your way back to where you first met Abbess for another scene with far more details about Ryu's situation.
When all of that is done, you will jump back to Fou-Lu and continue on his Journey.
Use the Diary to save if you wish, then exit out into the village. As you go to exit the village the landlord will spot you and start asking a bunch of questions, but Mami (the girl who was taking care of Fou-Lu at this point) "rescues" him and takes him back to the house. After the short sequence you'll be switched back to Ryu and company.
Part VII: Prophecy
After a few more sequences you'll be in control of Fou-Lu, again.
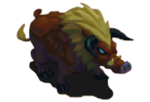
Exit the house and proceed past the point where the landlord stopped you before to get to the other side of the village. After a short conversation with Mami, a loud roar coming from the other direction splits the air. Run across the bridge to the south, then into the forest to the east, then follow the trail. As you reach the cleraing, a giant boar-type creature, similar to the one you fought in the Kasq Woods, suddenly appears from out of nowhere!
Papan
Like all of Fou-Lu's boss battles, this is a piece of cake. Just transform yourself into the Astral and pound on him with physical attacks. He'll go down within a matter of a few turns.
Return to the village and Mami will come running up again. After the conversation you'll switch back to Ryu and party. Return to the Abbess' house and speak with Ershin, who is still asleep. Since she doesn't seem to be waking up, the Abbess suggests going into her dream and waking her from there. Once again, you'll be sent into Ershin's mind.
Ershin's Mind: Part II
| HP | 900 | XP | 250 |
|---|---|---|---|
| TYPE | Demon |
|---|---|
| ZNY | 105 |
| ITEM 1 | Magic Shard |
| ITEM 2 | Nothing |
| HP | 800 | XP | 300 |
|---|---|---|---|
| TYPE | Demon |
|---|---|
| ZNY | 30 |
| ITEM 1 | Headband |
| ITEM 2 | Magic Shard |
I didn't add a map since it is too easy and impossible to get lost or go anywhere else.
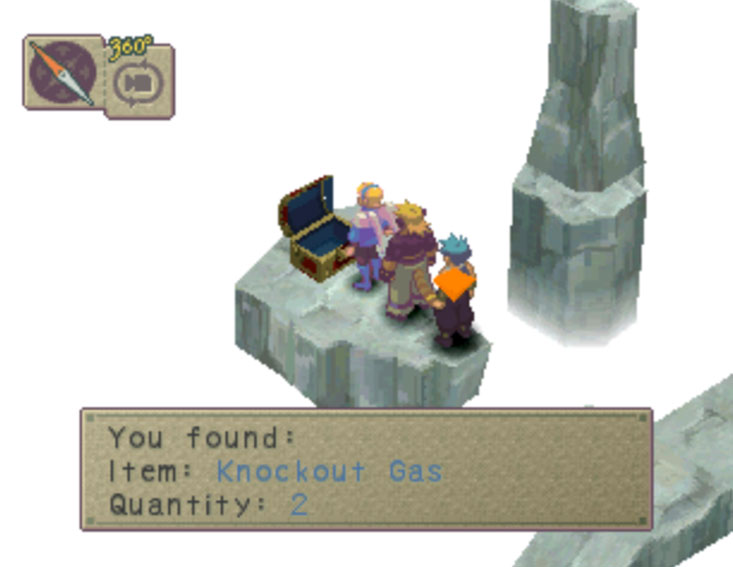
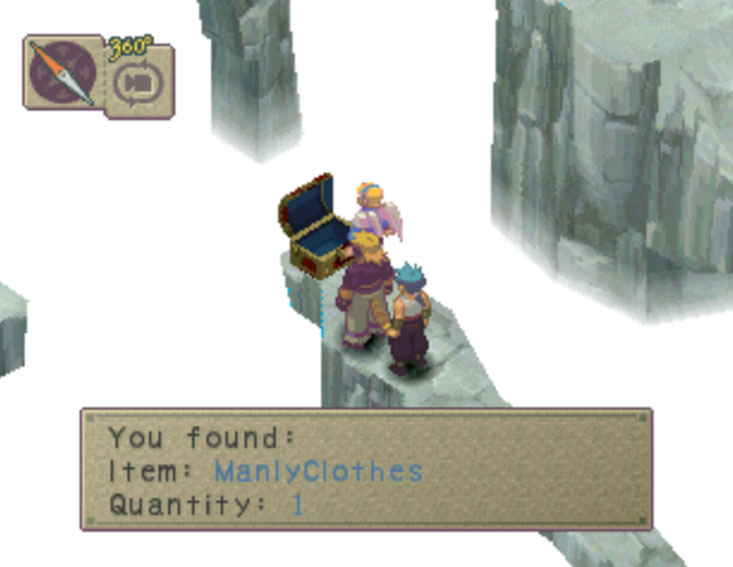
Follow the path around, and be sure to jump over to the platform on the north and open the chest to get 2 units of Knockout Gas. Continue along the path (pretty straight-forward, eh?) and open the next chest to obtain a pair of Manly Clothes. Run along the walkway some more and enter the "Shrine". You'll find Ershin here, and after the conversation she'll tell you that before the two halves (meaning Ryu and Fou-Lu) meet, you'll have to find some way to make Ryu as strong as the Emperor, in hopes that they might be able to stop the Empire from using him (them?) for their own desires.
Exit the way you came and return to the outside, and Ershin will wake up. After the sequence, she tells the party that in order to increase Ryu's power to its full potential, you should visit the Yorae Shrine near Chek. Exit Chek and proceed south. Along the way you'll hit an ! mark, where a surprise visitor shows up! Since Deis isn't too thrilled about bringing it with them, Nina suggests that Ershin (the armor) stay behind in the village until the party returns.
Exit the area to come back out onto the World Map. Proceed to the west to Sinchon, the Yorae Shrine!
Sinchon
| HP | 1000 | XP | 330 |
|---|---|---|---|
| TYPE | Machine |
|---|---|
| ZNY | 0 |
| ITEM 1 | Multigun |
| ITEM 2 | Aurum |
| HP | 1250 | XP | 300 |
|---|---|---|---|
| TYPE | Demon |
|---|---|
| ZNY | 350 |
| ITEM 1 | Belladona |
| ITEM 2 | Diamond Ring |
| HP | 1200 | XP | 400 |
|---|---|---|---|
| TYPE | Machine |
|---|---|
| ZNY | 0 |
| ITEM 1 | Multigun |
| ITEM 2 | Aurum |
Objectives
Available Skill(s)
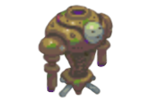
This is another good EXP opportunity, as by using a combination magic attack on the Bots and ProtoBots (for example, Jolt or Eruption) their bodies will burst open and they will give double the normal amount of EXP. Also, after breaking open, the ProtoBots will use the Sacrifice skill, which you can learn.
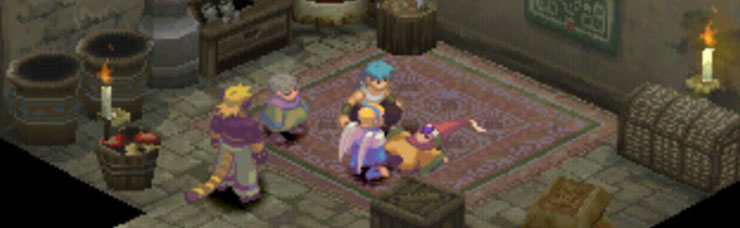
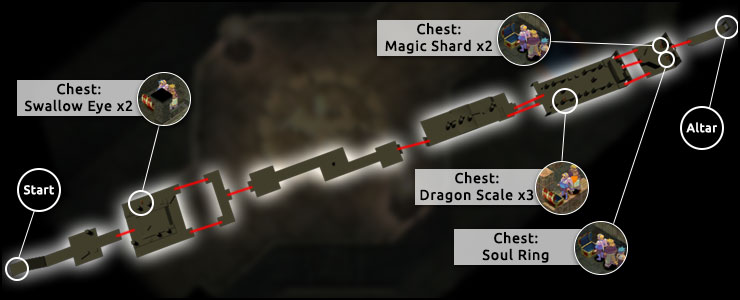
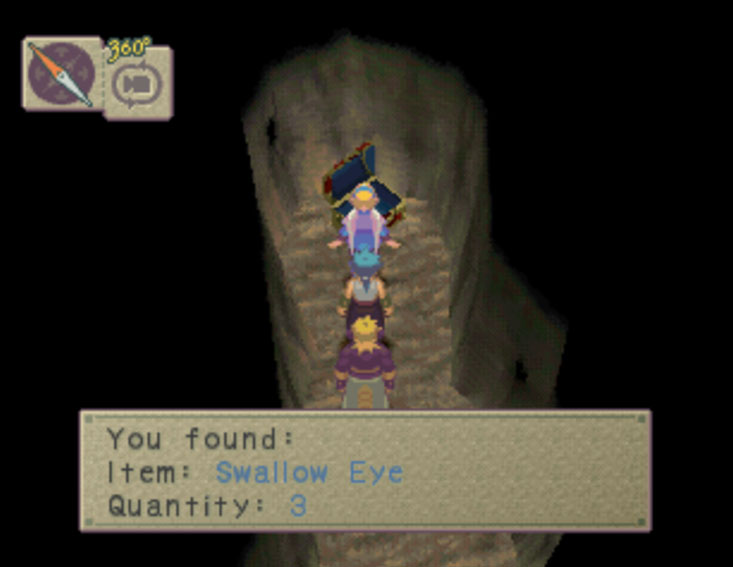
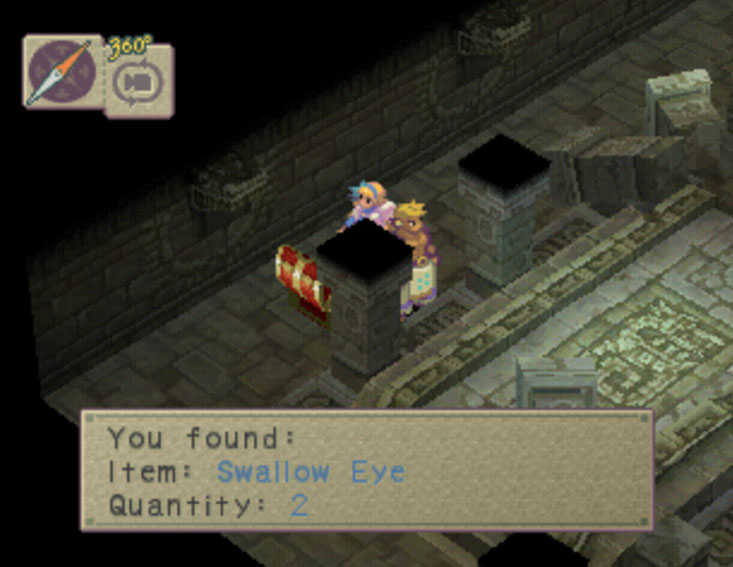
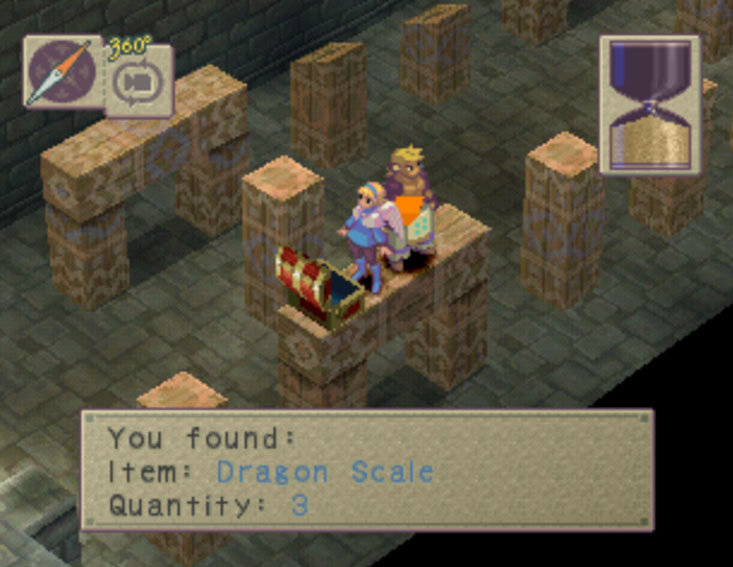
After entering the shrine just head to the north, and in the next large room you'll notice a chest on the west, but you can't get to it just yet. Keep moving to the north, and in the next room you'll be in a corridor leading to the west. Go west, past the door, and into the door to the south. This passage will take you around to the chest you saw earlier, which contains 2 Swallow Eyes. Go back around and into the door onto the north (the one you passed by earlier), and continue through the shrine. Head down the stairs and in the next room go north along the east edge of the wall. Climb up the stairs and into the next room, then jump across the orange pillars over to the platform with the chest, which contains 3 Dragon Scales.
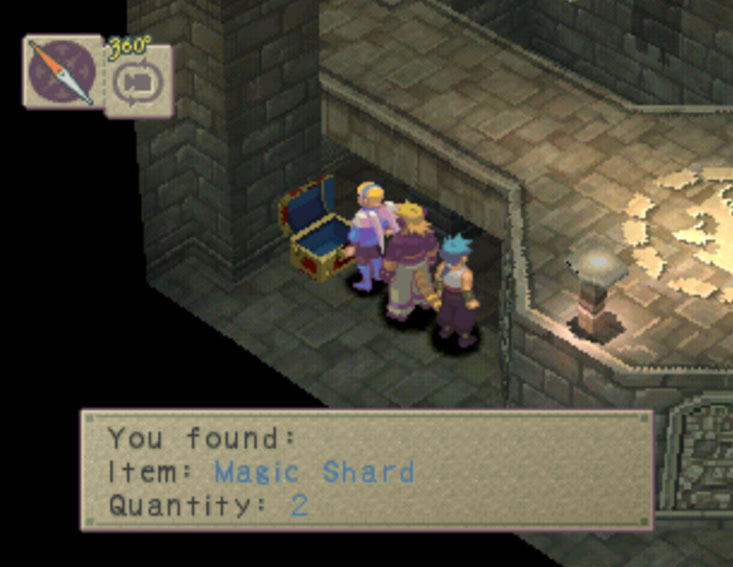
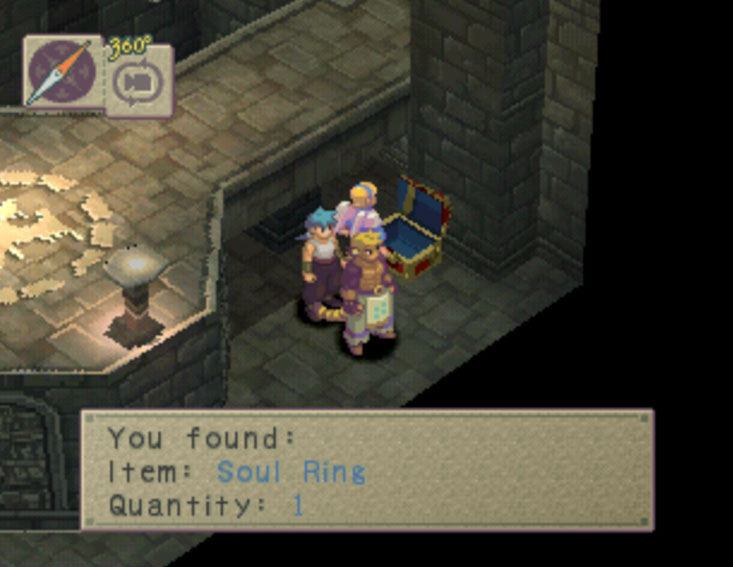
Go back across and back into the next room, then down the stairs and up around the other side of the room. Go through the door and you'll find yourself on the lower part of the room you were just in. Run to the north end of the room and examine the plaque on the wall, and the two nearby pillars will rise up. You'll have to hurry now, as the pillars will only stay up for a certain amount of time (denoted by the hourglass that appears after you examine the plaque). Quickly run back to the previous room, up the other side, then jump across the pillars to the north end of the room. By intentionally standing on the western pillar and waiting until your time runs out, you can get to the lower part of the next room, and pick up two treasure chests. You'll find 2 Magic Shards and a Soul Ring!
Run back and examine the plaque again, then jump across the pillars once more, only this time jump over onto the upper platform and go through the door. You'll end up on the upper area of the room with the chests in it. Continue north through the next few rooms, and exit the shrine. After a sequence, you'll switch back to Fou-Lu, who is still in the village of Sonne.
Exit to the fields and you'll feel another tremor. Find Mami and you'll learn the nearby mountain has started smoking... and a 'legend' of the village says that whenever that happens, the God of the mountain is angry about something. Fou-Lu decides to go off to visit this 'God' and leaves the village. Talk to Mami before leaving and she will give you a Rice Ball. Back out on the World Map, go north to reach Mt. Yogy.
Mt. Yogy
| HP | 1250 | XP | 2800 |
|---|---|---|---|
| TYPE | Beast |
|---|---|
| ZNY | 230 |
| ITEM 1 | Loins |
| ITEM 2 | Protein |
| HP | 2200 | XP | 3200 |
|---|---|---|---|
| TYPE | Beast |
|---|---|
| ZNY | 550 |
| ITEM 1 | Dark Draught |
| ITEM 2 | Belladonna |

| HP | 960 | XP | 2000 |
|---|---|---|---|
| TYPE | Beast |
|---|---|
| ZNY | 800 |
| ITEM 1 | Electrode |
| ITEM 2 | MultiVitamin |
| HP | 3200 | XP | 2200 |
|---|---|---|---|
| TYPE | Beast |
|---|---|
| ZNY | 600 |
| ITEM 1 | Magma Armor |
| ITEM 2 | Firecracker |

| HP | 1000 | XP | 0 |
|---|---|---|---|
| TYPE | Beast |
|---|---|
| ZNY | 0 |
| ITEM 1 | Wisdom Fruit |
| ITEM 2 | SuperVitamin |
| HP | 1200 | XP | 0 |
|---|---|---|---|
| TYPE | Beast |
|---|---|
| ZNY | 0 |
| ITEM 1 | Life Shard |
| ITEM 2 | Magic Shard |
| HP | 15000 | XP | 25000 |
|---|---|---|---|
| TYPE | Boss |
|---|---|
| ZNY | 2100 |
| ITEM 1 | Wisdom Seed |
| ITEM 2 | Nothing |
Upon entering the mountain, Fou-Lu will take the boulder out with one quick shot, freeing up the mountain path. Proceed up the mountain, and once you reach the first intersection take the north-west path. Jump (or teleport actually :p) across the gap and pick up the bag to obtain a Wisdom Fruit. Run back to the intersection and take the upper-right path. Continue upwards, and at the next fork take the lower path to reach the crater. Head into the mountain interior and follow the path. Jump across the gap at the far north to get over to the platform with the chest, which contains 3 Multi Vitamins.
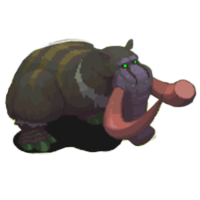
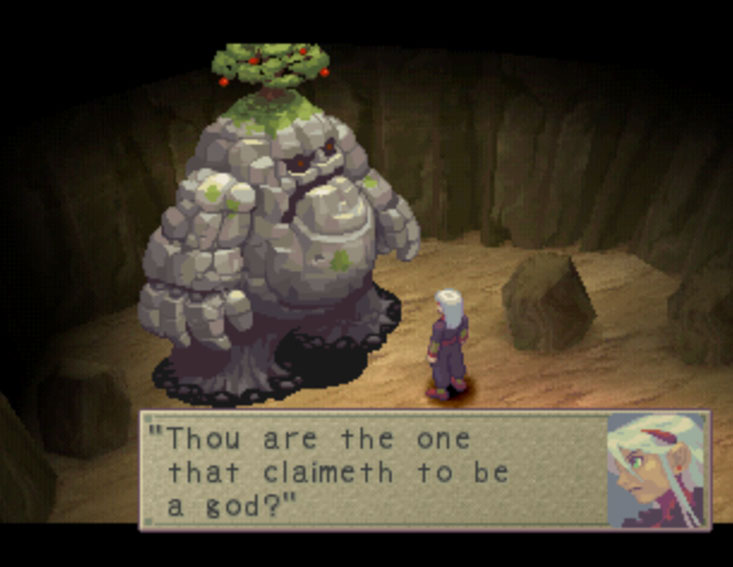
Backtrack a little bit and jump across the gap to the east. Continue along, clearing several more gaps along the way, and exit to the north. Run along the long and winding path some more until you come to the end, where you will meet a very large and very strange looking creature who claims to be the God of the mountain. After the short "conversation" the creature loses its patience and attacks!
Marl
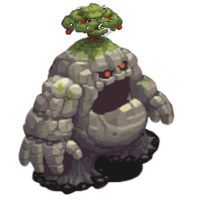
You should know the routine by now. First have Fou-Lu transform into the Astral Dragon. On his first turn, Marl will summon his two little "helpers", Klod and Bellwyd. Take out Bellwyd with one physical attack, as he can heal and cast assistant magic on the others. Leave Klod be for the time being, as when both are destroyed, Marl will just summon two more. Once Bellwyd is gone, pound on Marl with physical attacks or Frost Strike. His defense is rather high, so it will take a little while to bring him down, but he won't pose too much of a threat to you. Once Marl is defeated, bring down Klod with a quick physical attack to win the battle.
After the battle you'll have to make your way all the way back out of the mountain. Backtrack the way you came and exit the mountain, but on your way back down you'll meet up with Mami and the landlord, who have come to investigate. After another sequence, you will then be switched back to Ryu and company.
The Dragon summoning has apparently been sucessful, as many Dragons have gathered at the shrine. After the sequence here, you will be switched back to Fou-Lu. Return to Mami's house and take a rest, and the next morning go back outside. However, as you go to the fields you'll find that a squadron of guards has come to the village in search of Fou-Lu! Enter Mami's house and she will suddenly run inside and block the door long enough for Fou-Lu to escape through the hole in the wall. After another sequence with the Dragons, they will decree that you must find their true selves in order to gain their power. Ryu will then gain the power of the Wind Dragon and learn the 'Rainstorm' spell.
Now backtrack the way you came and exit the shrine. Once back outside you'll get a sequence. The village was evacuated earlier, with the exception of Ershin and the Abbess who are still behind. As Ershin,save the game at the Diary if you wish, then exit the house. The Abbess has been captured by two guards, but they see Ershin as it exits the house, and attack! The soldiers are very easy... one physical attack will be enough to take them out.
After a couple of battles, Rasso shows up and gives Ershin one last chance to tell the Empire where Ryu and the others are, but Ershin refuses. After this sequence, you'll be switched back to Ryu and company on the World Map. Be sure to rest and save, then enter the village of Chek.
The party will come back to find the town deserted, and the "wounded" Ershin will wander up. The Abbess will then explain the situation. Ershin is in bad shape, and since Deis refuses to get back inside the armor, Ershin's power supply will run out, and it will shut down.
The next morning Cray suggests they go check on the villagers, who should be at the abandoned village, which is in the mountains to the north of Chek. Exit the village and head north to the abandoned village.
Abandoned Village
| HP | 770 | XP | 280 |
|---|---|---|---|
| TYPE | Beast |
|---|---|
| ZNY | 60 |
| ITEM 1 | Roast |
| ITEM 2 | Protein |
| HP | 800 | XP | 260 |
|---|---|---|---|
| TYPE | Insect |
|---|---|
| ZNY | 60 |
| ITEM 1 | Tail |
| ITEM 2 | Nothing |
| HP | 3000 | XP | 0 |
|---|---|---|---|
| TYPE | Boss |
|---|---|
| ZNY | 0 |
| ITEM 1 | Aurum |
| ITEM 2 | Flame Sword |
| HP | 1000 | XP | Rest |
|---|---|---|---|
| TYPE | Demon |
|---|---|
| ZNY | 160 |
| ITEM 1 | PoisonPowder |
| ITEM 2 | Antidote |
Items
Objectives
Available Skill(s)
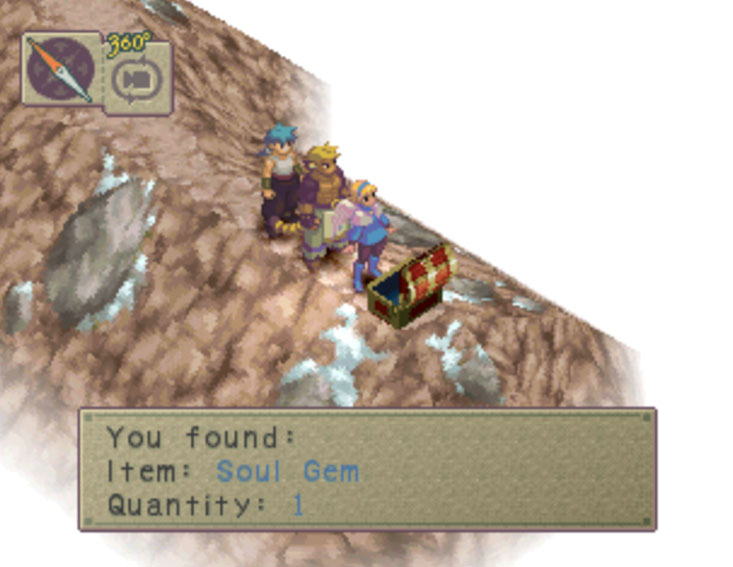
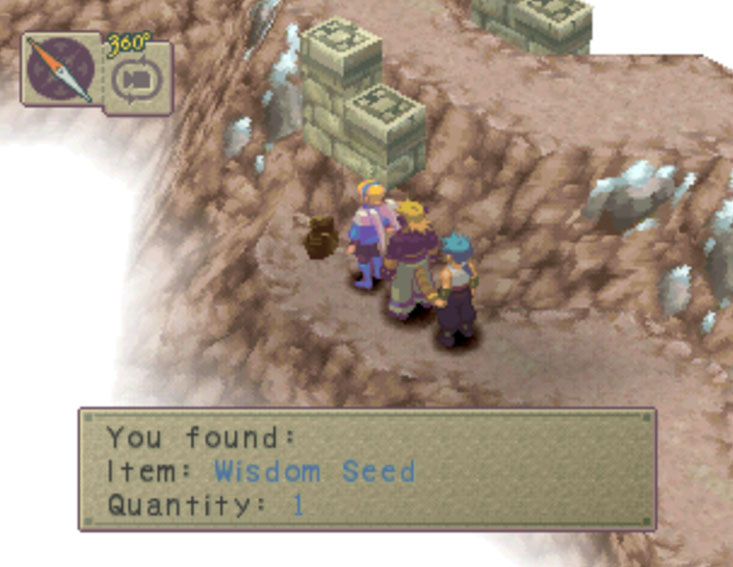
Upon entering the mountains, just run to the north. You'll soon come to a junction where the path leads off to the north, and east. To the north is a dead-end, so run east along the mountain path, and at the next junction, go south to reach a chest containing a Soul Gem. Pick it up then run back north, and proceed north. Once you reach the area with the large rock in the path, take the lower path to reach a bag containing a Wisdom Seed. Go back and take the upper path, and proceed forward and up the stairs. You'll have a camp sequence, and then you'll control Ryu.
Rest in the tent and you'll have a sequence back at Chek, then the next morning you'll be back in camp. Ryu will be awakened by a sudden scream from Nina, and outside you'll find that the Empire has found you! Nina will beg them to take the party to the abandoned village, but once you get there you'll find that Rasso is already there! After a short sequence you'll learn the hard way that Rasso used force to attempt to learn the location of Ryu, and killed off most of the villagers. After the conversation Rasso will summon another of his pitiful "warrior knights" to attack you!
Ight
This monster is invincible, so don't even try to defeat him.Though you can damage him with attacks such as Rainstorm and Blitz, they will deal hardly any damage at all. Once Ryu is reduced to 0 HP, he will suddenly transform into the Kaiser Dragon and use the Kaiser Breath attack, which will destroy Ight's shield. Afterwards, if anyone else is left alive you can attack him normally, or wait for Ryu to use Kaiser Breath again, which will kill him.
After the battle, Ryu will suddenly will go out of control and the Kaiser Dragon will unleash an explosion centered on Rasso and his 'warrior spirit'. Ursula orders the party arrested, but the dragon soon takes out the other soldiers as well, then starts to turn on Ursula. Nina will somehow manage to calm Ryu down, and after the short sequence, Chapter II ends...