Breath Of Fire IV Guide
by DEH Designs
by DEH Designs
This tale begins with both Nina and Cray traveling across the Great Desert towards the town of Synesta. Nina's sister, Elina, last known location.

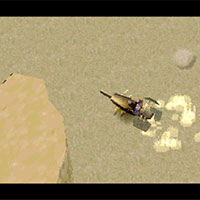
As they were crossing the Great Desert, Nina and Cray encounter a Dragon which seemed to be in a hurry and ultimately rammed their Sandflier.
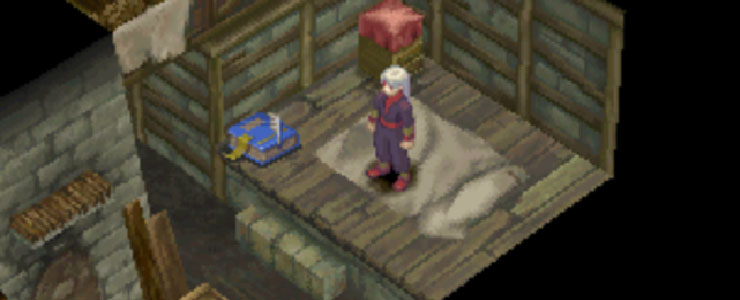
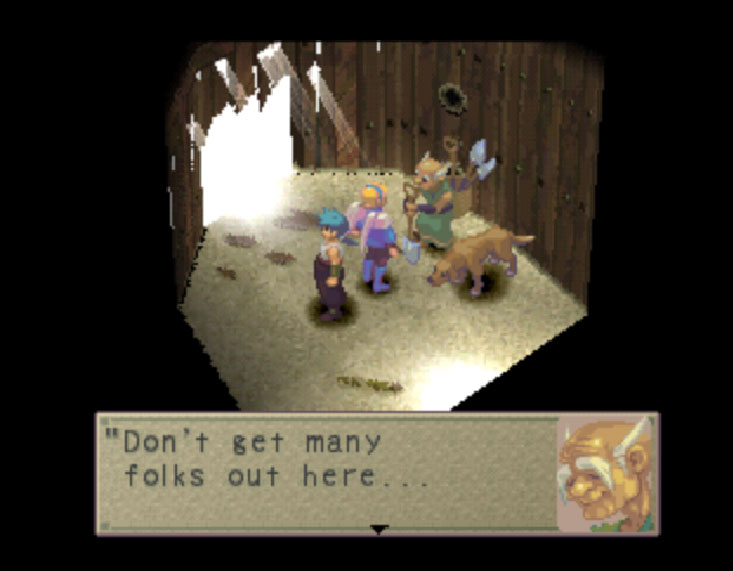
Crash Site
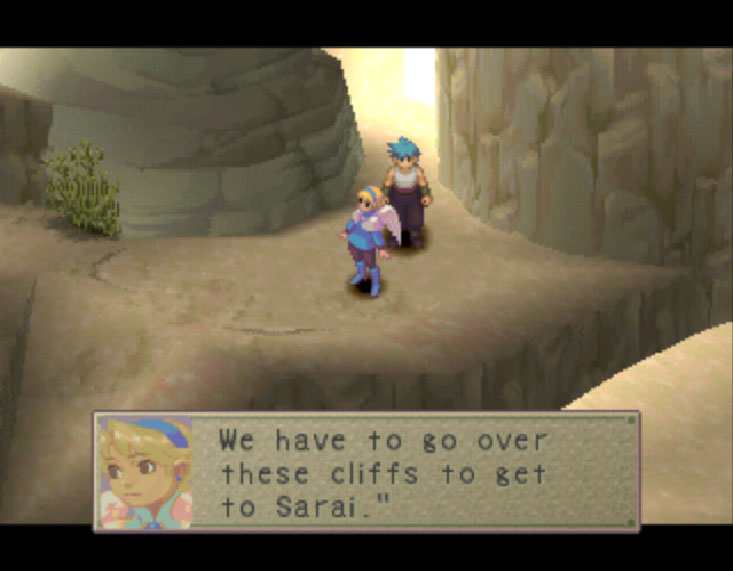
After a few "bangs and clangs", Cray's efforts to fix the sandflier go in vain. Recognizing their predicament, and not before worrying about it, he sends Nina off to the nearest town in search of spare parts to fix the broken down sandflier while he stays put guarding the vessel to prevent any bandits from stealing it. However, before Nina takes off to Sarai (Nearest town), Cray hands her the King's Sword" for protection.
...and the Adventure Begins!
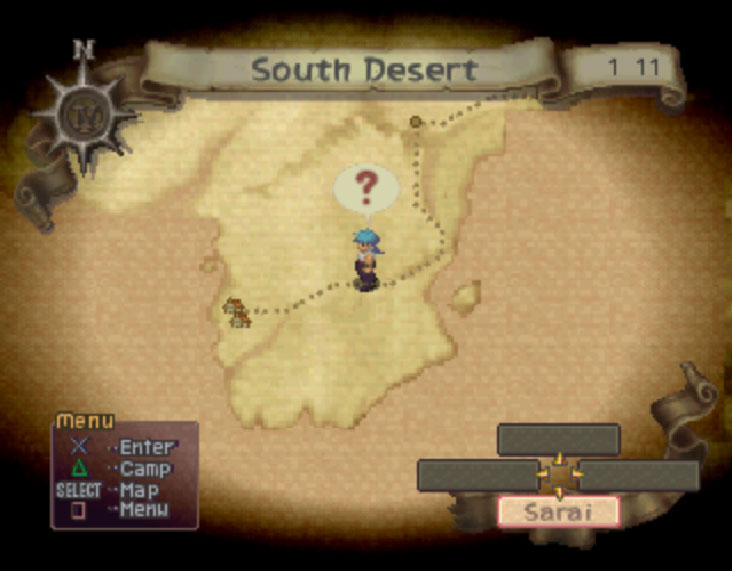
Exit the Crash Site and head south. Once you've taken a few steps, Nina will stumble upon a "!" which she must check out.
North Desert: "!"
As she arrives to a large crater from which a traveling merchant is desperately fleeing from. She slips into the hole when she tried taking a closer look. Inside, she discovers a dragon!. After they both stare at each other, the dragon draws out its wings and disappears in the sky, leaving in its stead a naken young boy. Embarrassed, she finds him some clothes to wear in the belongings the merchant had left behind.
Once they help each other out of the crater, Nina finds out the boy's name is Ryu. However, he does not know where he was or to which place he was headed. Kind and caring as Nina is, she invites him to go to Sarai with her where she thinks he may find some answers and go on his merry way. Handing him the King's Sword for Ryu to wield, both Nina and Ryu begin their journey to Sarai.
At this point, you may actually enter (?) spots that you encounter as you move up and down inbetween locations (In this case [Crater(?)] and [Cliff]. These hold items you may pick up and can also be used to encounter enemies to get experience points and a bit of Zenny at the same time.
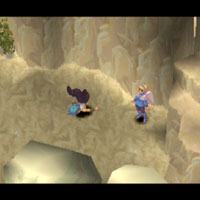
Cliff

| HP | 150 | XP | 8 |
|---|---|---|---|
| TYPE | Beast |
|---|---|
| ZNY | 6 |
| ITEM 1 | Croc Tear |
| ITEM 2 | Healing Herb |
| HP | 200 | XP | 12 |
|---|---|---|---|
| TYPE | Beast |
|---|---|
| ZNY | 11 |
| ITEM 1 | Healing Herb |
| ITEM 2 | Wisom Seed |

| HP | 170 | XP | 7 |
|---|---|---|---|
| TYPE | Beast |
|---|---|
| ZNY | 8 |
| ITEM 1 | Berries |
| ITEM 2 | Healing Herb |
Items
Objectives
Available Skill(s)
Blinding Eye Goos and Mage Goos will double their EXP worth!
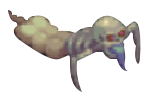
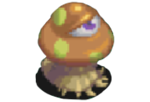
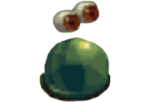
Going through the Cliff is rather a simple task. You will only encounter 3 types of enemies in this area: Eye Goos, Mage Goos, and Caps. They aren't very strong, but make sure you learn Rest (Eye Goo), Burn (Mage Goo) and Distract (Cap).
Once Nina reaches the second ledge that Ryu jumped, a heroic yet entertaining scene will take place.
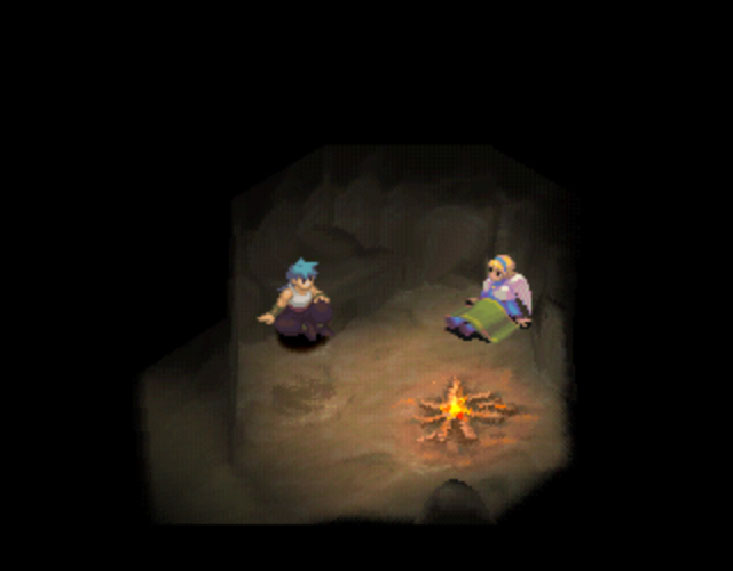
Night falls. Go into the cave North West from where Ryu landed on his face to sleep for the night. Meanwhile.. somewhere far away...
Fou-Lu's Tomb / Zhinga Mts
| HP | 15000 | XP | 16000 |
|---|---|---|---|
| TYPE | Boss |
|---|---|
| ZNY | 0 |
| ITEM 1 | N/A |
| ITEM 2 | Ambrosia |
| HP | 5600 | XP | 2000 |
|---|---|---|---|
| TYPE | Beast |
|---|---|
| ZNY | 350 |
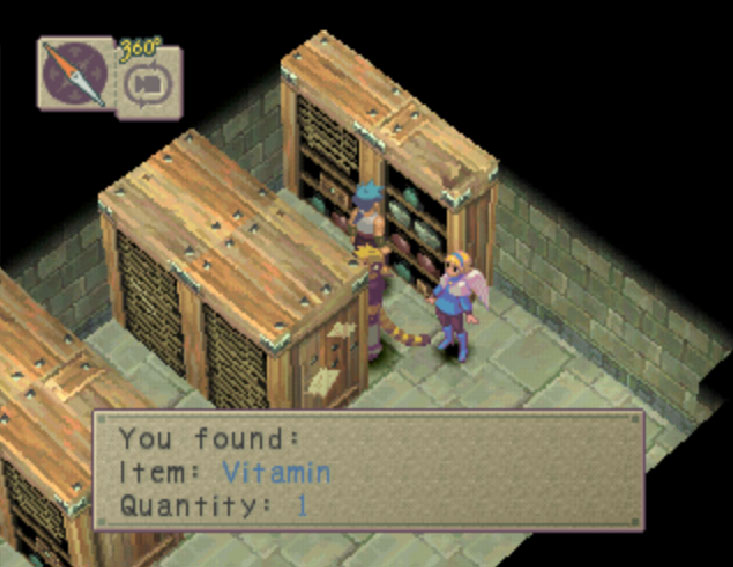
| ITEM 1 | Vitamin |
| ITEM 2 | MultiVitamin |
Items
Objectives
Available Skill(s)
Guardian Won-Qu and former Emperor Fou-Lu rise from their tomb after a long slumber. Confused by the lonely awakening, Fou-Lu sets off to investigate after leaving Won-Qu to guard at the tomb's entrance.
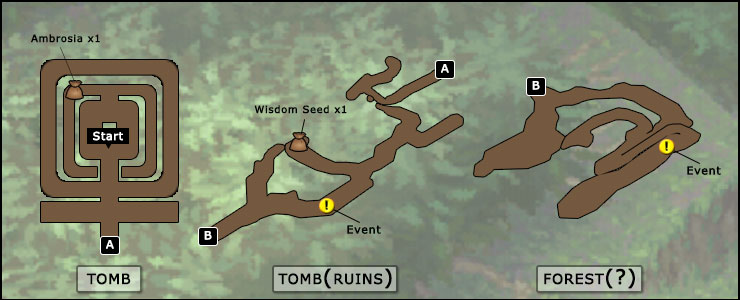
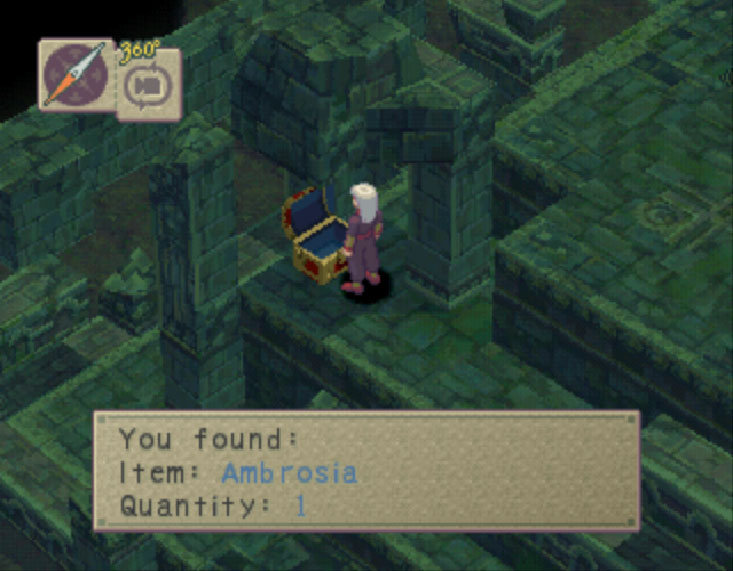
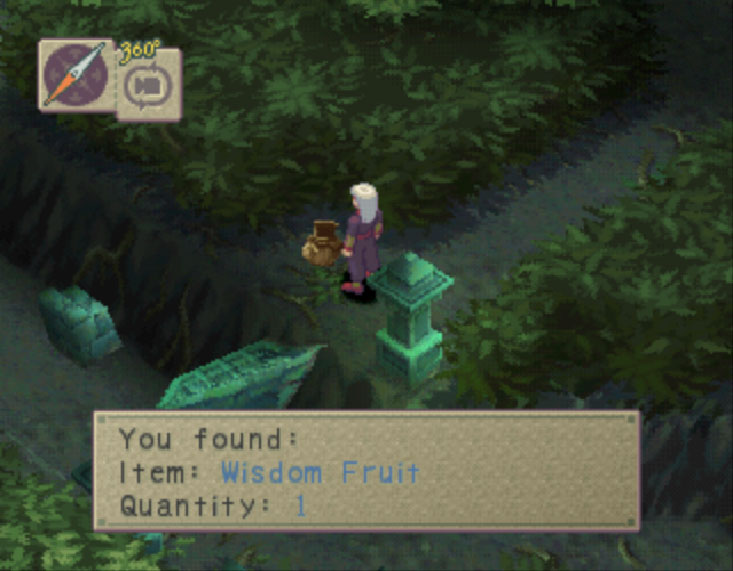
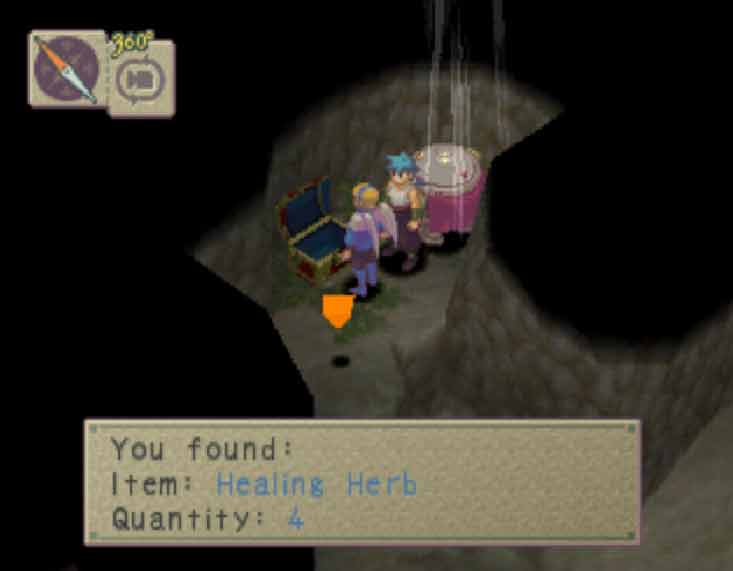
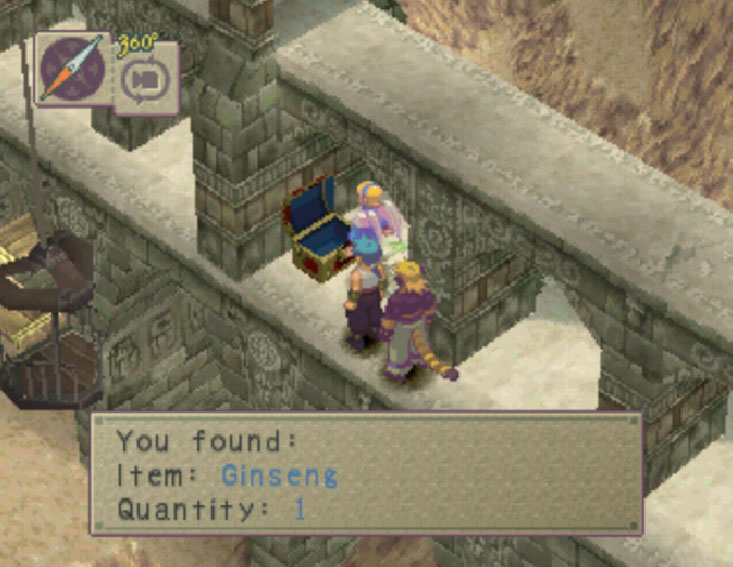
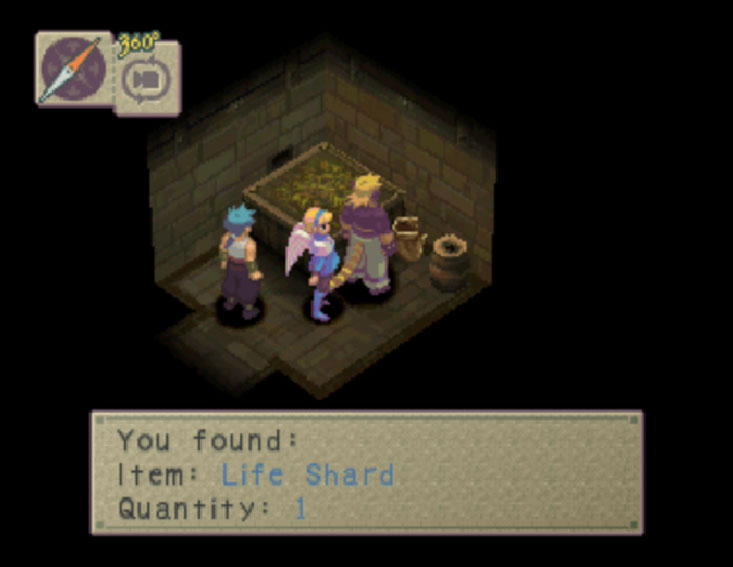
Before leaving the Tomb, make sure you pick up the Ambrosia held in the chest North West from Won-Qu's position after descending the first flight of stairs.
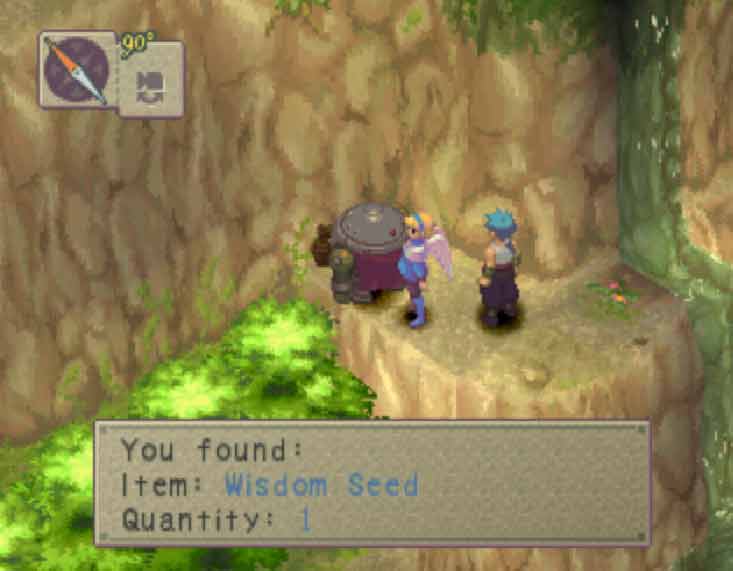
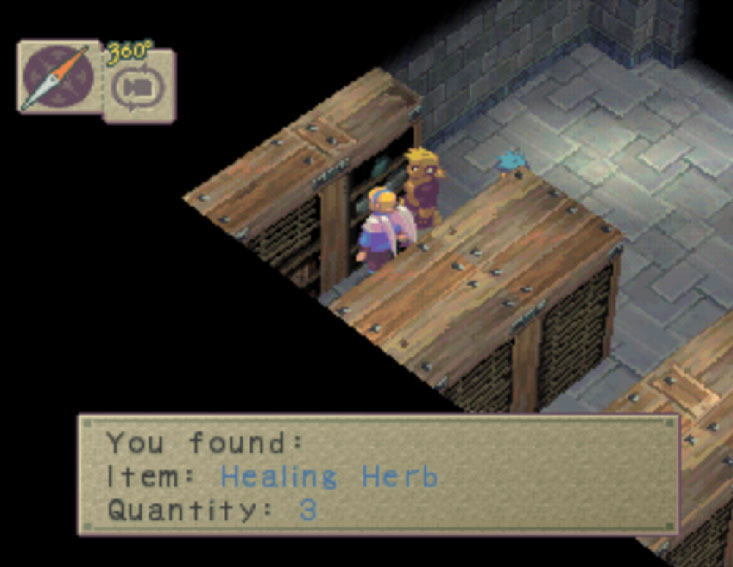
Go ahead and move on forward. Make sure you grab the Wisdom Seed before reaching the meeting with two guards, otherwise you will miss the chance to obtain it.
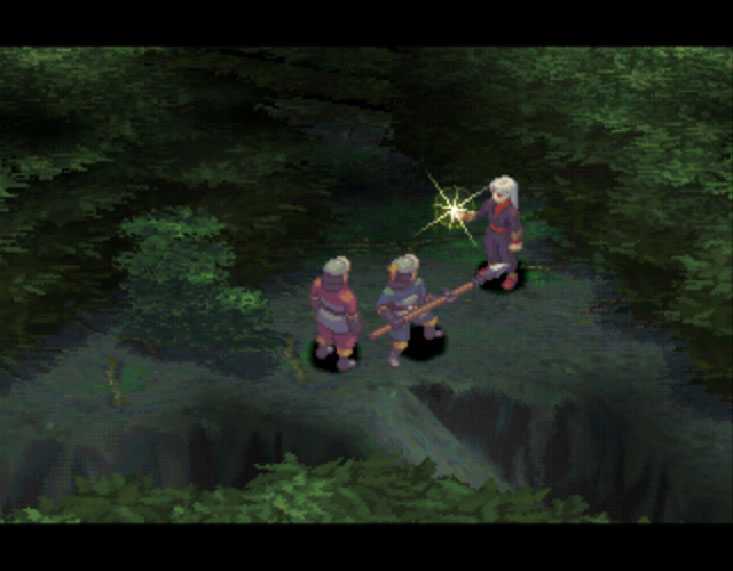
Once you have grabbed the Wisdom Seed and the guards have been vanished, freely continue moving forward until you reach someone lurking in the shadows within the forest.

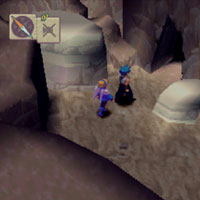
Meet Yohm, General of the current Fou-Lu Army. This guy has quite a nice collection of beasts under his command, and doesn't take long for him to engage one of them against Fou-Lu.
KHAM
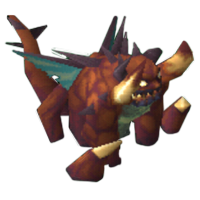
Kham looks a little more intimidation than what it actually is. This fight can end rather quickly by having Fou-Lu use "Meditate" and transform into Astral. Once Fou-Lu's transformation is complete, use Frost Strike until Kham has been defeated.
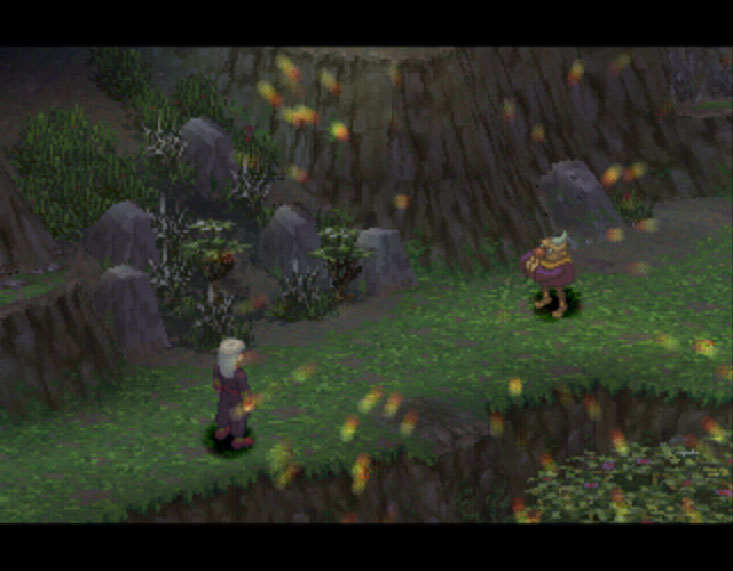
Once Kham has been defeated, Yohm notices Fou-Lu has yet to recover his strength from his long slumber.
Weakened, Fou-Lu tries to escape deeper within the firey woods burning from the army's arrows barrage.
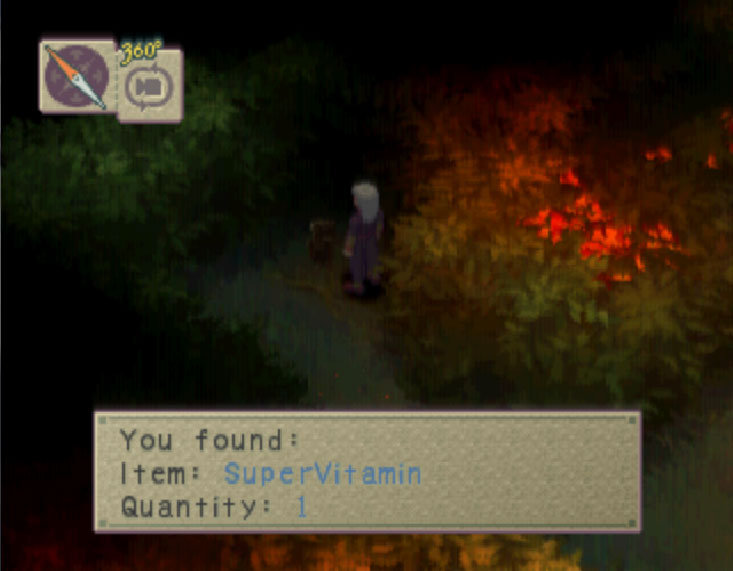
Save your Ambrosias/Wisdom Seeds. There is no point in using them at this point. Trust me, it isn't worth it.
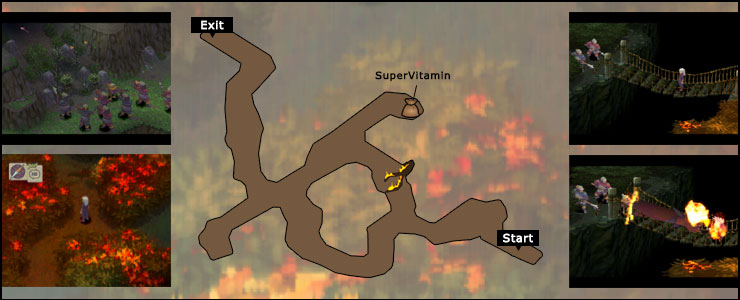
Not much to do here. Just make sure you pick up the SuperVitamin that is found North from the burning tree that falls over on the path. Just as depicted on the map above.
Having grabbed the only item in this map, go ahead and move on to the next area. Attempt the cross the bridge and let the next set of events take place.
Back to Nina & Ryu...
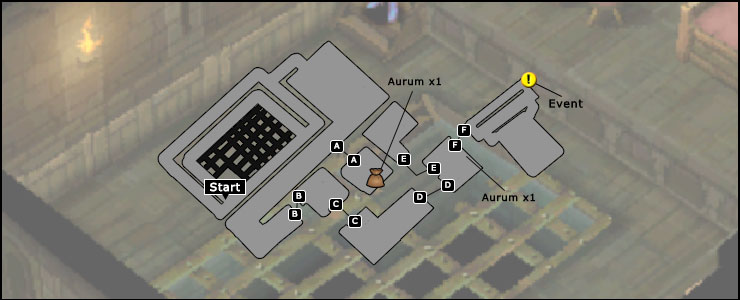
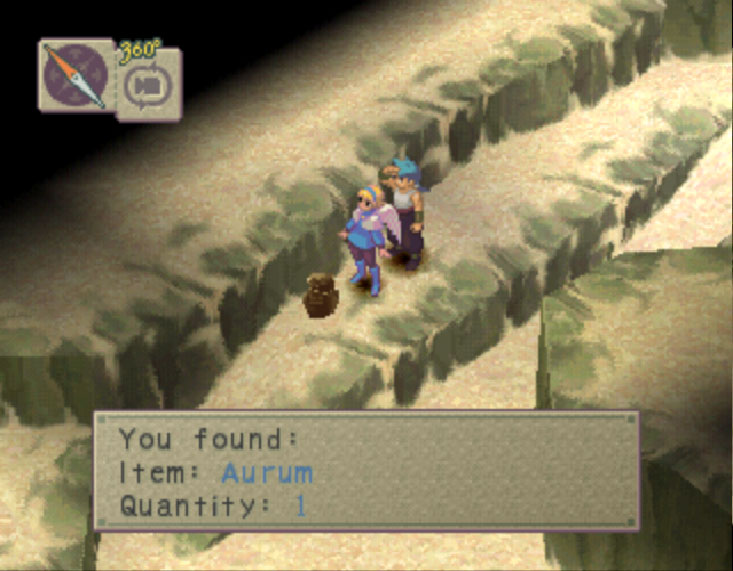
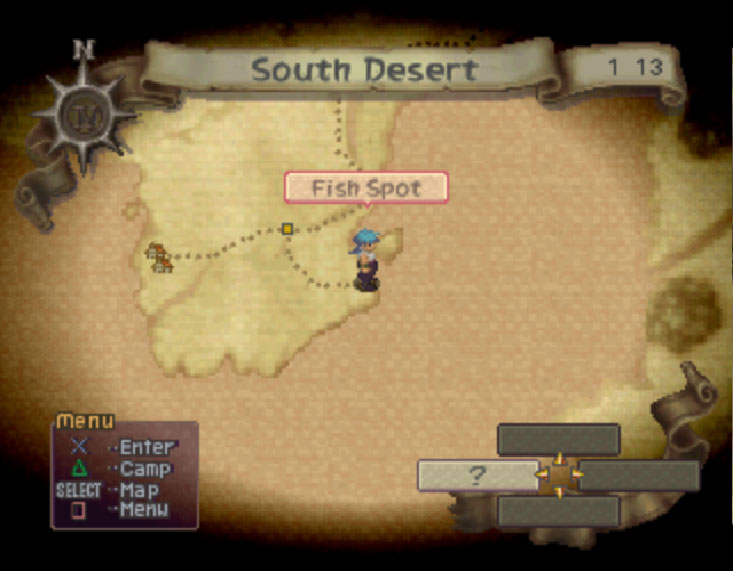
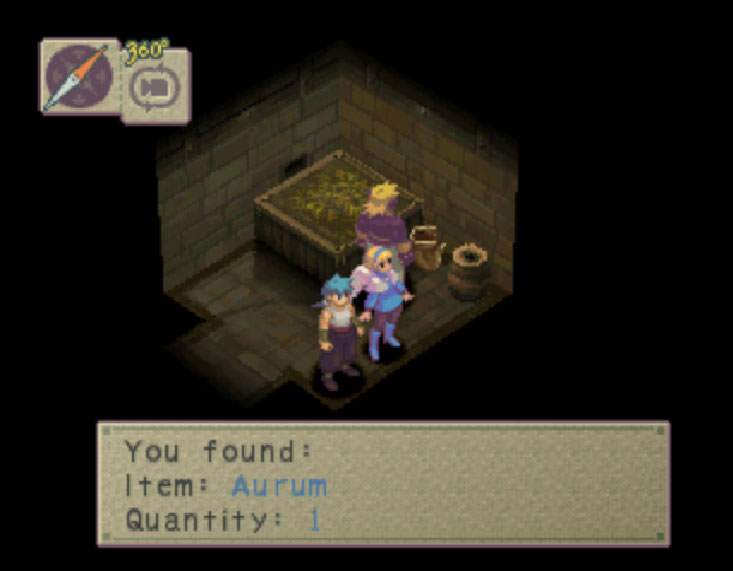
Now being morning, Nina and Ryu must continue on to Sarai. On the way, make sure you stop at a (?) spot almost half-way through between the Cliff and Sarai. On the Northern edge, you will find an Aurum. On the opposite edge, go ahead and exit. This will reveal a path to the first fishing spot available in the game, River Spot 1.
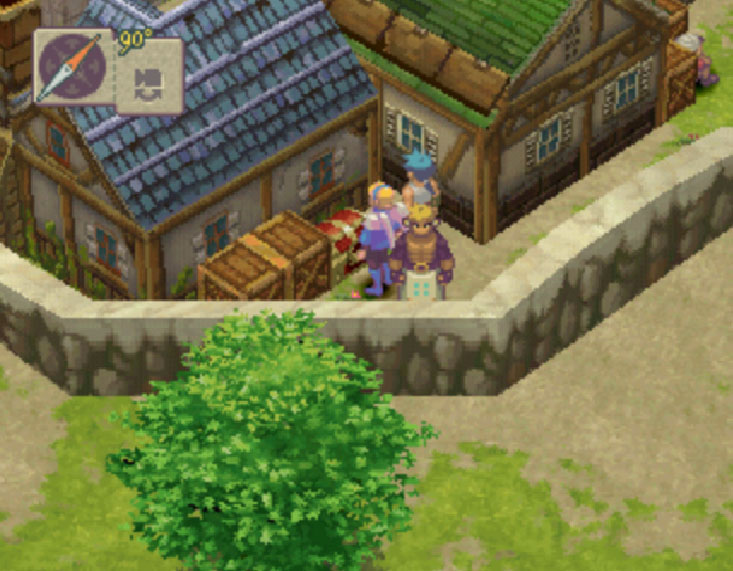
Sarai

Items Shop
| Item | Cost |
|---|---|
| Croc Tear | 4z |
| Healing Herb | 20z |
| Antidote | 12z |
| Eye Drops | 14z |
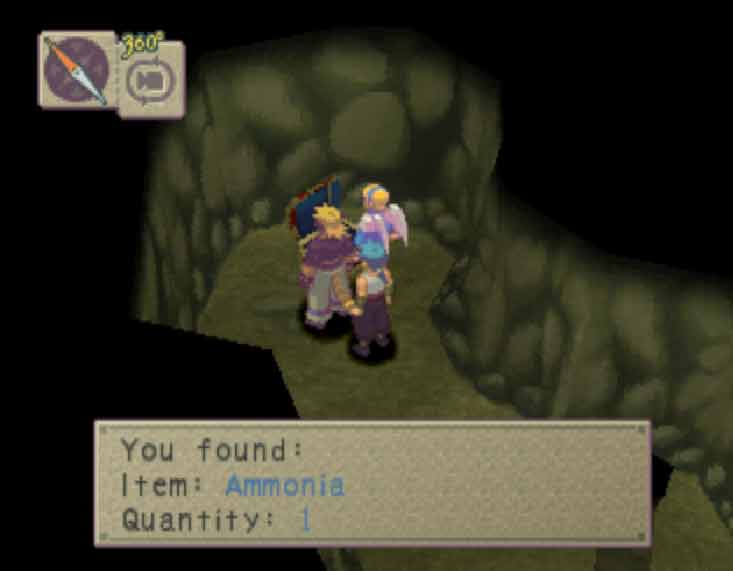
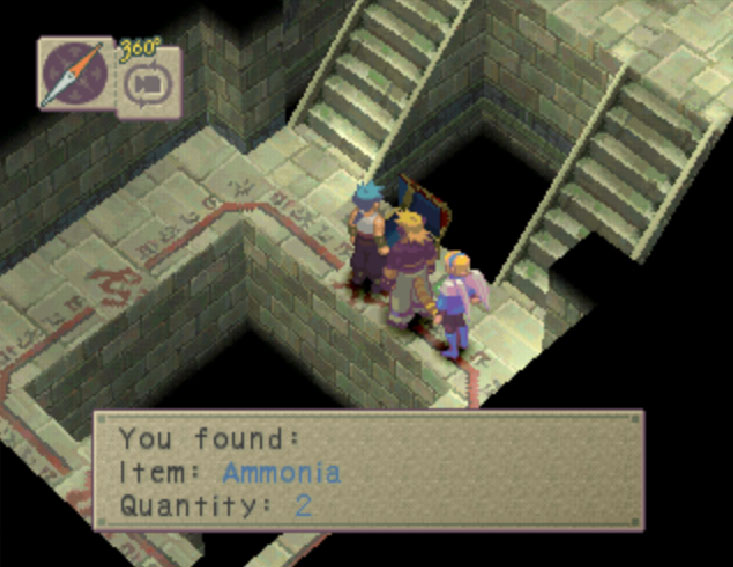
| Ammonia | 250z |
| Wooden Rod | 50z |
| Baby Frog | 20z |
| Straight | 20z |
Weapons Shop
| Item | Cost |
|---|---|
| Sage's Staff | 230z |
| LeatherArmor | 220z |
| Bandana | 30z |
| Brass Helm | 90z |
| Soul Gem | 1000z |
Manillo Shop
| Item | Cost |
|---|---|
| N/A | N/A |
Upon arriving to Sarai, Nina and Ryu split up. You may look around the stores, perhaps buy a couple of recovery items. However, you my also upgrade some equipment. Nina's Sage's Staff and also some Leather Armor are available for purchase from the weapons shop. Be careful though! You should probably save 358 Zenny for something you will need to do in order to move on with this story.
You may want to hold off on buying the Sage's Staff. You'll find a free one shortly after leaving Sarai.
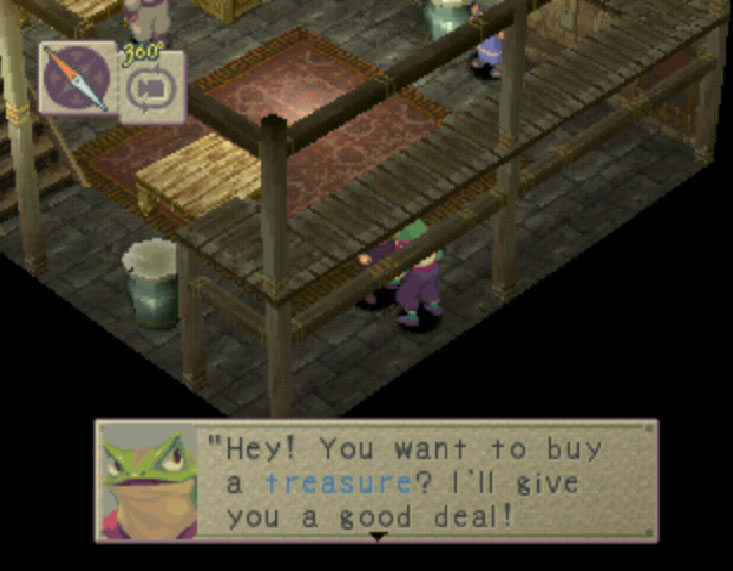
Having restocked and upgraded your gear, head over to the tavern. Inside, make sure you buy the "Treasure" (Lead Ball) from the frog standing by the southern wall for 158 Zenny. You will find use to this in time.
After purchasing the Lead Ball, you will notice a man who's eating non-stop on the opposite side of the tavern. He will ask you to buy him some food in exchange for information. Once you accept, a mini-game will begin
This game is very simple. Buy him food and drink alternatively to fill up his happy gauge. Keep in mind that you must vary what you feed him otherwise his gauge will not fill up.
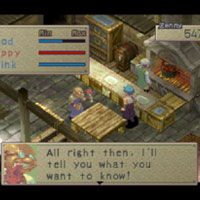
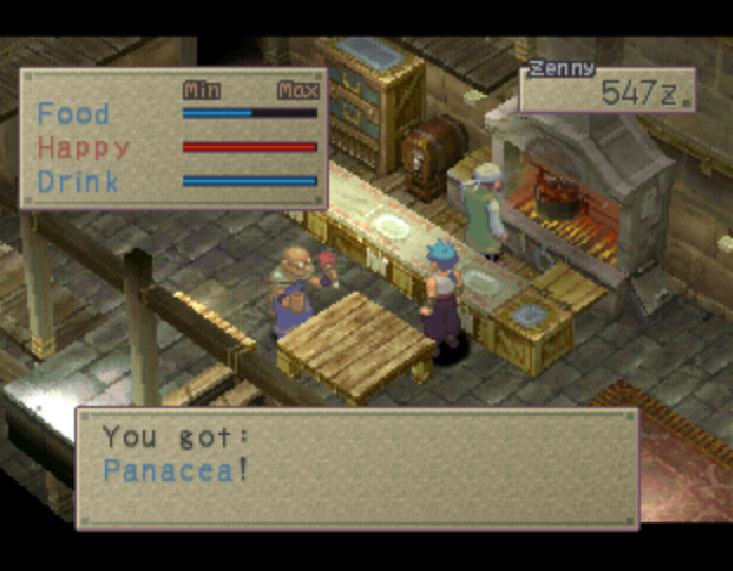
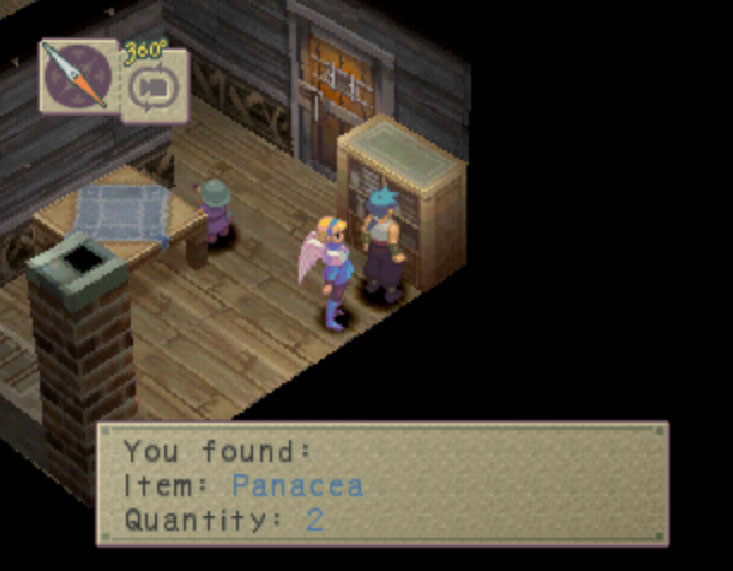
Full belly and quenched thirst, the old man will reveal the existence and location of the "Information Broker". He can give you leads on where and how to obtain the Sandflier-Parts Nina needs to repair her vessel. Also, grateful for your deeds, he rewards you with a Panacea for your troubles.
You will find Nina talking with someone right outside the tavern. Tell Nina you have information regarding Sandflier Parts and prevent her from getting swindled. Now make way to the Information Broker.
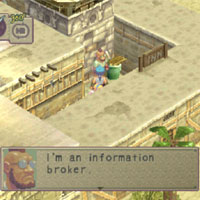
There is a mini-game involved with getting the information out of him but it all boils down to figuring out that you can get what he has to offer for only 123z (He will reward you with Ginsen). Go ahead and pay him that much and move on forward.
You will find the merchant of whom the broker spoke about just South of the Cliff in a (?) spot. He will give you the password to access the Black Market in Sarai for your effort in finding him. Time to head back into Sarai and go into the Black Market via the Tavern.
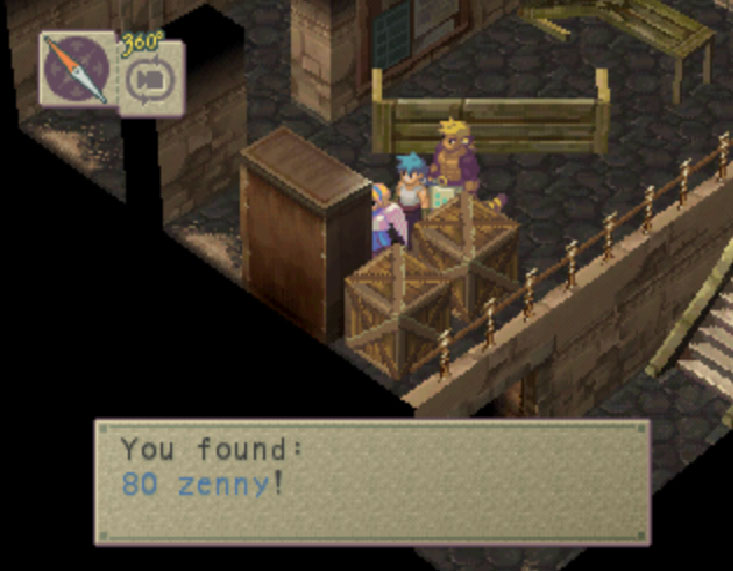
Simply speak to the man behind the counter, after a few words Ryu will give him the password and he'll move out of your way. If you check the shelfs to which he stands next to, you will find 40z.
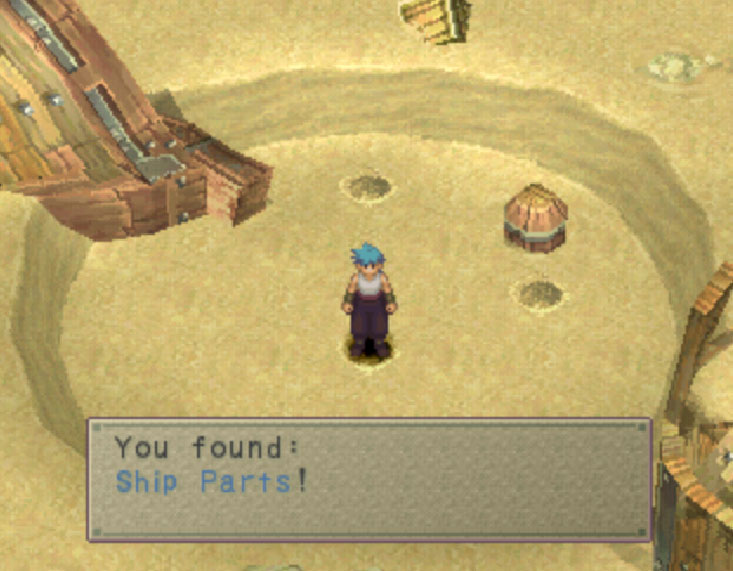
Now, after you have spoken with the man in the back room of the Tavern, he points you to the Sanflier Valley in which place you may find the parts that are needed to fix the broken down Sandflier Cray is guarding.
Sandflier Valley

| HP | 150 | XP | 8 |
|---|---|---|---|
| TYPE | Beast |
|---|---|
| ZNY | 6 |
| ITEM 1 | Croc Tear |
| ITEM 2 | Healing Herb |
| HP | 200 | XP | 12 |
|---|---|---|---|
| TYPE | Beast |
|---|---|
| ZNY | 11 |
| ITEM 1 | Healing Herb |
| ITEM 2 | Wisom Seed |
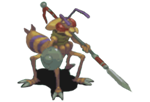
| HP | 280 | XP | 20 |
|---|---|---|---|
| TYPE | Insect |
|---|---|
| ZNY | 10 |
| ITEM 1 | Eye Drops |
| ITEM 2 | Vitamin |
| HP | 170 | XP | 7 |
|---|---|---|---|
| TYPE | Beast |
|---|---|
| ZNY | 8 |
| ITEM 1 | Berries |
| ITEM 2 | Healing Herb |
Objectives
Available Skill(s)
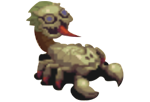
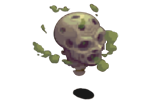
Little to do here. Start off by learning Blind from Scorpions. You may get a decent EXP boost from Goos when you blind them.
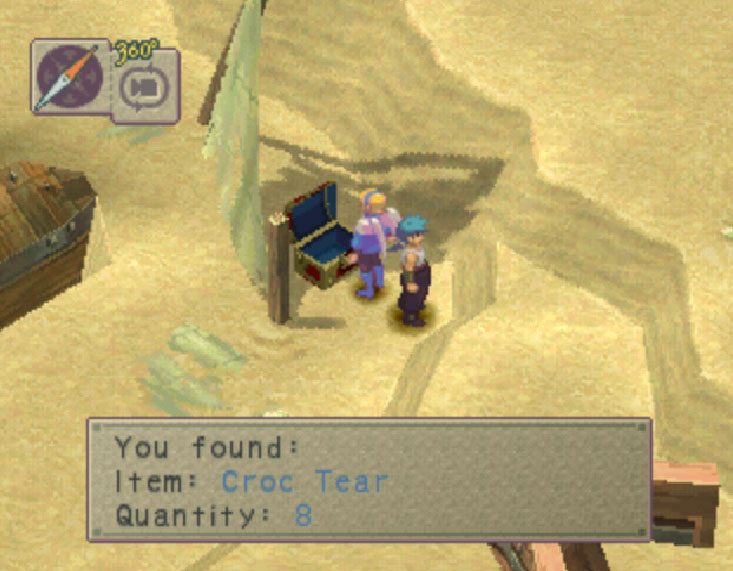
Collect the other items that are available for your pickings and move on to the wheel sticking out from the half-burried Sandflier near the chest with Croc Tears x8 you picked up.
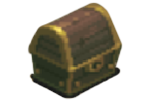
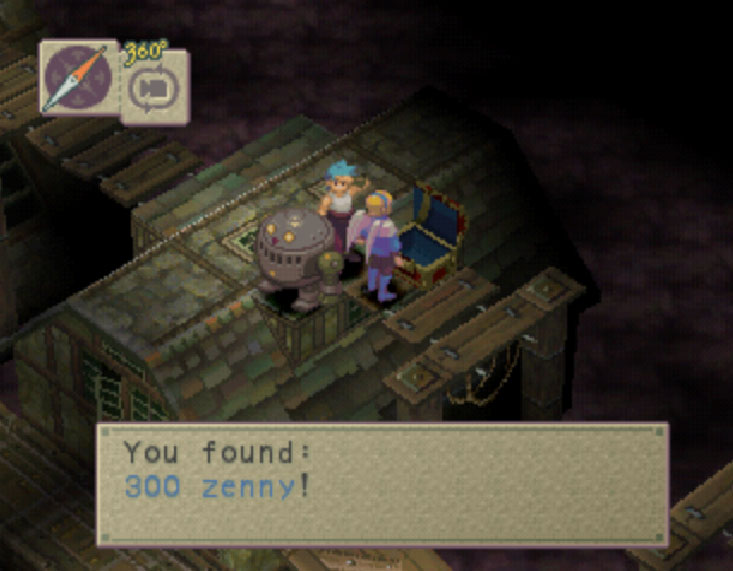
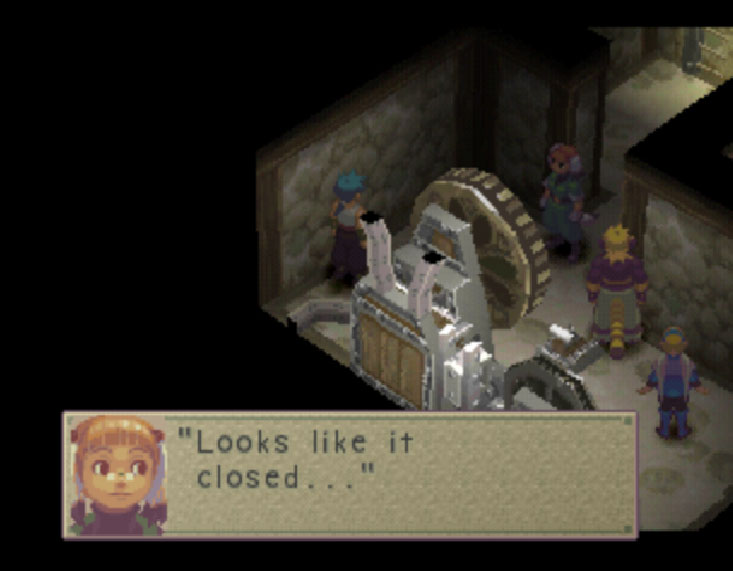
The chest you saw to the left side of the rudder that wheel controls contains 200z. When you are ready to continue on, turn the rudder all the way to the left to open up the path to where you need to go.
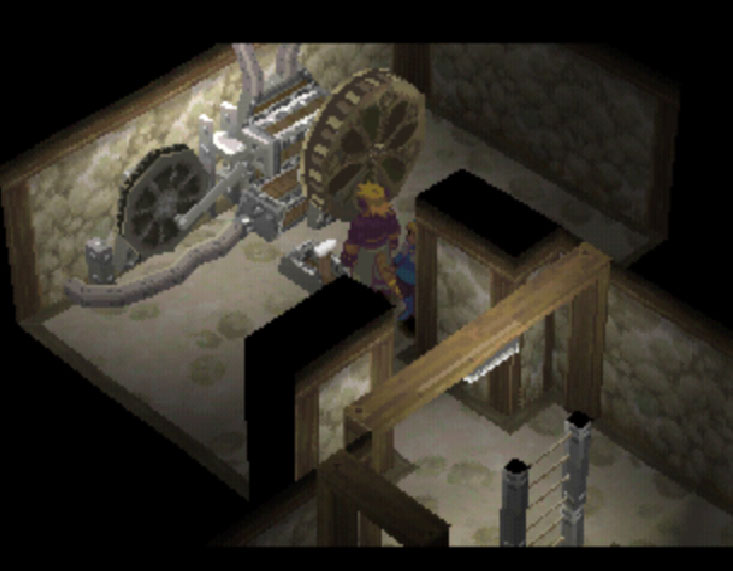
Move on until you reach the grounded Sandflier hulk with an entrance into it. Go inside and find the rusted out lever that controls the makeshift elevator on the outside by lowering it. Before head to it, climb the stairs near the lever and pick up Brass Helm on deck.
Climb back down and exit the hulk. Now board the makeshift elevator and it will move up the moment you are on it. Continue on into the next entrance found passed the Sandflier debries.
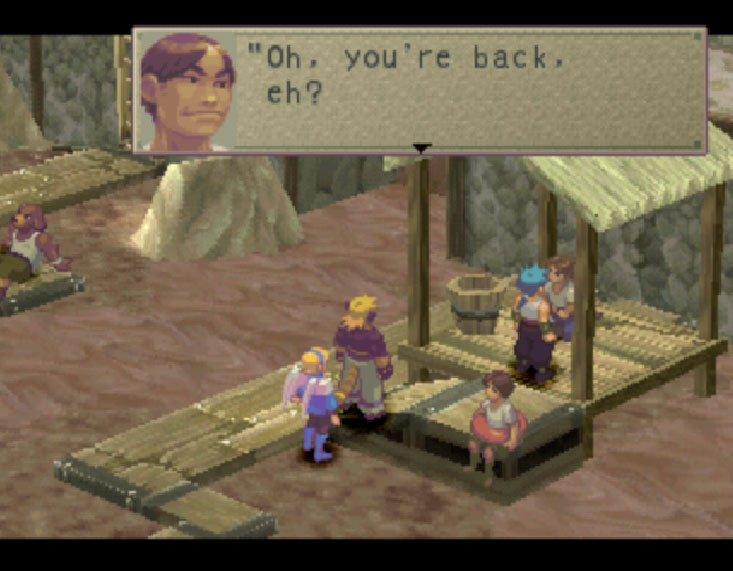
Inside, you will find the person you wanted to find. This old digger will loan you a shovel and his dog to dig in the area ahead. That is where you will find the Sandflier parts you seek. You may get both the dog and shovel for a total of 50z, or just the shovel for 25z. I have layed out where the items you want/can dig out in the images that you can access by clicking on the items names in the list above.
Sandflier parts on your possession and all the treasures available in the valley in your inventory, equip Nina's Sage's Staff if you haven't yet and head back into Sarai and enter the Tavern.
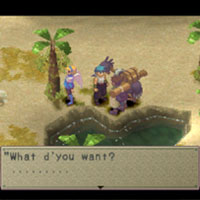
The moment you walk in, a scene will take place. An Imperial Army commander is interrogating the traveler Nina saw fleeing from the crater where she met Ryu. As you may have guessed, he's inquiring about a Dragon.
Things go down hill after he learns Nina is a Wyndian princess and engages her in battle with his Warrior Spirit, Joh.
JOH

This guy isn't a joke. His physical attacks are decent and he also casts Burn to add into the mix. But don't fret, fortunately for you, he's weak vs Wind-Based attacks. Hit him a few times with Nina's Sever and that should do the trick.
Joh defeated, Rasso (Imperial Commander) is somewhat surprised at Nina's strength. Ryu jumps down to tend to exhausted Nina and protect her from any further attacks that may come her way.
Rasso mocks Ryu for not jumping in before. This enrages Ryu and leads him to lash at him with King's Sword. Striking Rasso leaves him stunned and the sword's blade shatters into pieces. Nina and Ryu run away making use of this moment of confusion
Head East until you reach a "!" spot and enter
A brief scene takes place where you avoid the Imperial Troops.
Now that the road to where Cray waits is blocked off by the troops and you are on the run, the merchant comes after you to give you some valuable information in return for your aid back in the Tavern
Now a new road is available once you exit that area. It's the road to Chamba. Go ahead and head to Chamba
Remember that the King's Sword is now a Broken Sword. This means Ryu's attacks aren't as effective at the moment.
Chamba

Items Shop
| Item | Cost |
|---|---|
| Healing Herb | 20z |
| Antidote | 12z |
| Panacea | 100z |
| Ammonia | 250z |
Weapons Shop
| Item | Cost |
|---|---|
| Bowie Knife | 150z |
| Sage's Staff | 230z |
| Leather Armor | 220z |
| Brass Helm | 90z |
Manillo Shop
| Item | Cost |
|---|---|
| N/A | N/A |
Items
Objectives
Available Skill(s)
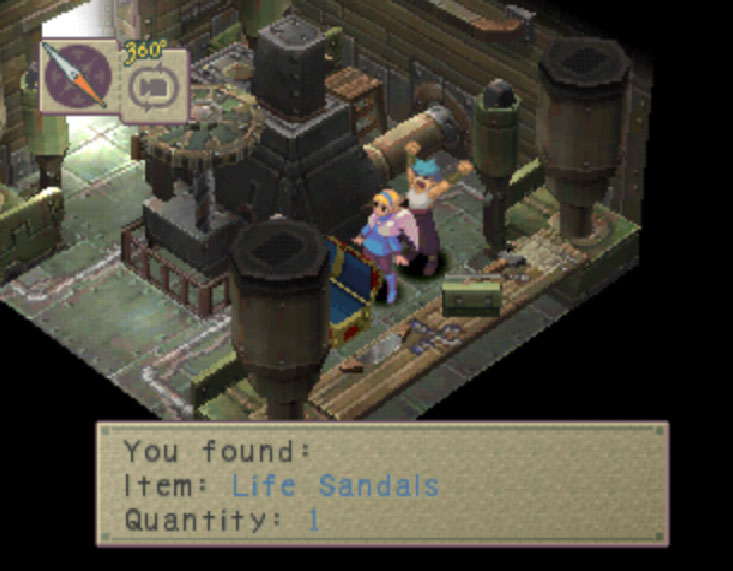
Once in Chamba, there are a few things that need to be done. But first, pick up the items this place has to offer. If you go into the first building (looks like an engine room inside) you will find a pair of Life Sandals within a chest hidden behind the machines in the center.
Now head over into the Inn and you will find both the merchant of this town, plus Panacea x2 in the cupboard in front of where he's sitting. Rest if you want by talking to the small guy right by the bunk beds
Having done all that, head over to the armorer. The moment you approach him a scene will take place. Now go over into the barracks and talk to the guy with the dog tail near the pot. Tell him you will wait there while they have supper to move things along.
It all boils down to the fact that you won't be allowed through the gates to North Chamba without a guide. Try asking everyone you see in town, the outcome will be the same. After talking to enough people, head back to the barracks entrance where the leader of the Purifiers waits for you.
Right before all hope is lost, your guide and new party member appears. Meet Ershin! She's quite a character.
N. Chamba
| HP | 350 | XP | 18 |
|---|---|---|---|
| TYPE | Demon |
|---|---|
| ZNY | 13 |
| ITEM 1 | Antidote |
| ITEM 2 | Healing Herb |
| HP | 650 | XP | 17 |
|---|---|---|---|
| TYPE | Demon |
|---|---|
| ZNY | 20 |
| ITEM 1 | Bandana |
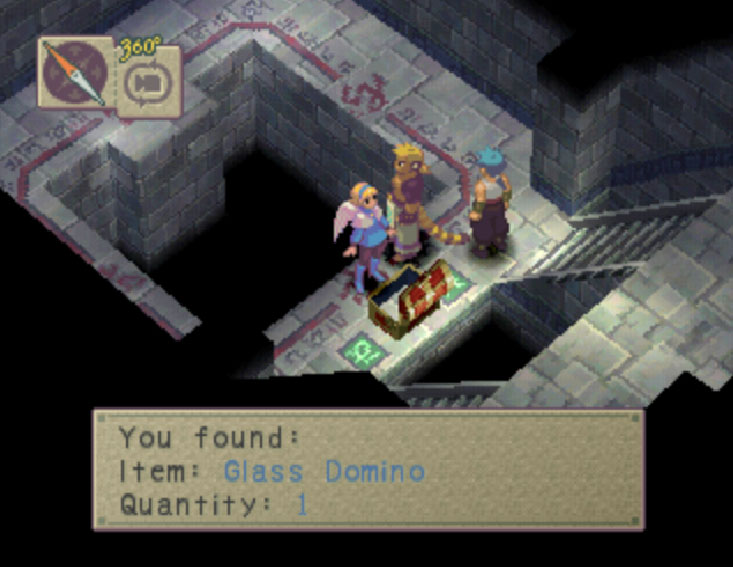
| ITEM 2 | Glass Domino |
| HP | 230 | XP | 20 |
|---|---|---|---|
| TYPE | Demon |
|---|---|
| ZNY | 50 |
| ITEM 1 | Popper |
| ITEM 2 | Knockout Gas |

| HP | 2400 | XP | 429 |
|---|---|---|---|
| TYPE | Boss |
|---|---|
| ZNY | 291 |
| ITEM 1 | Fish-Head |
| ITEM 2 | Antidote |
Objectives
Available Skill(s)
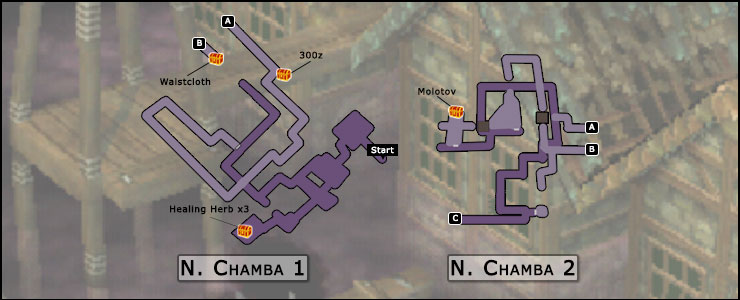
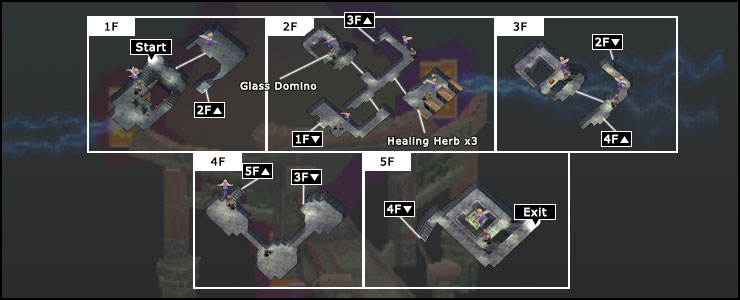
Though this area looks a little confusing at first, it's actually quite straight forward. With the map layed out above, it shouldn be even easier. As noted, In the first area there are 3 chests to collect. However, only grab the Healing Herb x3 and 300z from the first 2 chests. You will have access to the other chest in a little bit. Once you have those two items, proceed to the next area.
Stage 2 of N. Chamba is actually a little bit of a mini-game/puzzle. To cross, you will have to switch between Ryu/Nina & Ershin (She's the only one equipped to pass through the hex safely).
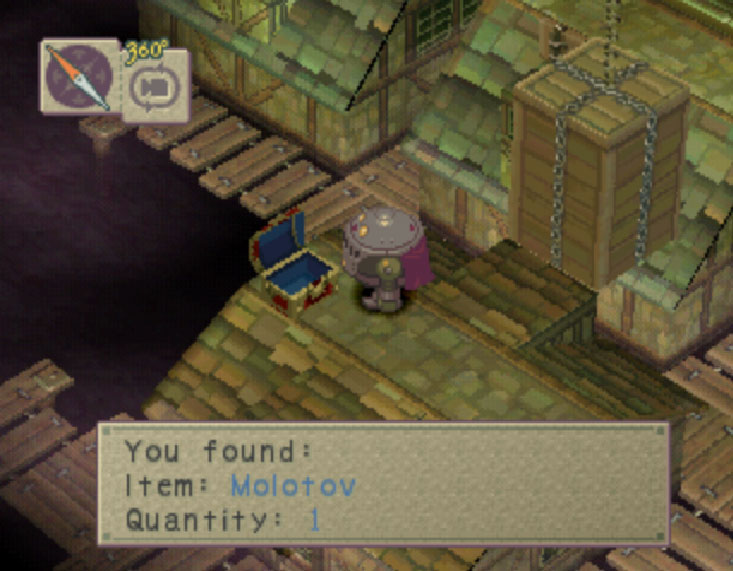
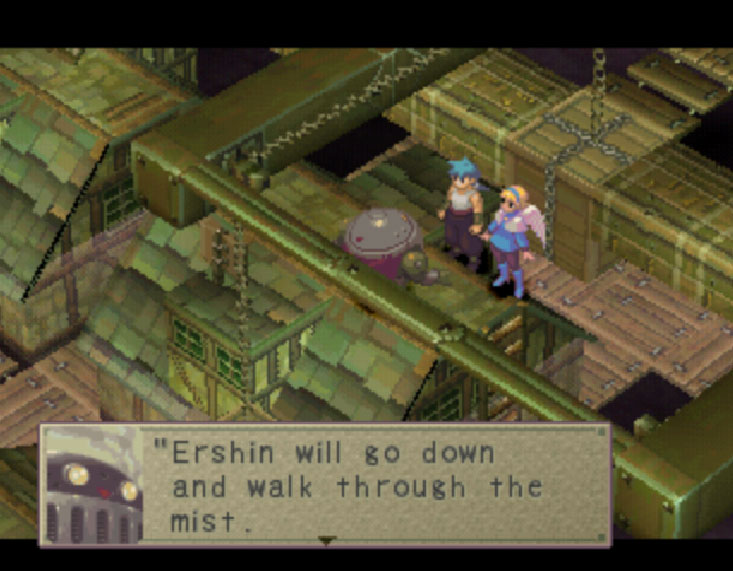
Start off by taking Ershin down the stairs and head under the West crate (the one next to the chest on the edge) then make a hard left to go around that building and climb the ladder to the roof which has the chest on top. Go ahead and open it to find a Molotov, then go ahead and get on that crate. Switch to Ryu/Nina and head North following the path which brings you around to the first crate they stepped on after entering this zone. After the short scene, keep going with Ryu/Nina.
Now keep following the path heading East until you exit back into the first area. Grab the Waistcloth from within the chest and head back to area 2.
Now go left (South) and keep going until you reach a switch. Back to Ershin, all you have to do is keep going on the only path you are able to now until you reach another switch and activate it. Having done that, after the short scene, make sure your group is at full health and their equipment at their best. Now go onto the next area.
This area is very straight forward, just keep following the path onward. After a ominous scene of what lies below, keep moving forward and complete the tapping button mini-game with Ryu. Standing on the roof at the end of the now broken down path, unable to turn back, the next Boss makes its official and aggressive appearance.
SKULFISH

Skulfish likes to start off with Venom Breath. Don't bother healing your party's poisoned status since it uses that attack very often. However, do take care with any members that may get confused by it. Cure them immediately. Go ahead and meditate Ryu into Aura and go full offense. Combine Ershin's Risky Shot with Aura's Flame Strike and finish the round with casting Heal on Skulfish (It hurts it).
You can learn Flame Strike from Ryu's Aura. In any fight, simply have Ryu Meditate into Aura and use Flame Strike while Ershin is on Guard to learn the attack.
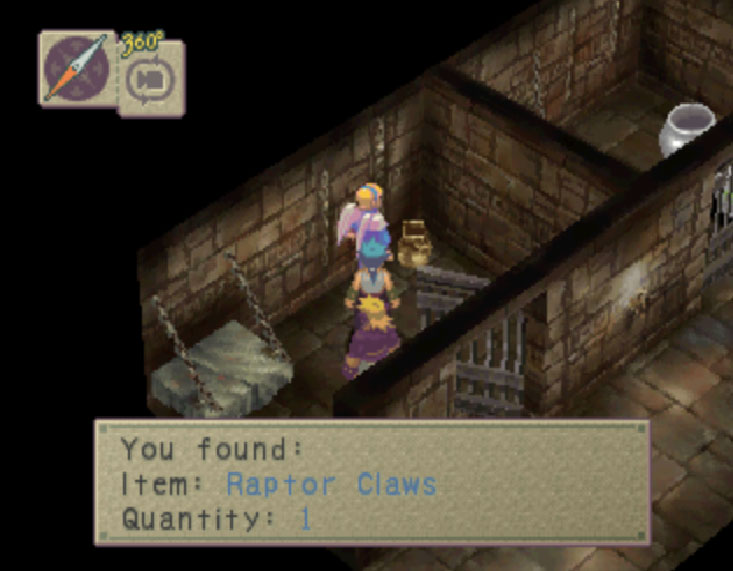
Back at the Crash site, Nina gets reunited with Cray. After he's brought up to speed about what has happened since Nina left on her search for Sandflier parts, they decide to rest for the night. Unaware, Ryu's dreams take over.
Dreamland / Ryu's Dream
| HP | 580 | XP | 80 |
|---|---|---|---|
| TYPE | Machine |
|---|---|
| ZNY | 55 |
| ITEM 1 | Raptor Claws |
| ITEM 2 | Cuirass |
| HP | 100 | XP | 45 |
|---|---|---|---|
| TYPE | Insect |
|---|---|
| ZNY | 15 |
| ITEM 1 | Twister |
| ITEM 2 | Antidote |

| HP | 550 | XP | 75 |
|---|---|---|---|
| TYPE | Beast |
|---|---|
| ZNY | 50 |
| ITEM 1 | Dragon Scale |
| ITEM 2 | Healing Herb |
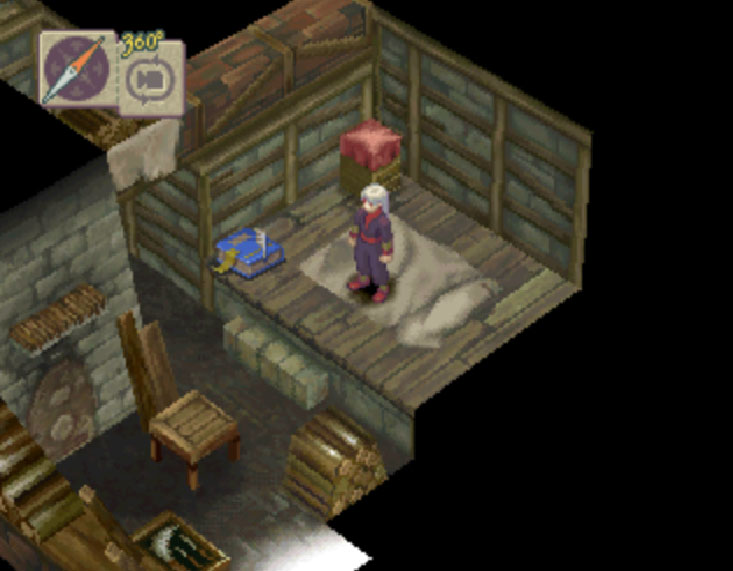
Starting by coming up from an underground path into a basement; Nina, Cray and Ryu claim the place was just like in Ryu's dream. Once the entering scene is concluded, you may rest/save using the blue book over the table.
This dream is very straight forward and not a lot to do. You may learn Wild Swing from the Armor enemy and Chlorine from the ToxicFlies if you haven't already. Additionally, you may pick up the 2 Aurums found in this area and that are depicted on the map at the begining of this section.
Gongheads are extremely resistant to Melee attacks. Magic attacks are highly recommended.
Picking up and the items and learning the new skills available, go ahead and move forward until the end of the dream.
Confused by what they had just dreamt, Nina and Cray discuss the events that took place. Ershin adds that what they had just witnessed was the power of Ryu's Dragonseye.
Being their only lead to find Elina, Cray joins the group to proceed on foot towards their next destinate.
Time to head to Kurok
Kurok
| HP | 200 | XP | 12 |
|---|---|---|---|
| TYPE | Beast |
|---|---|
| ZNY | 11 |
| ITEM 1 | Healing Herb |
| ITEM 2 | Wisom Seed |
| HP | 280 | XP | 20 |
|---|---|---|---|
| TYPE | Insect |
|---|---|
| ZNY | 10 |
| ITEM 1 | Eye Drops |
| ITEM 2 | Vitamin |

| HP | 320 | XP | 40 |
|---|---|---|---|
| TYPE | Beast |
|---|---|
| ZNY | 16 |
| ITEM 1 | Healing Herb |
| ITEM 2 | Vitamin |
| HP | 300 | XP | 42 |
|---|---|---|---|
| TYPE | Beast |
|---|---|
| ZNY | 25 |
| ITEM 1 | Glass Domino |
| ITEM 2 | Waistcloth |
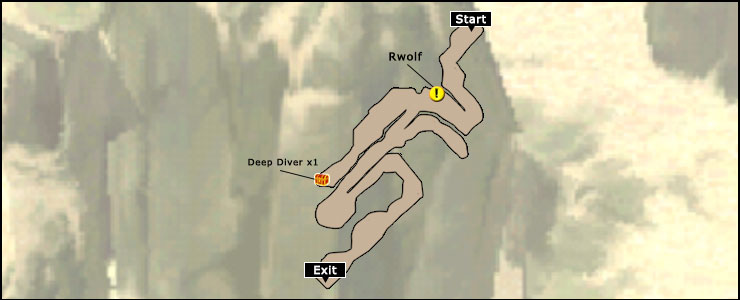
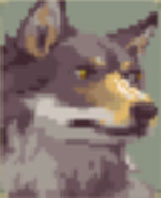
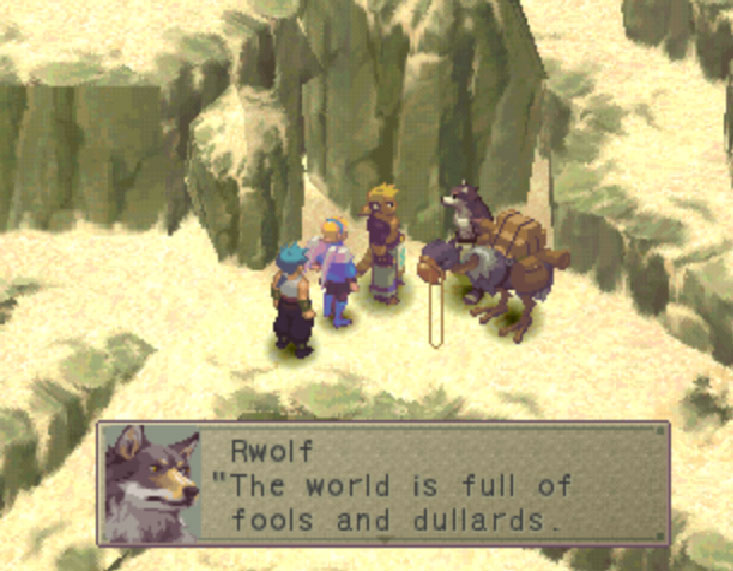
Kurok is not a very eventful place, but it introduces you to the first Master available in the game. Meet Rwofl, the warrior mage
| HP | AP | PWR | DEF | AGI | WIS |
|---|---|---|---|---|---|
| - | +1 | -1 | - | - | +1 |
| WILL | Haste: (Increase allies' agility) |
|---|---|
| Join Req | None |
Rewards: Based on how many hits performed in a Combo
Rwolf is a master who becomes available after you agree with him, it would be useful to place Nina under his tutelage. Now just grab the Deep Diver in the only chest in this area and then move on forward as there is nothing else to do here.
Dam
| HP | 150 | XP | 8 |
|---|---|---|---|
| TYPE | Beast |
|---|---|
| ZNY | 6 |
| ITEM 1 | Croc Tear |
| ITEM 2 | Healing Herb |
| HP | 200 | XP | 12 |
|---|---|---|---|
| TYPE | Beast |
|---|---|
| ZNY | 11 |
| ITEM 1 | Healing Herb |
| ITEM 2 | Wisom Seed |
| HP | 170 | XP | 7 |
|---|---|---|---|
| TYPE | Beast |
|---|---|
| ZNY | 8 |
| ITEM 1 | Berries |
| ITEM 2 | Healing Herb |
| HP | 320 | XP | 40 |
|---|---|---|---|
| TYPE | Beast |
|---|---|
| ZNY | 16 |
| ITEM 1 | Healing Herb |
| ITEM 2 | Vitamin |
| HP | 300 | XP | 42 |
|---|---|---|---|
| TYPE | Beast |
|---|---|
| ZNY | 25 |
| ITEM 1 | Glass Domino |
| ITEM 2 | Waistcloth |
| HP | 300 | XP | 60 |
|---|---|---|---|
| TYPE | Beast |
|---|---|
| ZNY | 50 |
| ITEM 1 | Aurum |
| ITEM 2 | Silver Top |
| HP | 8 | XP | 30 |
|---|---|---|---|
| TYPE | Beast |
|---|---|
| ZNY | 20 |
| ITEM 1 | Berries |
| ITEM 2 | Nothing |
| HP | 580 | XP | 55 |
|---|---|---|---|
| TYPE | Beast |
|---|---|
| ZNY | 35 |
| ITEM 1 | Baby Frog |
| ITEM 2 | Toad |
Objectives
Available Skill(s)
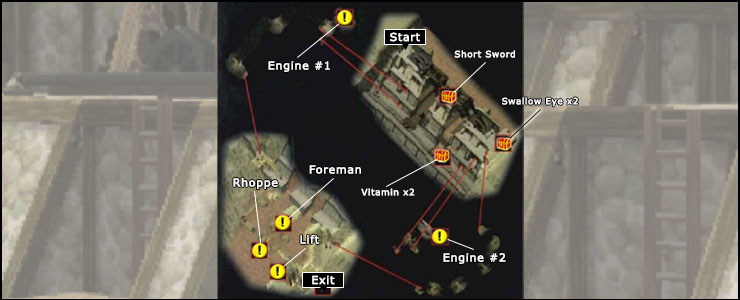
You need to cross through this mining site. However, since the sluice gates are opened, they obstruct your path to continue.
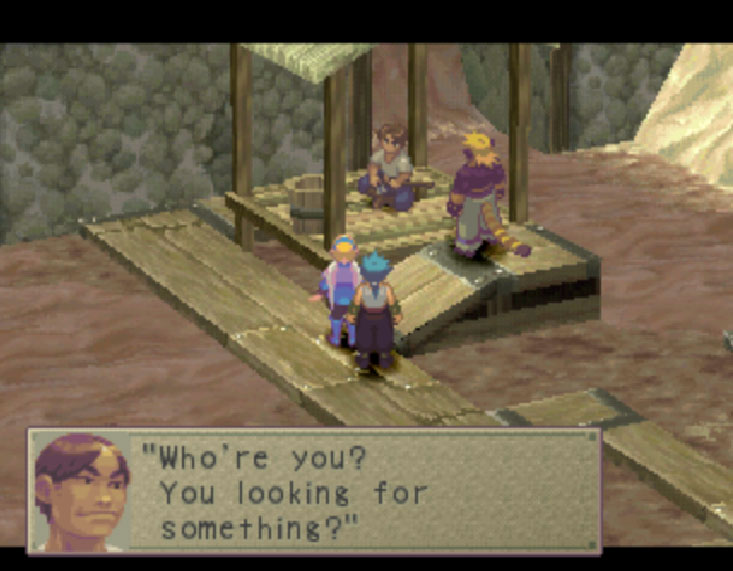
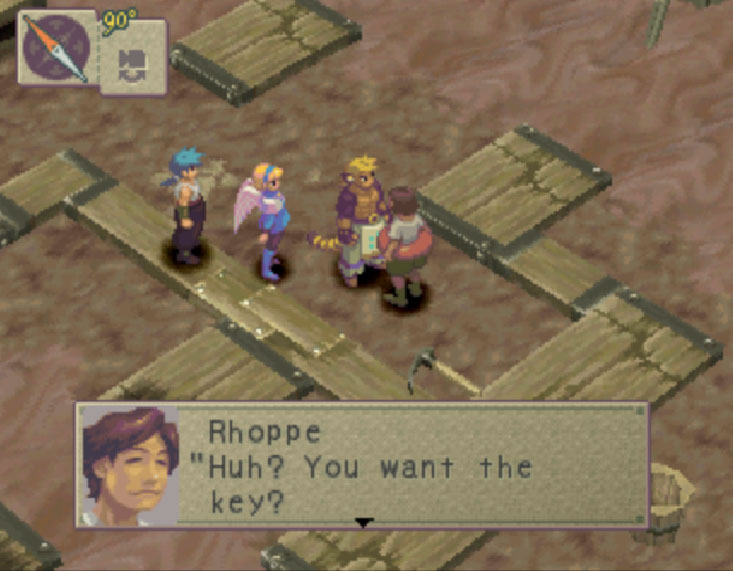
To get started, you want to climb all the way down to the last level and talk to the foreman. He's instructed you to get the necessary key from Rhoppe (Guy walking around a floating tube). With the key at hand, walk your way to Engine #1 to get it running since it will lower the first water gate.
While in the tunnels, you may encounter Tadpoles. It would be a good idea to learn Snooze from them at this point.
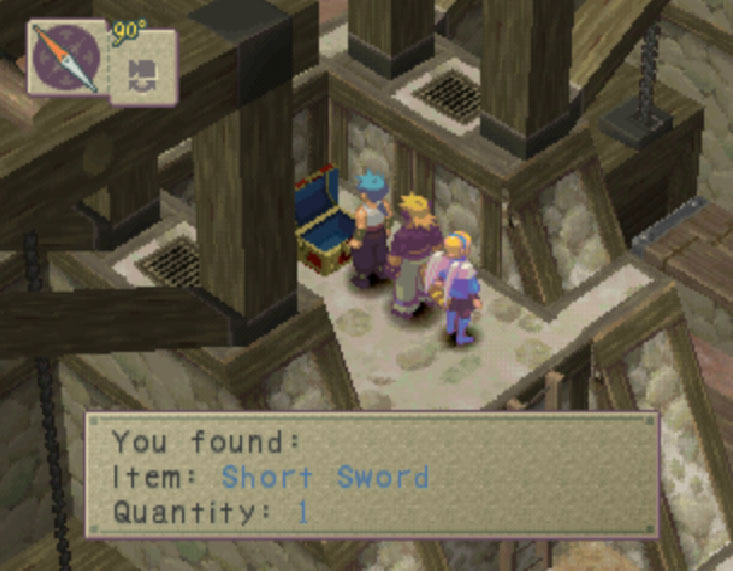
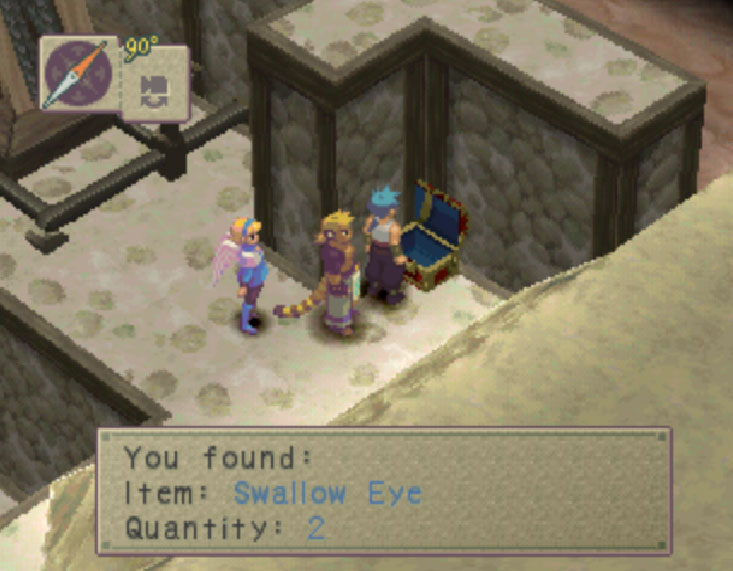
When the first water gate comes down, make your way to it and walk across to the next platform. Climb the ladder and grab the Short Word from within the chest at the top. Head to the other edge of the dam and collect the Swallow Eye x2 in the chest at the top level.
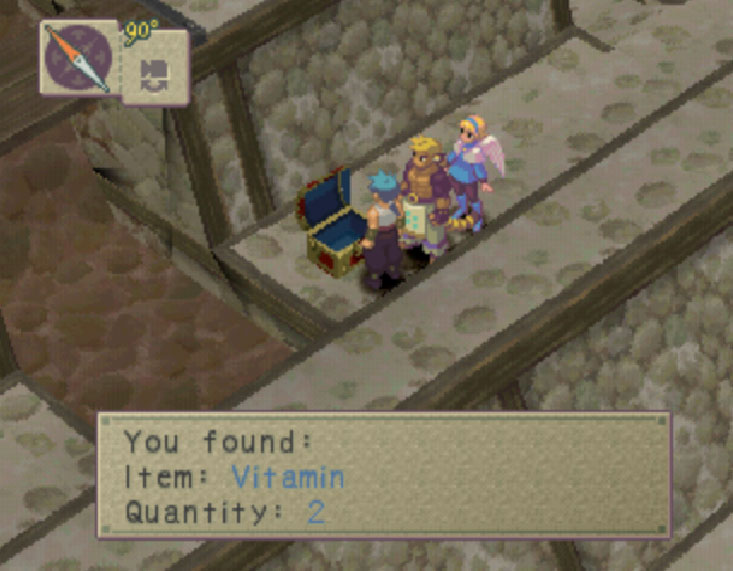
Climb your way down and make your way to Engine #2. A short mini-game will take place to get the engine started to lower the last water gate. Gate closed, don't go up yet. Instead, go outside and collect the Vitamin x2 sitting in the chest.
Finally, climb your way back and take the door at the top level following it to the lift. Activate it to go down and drop the bridge to cross the mud river. Approach the Foreman to return the key at which point a scene will take over. As soon as you have control over your group again, use latch the Foreman handed you to use the lift and go up to exit the area safely.
You will run into a "!" spot where a few short scenes will take place and introduce you to the Mud Dragon. There will be a bard who will offer to play you a few tunes. Pay the bard 10z repeatedly until it finally plays the Song of the Dragon for you to continue your journey.
Kyria

| HP | 800 | XP | 120 |
|---|---|---|---|
| TYPE | Insect |
|---|---|
| ZNY | 100 |
| ITEM 1 | Healing Herb |
| ITEM 2 | BronzeShield* |
| HP | 200 | XP | 100 |
|---|---|---|---|
| TYPE | Chest |
|---|---|
| ZNY | 11 |
| ITEM 1 | Ice Punch |
| ITEM 2 | Nothing |
Items
Objectives
Available Skill(s)
First off, go around the back of the first building and you will find a chest. When you try opening it, you will get ambushed by 3 chests. Start off by attacking the two on the sides. This will make the one in the middle aggressive and fight back. It's highly evasive, so attack with magic. A good combo to get the job done is Cray's Rock Blast plus Burn to cause Eruption. Defeating the center chest will gran you Ershin's Ice Punch.
Now head over to the Mayor's house and investigate the dog house. Again, you will get ambushed into another fight. This time, you will face a BeeTroop which gives you a chance to get a BronzeShield if you defeat it without breaking its shield. That said, stick to magic attacks (Eruption combo works well).
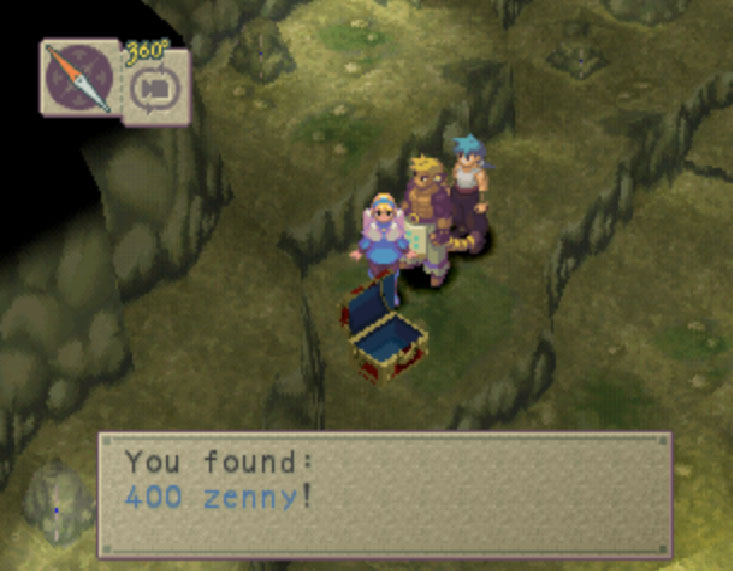
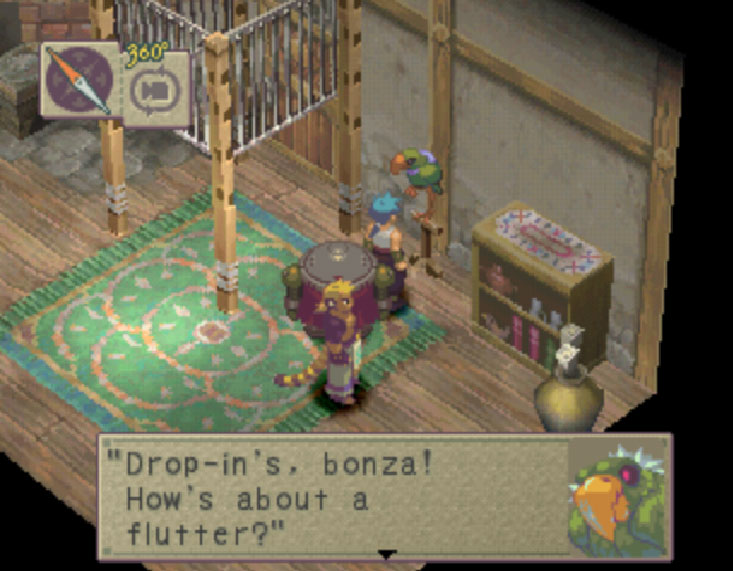
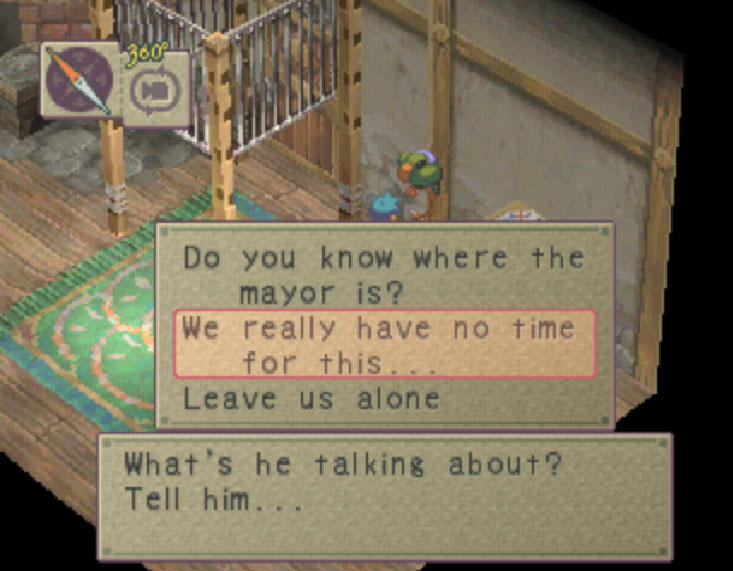
On to the next terasure. Go to the hole all the way near the slope to Passage to Synesta and fall in it. Collect the chest with the 400z and go to the ladder close to it. You will climb into the Mayor's house. Approach the parrot and talk to it.
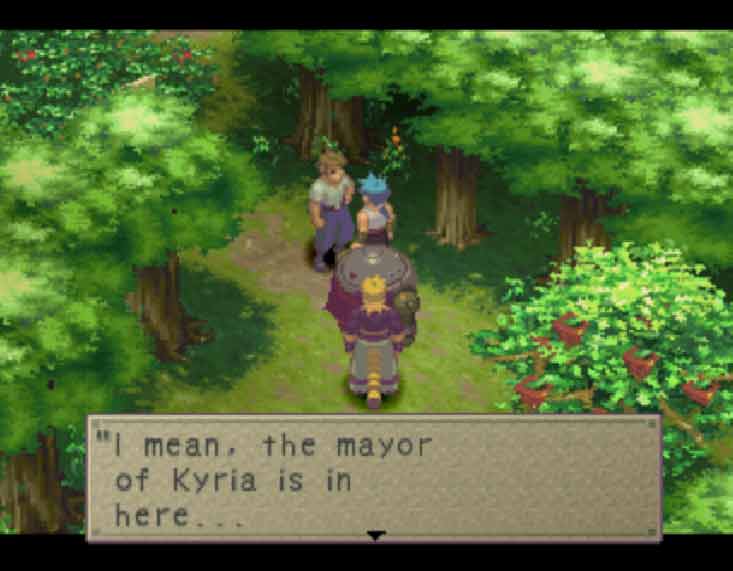
This guy is a schemer. So when you are asked, always refuse to play with it. Answer as follows: "No time", "no", "no", "not really" in that order. This will grant you the parrot's information as to the whereabouts of the Mayor. Time to head over to Kyria Forest.
Kyria Forest

| HP | 170 | XP | 7 |
|---|---|---|---|
| TYPE | Beast |
|---|---|
| ZNY | 8 |
| ITEM 1 | Berries |
| ITEM 2 | Healing Herb |
| HP | 320 | XP | 40 |
|---|---|---|---|
| TYPE | Beast |
|---|---|
| ZNY | 16 |
| ITEM 1 | Healing Herb |
| ITEM 2 | Vitamin |
| HP | 300 | XP | 42 |
|---|---|---|---|
| TYPE | Beast |
|---|---|
| ZNY | 25 |
| ITEM 1 | Glass Domino |
| ITEM 2 | Waistcloth |
| HP | 420 | XP | 45 |
|---|---|---|---|
| TYPE | Plant |
|---|---|
| ZNY | 25 |
| ITEM 1 | Healing Herb |
| ITEM 2 | Panacea |

| HP | 500 | XP | 60 |
|---|---|---|---|
| TYPE | Humanoid |
|---|---|
| ZNY | 80 |
| ITEM 1 | Moon Sword |
| ITEM 2 | Healing Herb |
| HP | 3500 | XP | 1500 |
|---|---|---|---|
| TYPE | Boss |
|---|---|
| ZNY | 450 |
| ITEM 1 | Apple |
| ITEM 2 | Flame Punch |
Objectives
Available Skill(s)
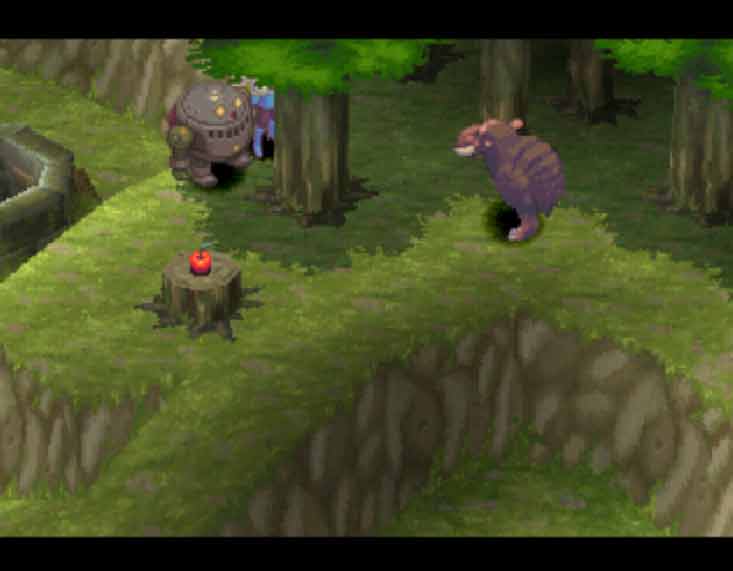
Inside follow the only path until you reach an Apple tree. You may headbutt it as much as you'd like with Ershin for an unlimited supply of Apples (They restore 100 HP each). Now approach the man near by. After he's told you what he knows, collect the layed out items first before you try luring the boar with your apples. Follow the map above to collect them.
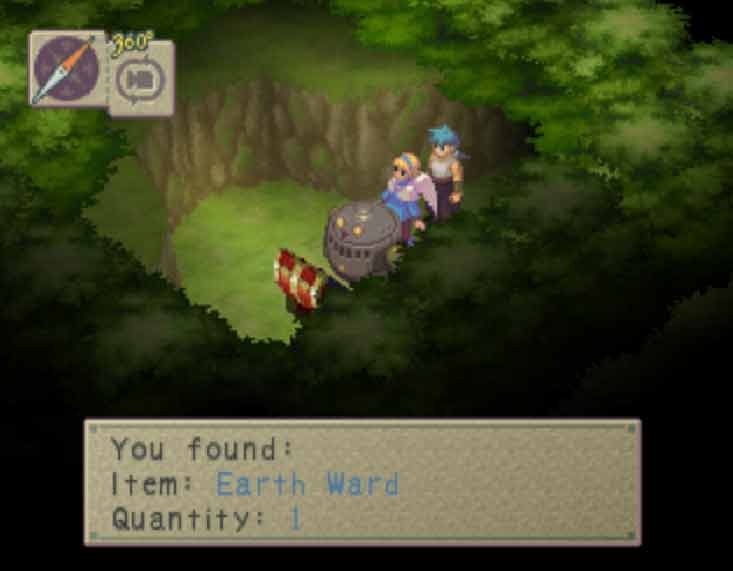
After you have the available items, place an apple on the Stump #1 as labeled in the map. Rush through the footprints left behind and take the Earth Ward from the chest you just found. On to the next.
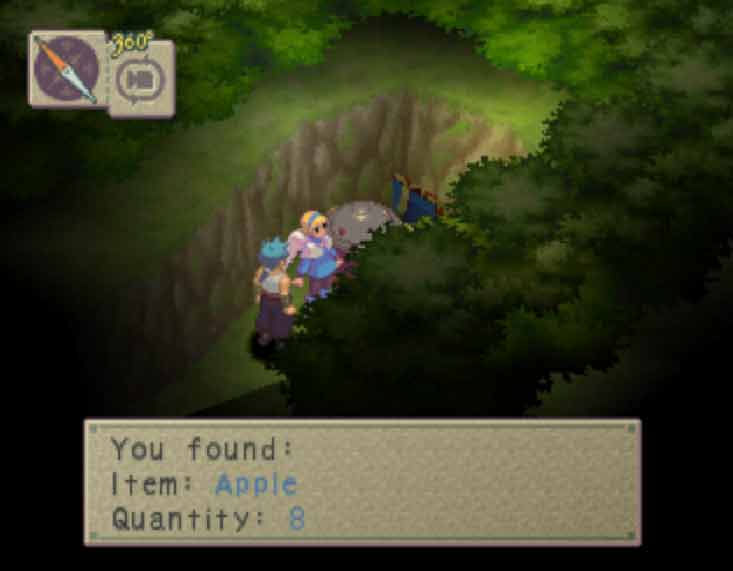
Follow the same instructions with Stump #2 and get yourself a stash of Apple x8.
Now you are ready to go. Place an apple on Stump #3 and follow its tracks to the next area.
This area is pretty straight-forward. Only thing extra to do is to pick up a Wisdom Seed x1 pouch found around the 2nd waterfall.
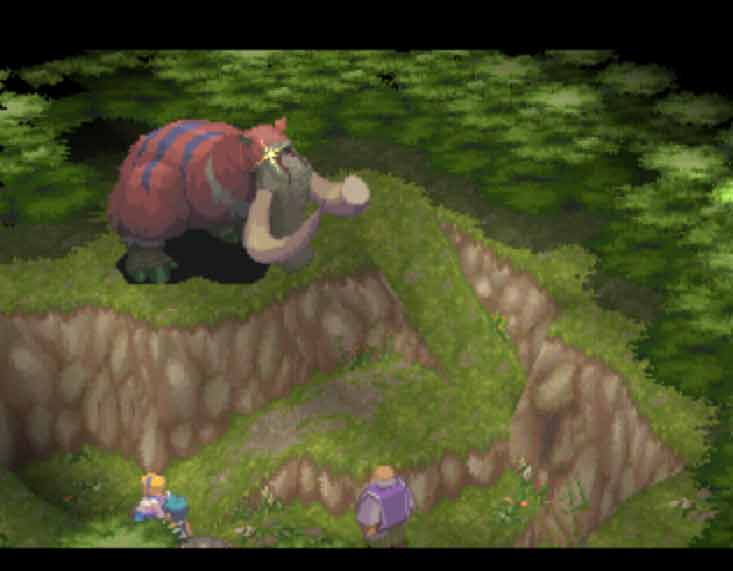
The next area will place you into a boss fight. So make any preparations you may need to make you ready for it.
MAMAN
Maman can be a force to be reckoned with. His Body Press can deal quite a bit of damage. Additionally, Maman can use Rock Blast to cause some havoc to the entire front-line. Not to fear though, Start off by Meditating Ryu into Aura, boosting Cray with his Speed, and Nina protecting herself with Barrier. Now focus on chaining Ryu's Flame Strike with more Melee attacks in Combos until Maman goes down in no time.
Maman defeated and the Mayor safely rescued, head back to Kyria.
Watch the scene and a brief update in Fou-Lu's condition.
Back to Ryu and the gang. Ready to continue on with their journey, they head off to the Passage to Synesta (Not before Cray falls into one of the town's traps).
Passage to Synesta
| HP | 650 | XP | 17 |
|---|---|---|---|
| TYPE | Demon |
|---|---|
| ZNY | 20 |
| ITEM 1 | Bandana |
| ITEM 2 | Glass Domino |
| HP | 300 | XP | 60 |
|---|---|---|---|
| TYPE | Beast |
|---|---|
| ZNY | 50 |
| ITEM 1 | Aurum |
| ITEM 2 | Silver Top |
| HP | 8 | XP | 30 |
|---|---|---|---|
| TYPE | Beast |
|---|---|
| ZNY | 20 |
| ITEM 1 | Berries |
| ITEM 2 | Nothing |
| HP | 580 | XP | 55 |
|---|---|---|---|
| TYPE | Beast |
|---|---|
| ZNY | 35 |
| ITEM 1 | Baby Frog |
| ITEM 2 | Toad |
| HP | 1000 | XP | 65 |
|---|---|---|---|
| TYPE | Demon |
|---|---|
| ZNY | 32 |
| ITEM 1 | Chain Cap |
| ITEM 2 | Rotten Meat |
Items
Objectives
Available Skill(s)
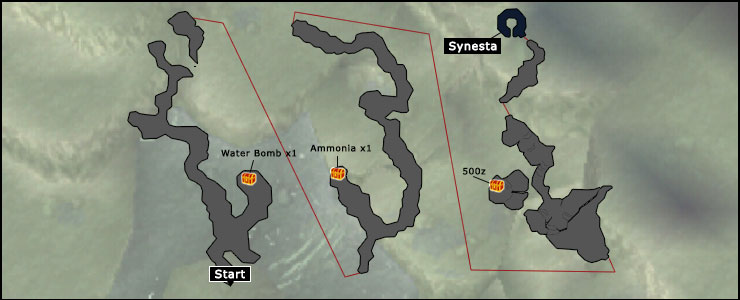
Not much to do in here. Simply follow the map given to you above to collect the items in this area and to proceed to the next destination. To make things a lot easier, make sure Ershin is equipped with the Flame Punch as most of the enemies that occupy this area are suceptible to Fire.
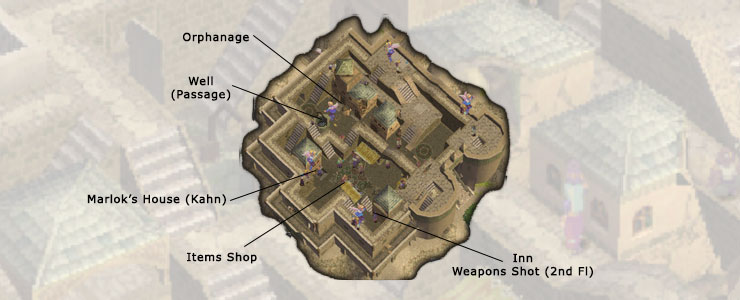
Synesta
Items Shop
| Item | Cost |
|---|---|
| Healing Herb | 20z |
| Antidote | 12z |
| Jabbergrass | 20z |
| Panacea | 100z |
| Ammonia | 250z |
| Wooden Rod | 50z |
| Floater | 20z |
Weapons Shop
| Item | Cost |
|---|---|
| Scramasax | 1200z |
| Magic Wand | 800z |
| Steel Bat | 1000z |
| Wasitcloth | 320z |
| Chain Cap | 600z |
| Brass Helm | 90z |
| Glass Domino | 220z |
| Soul Gem | 1000z |
Manillo Shop
| Item | Cost |
|---|---|
| N/A | N/A |
This place is far more complex than any of the cities you have visited previous.
Start off by entering the building right next to the well you climbed out from. You will learn that this building is an orphanage after you speak to the Nun in the room you have entered.
Exit the building and you will enter a scene. Talk to the tired out Nun and a mini-game will start after the kid she was chasing challenges you to a game of tag.
Chase him around a bit and notice his patterns. Once you do, keep in mind that the best chance to catch him is by cutting him off when he's turning cutting him short
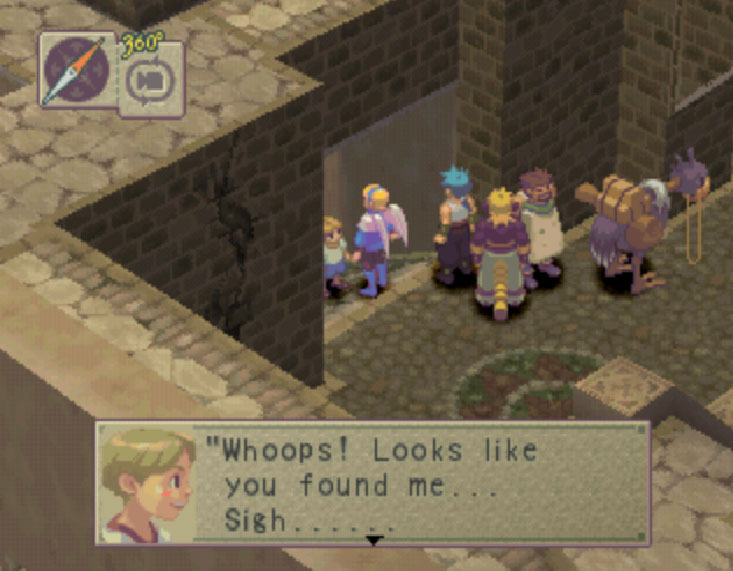
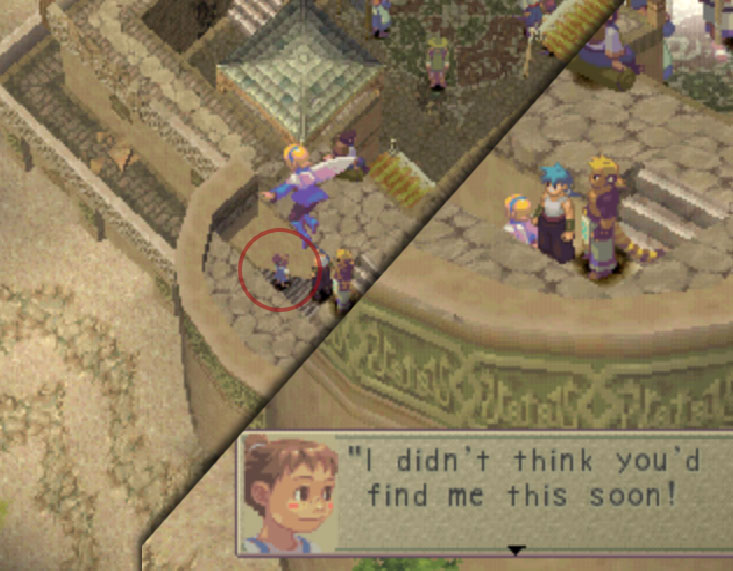
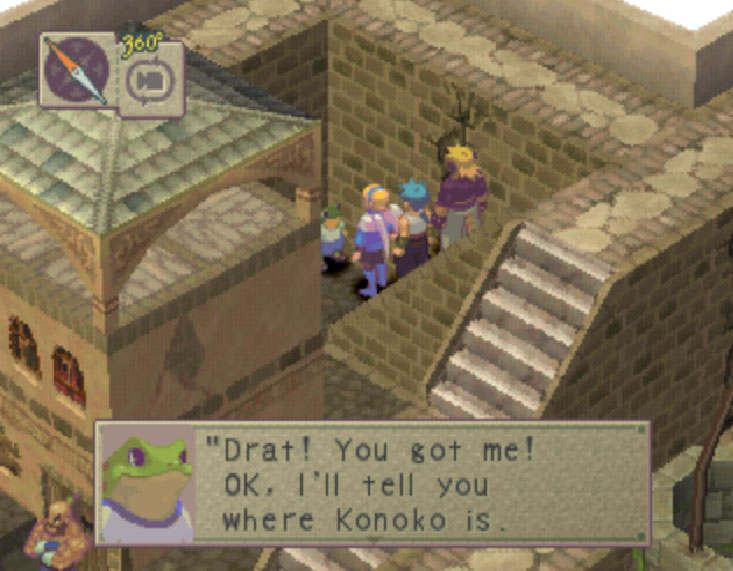
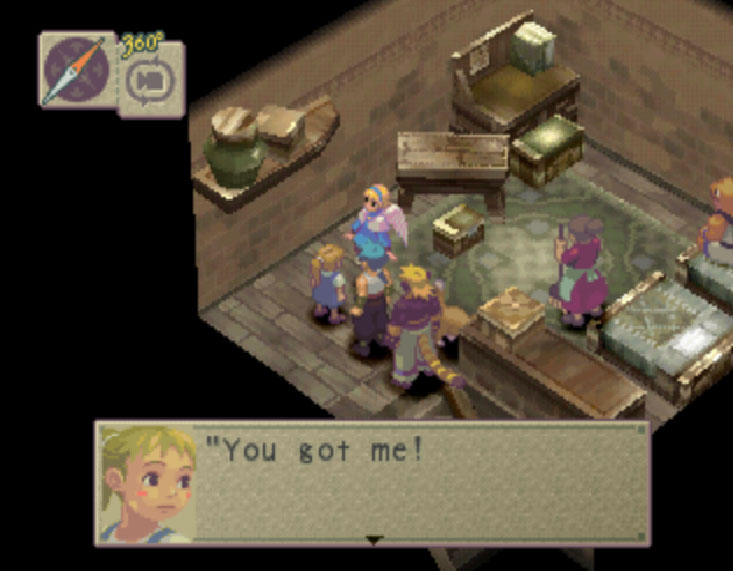
Victorious in this tag challenge, return to the orphanage and watch the scene that follows. This leads on to another contest. Hide and Seek time!
Do not worry, below you will see a map with the location of each kid you must find.

Here are also some screenshots to make it even easier:
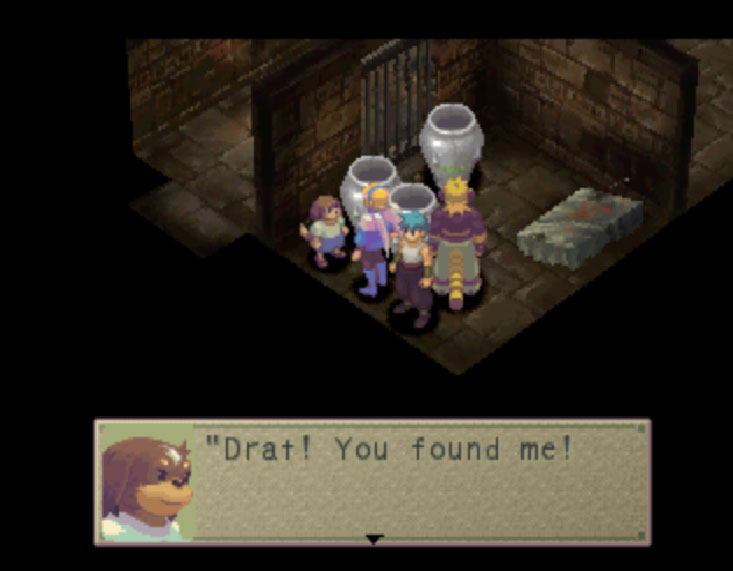
After finding Kid #6, head back to the orphanage and talk to the Nun. You will learn that there is still one kid missing. That's right, Chino is still hiding. You find out that he went into the Cellar. Go to its entrance.
As you probably noticed before, there's a guard who is preventing you passage into the cellar. Lucky for you, he's really thirsty. When you see the water lady come close to the guard, talk with her. This will make the guard approach her for a drink or two which grants you access to the Cellar.
Synesta Cellar
| HP | 100 | XP | 45 |
|---|---|---|---|
| TYPE | Insect |
|---|---|
| ZNY | 15 |
| ITEM 1 | Twister |
| ITEM 2 | Antidote |

| HP | 380 | XP | 55 |
|---|---|---|---|
| TYPE | Beast |
|---|---|
| ZNY | 25 |
| ITEM 1 | Ribs |
| ITEM 2 | Fish-Head |
| HP | 700 | XP | 70 |
|---|---|---|---|
| TYPE | Insect |
|---|---|
| ZNY | 30 |
| ITEM 1 | Croc Tear |
| ITEM 2 | Healing Herb |
Items
Objectives
Available Skill(s)
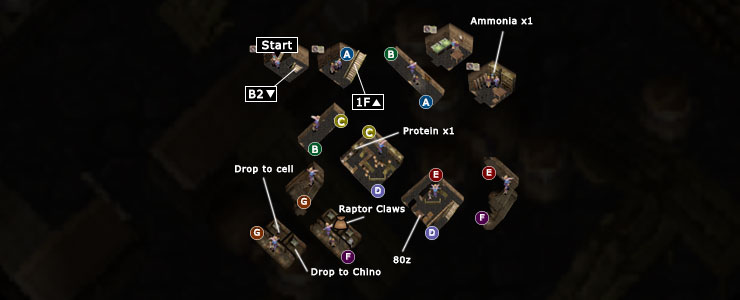
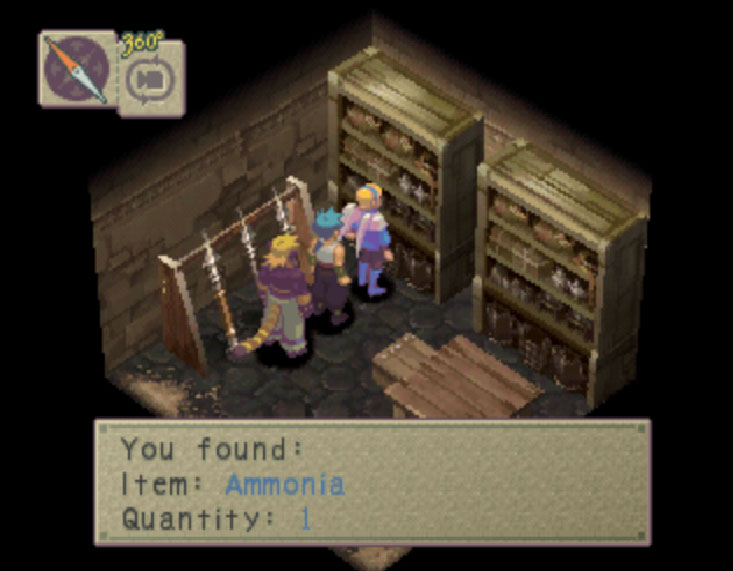
This place is pretty linear. Get the items pointed out on the map above as you proceed deep within the Cellar. Once you reach the room where you'll see Chino hiding in a cell. After you grab the Raptor claws in the adjacent cell, proceed to the next staircase that lead you to the floor above. You will see two similar cells like the ones where Chino is hiding below. Stand on the covered up hole with planks and that will put you right in the same cell with Chino. Talk to him and you will all be taken back to the orphanage.
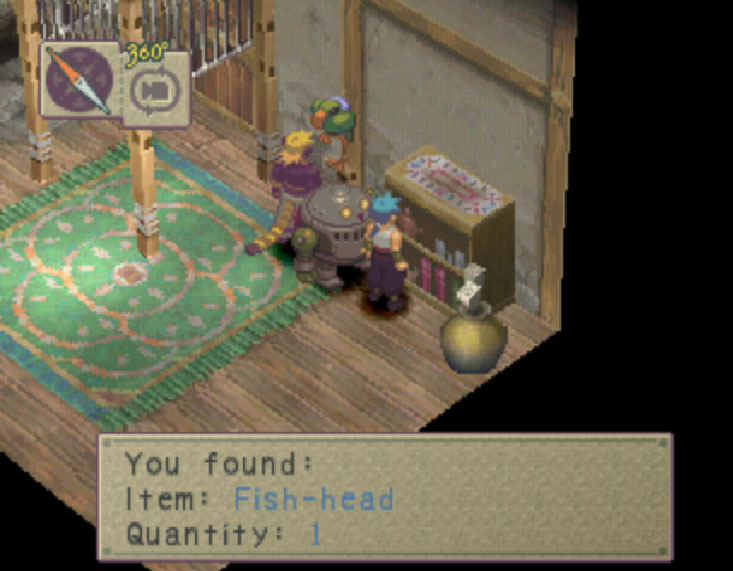
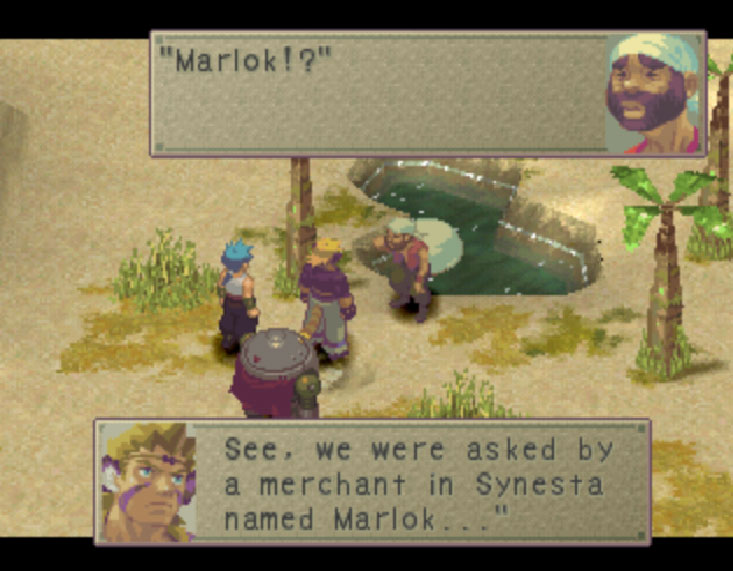
As promised, Chino will reveal what he knows about pricess Elina. He tells you that Marlok had contact with her while she was in Synesta. Head over to Warlok's house (Guarded by a big muscular man).
Try talking with the guard. Soon you notice he is a bit hot-headed and engages you and your group in combat.
Kahn
Don't let his muscular fool you. Though he's fast and decently strong, he can be defeated easily. However, before you do so, make sure you learn Focus from him. To bring him down, my first suggestion is to Meditate Ryu into Aura while you use Slow and Molasses on him to bring his speed down. Follow by combining Flame Strike to any other Melee attacks that Cray/Ershin may know (Wild Shot, Wild Swing, etc). That should bring Kahn down in no time.
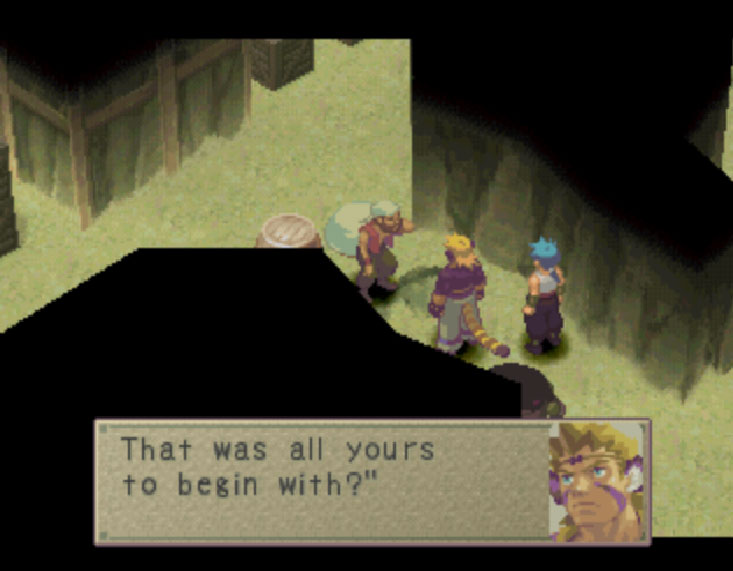
Upon his defeat, there will be a scene. After discussing some matters with Marlok, he sends you off on an errand for him. Find a thief who's allegedly stolen some goods from him.
Leave town and proceed to the Hideout. Somewhere in between Synesta and the Hideout, you will find a (?) spot. Check it out.
You will discover this is an oasis and there's a man with a large pouch resting near the water. When talking with him, Cray mentions Marlok, spooked by the name he immediately runs away.
Go after him to the Hideout.
Hideout

| HP | 380 | XP | 55 |
|---|---|---|---|
| TYPE | Insect |
|---|---|
| ZNY | 25 |
| ITEM 1 | Ribs |
| ITEM 2 | Beast |

| HP | 100 | XP | 250 |
|---|---|---|---|
| TYPE | Insect |
|---|---|
| ZNY | 200 |
| ITEM 1 | Berries |
| ITEM 2 | Beast |
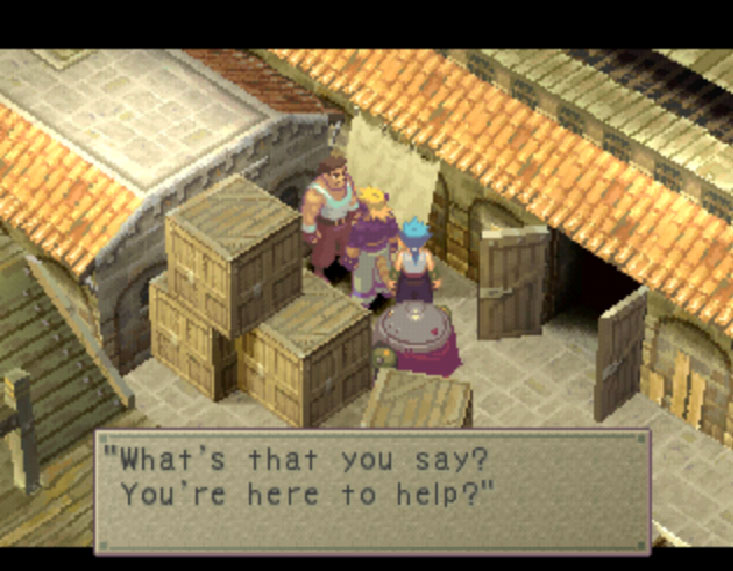
This cave isn't very large. You will find a couple of barrels on the far left side of the cave. You can use these to block the way. When you get near the "thief" he will start another mini-game. Very similar to playing Tag with Chino, except you have to corner him instead.
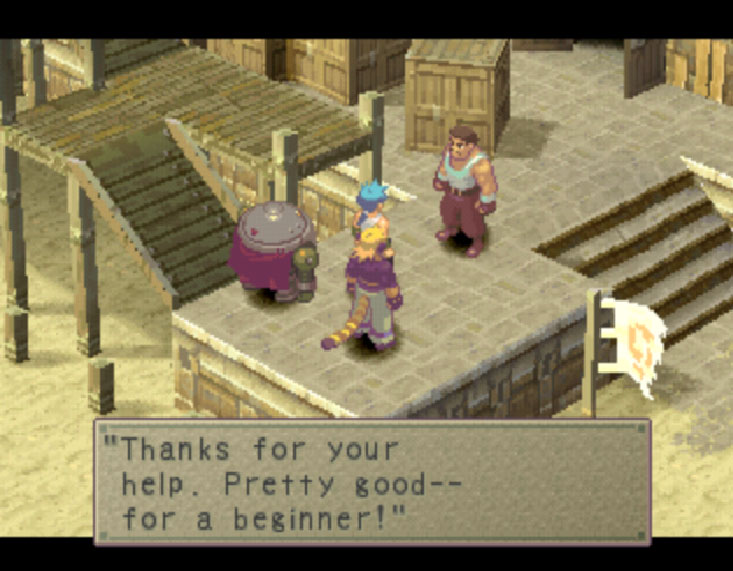
He explains his entire dilemma when he's caught. Cray decides to leave him alone after hearing his story.
Go back into the cave to unlock Stoll as a master. Make sure you use up most if not all of your zenny before you do since he will ask for all the money you hold at the time as a requirement to make any of you his apprentice.

| HP | AP | PWR | DEF | AGI | WIS |
|---|---|---|---|---|---|
| - | - | - | - | +1 | - |
| WILL | Filch (Steal first-time items from enemies) |
|---|---|
| Join Req | Give him all the money you have |
Rewards: Based on how many different items are in your inventory
Upset with the results of the errand, Marlok sends Cray and the others on another endeavor for him. You are to go to the Sandflier Wharf for further instructions on what he needs done.
Sandfliers Wharf
| HP | 700 | XP | 70 |
|---|---|---|---|
| TYPE | Insect |
|---|---|
| ZNY | 30 |
| ITEM 1 | Croc Tear |
| ITEM 2 | Healing Herb |
This area is mainly to make you play two(2) mini-games. To start off, you have to organize the storage room by moving the barrels and jars to their respective places while removing any old/broken down barrels you will find.
When finished, you will accumulate a total of 1,800 points plus any Bonus points you acquire from how fast you complete the task:
Overview
Storage clean and organized, your next task is at hand. You are to load the Sandflier with its cargo using the Crane.
Read the instructions carefully. Let the crane steady itself a bit before launching it down to pick-up/drop cargo. Drop the boxes in the highlighted squares for added points. Lastly, you only have 3:00 so make them count. Specially since you will get 100 pts for every second left on the clock as a Bonus:
Overview
Once the Sandflier has been loaded and ready to go, Marlok makes his appearance along with Nina. You will get rewarded accordingly to your performance in both mini-games.
Rewards
After the scene at the wharf ends, we go back to Fou-Lu.
Bunyan's Hut

| HP | 3400 | XP | 1300 |
|---|---|---|---|
| TYPE | Insect |
|---|---|
| ZNY | 800 |
| ITEM 1 | Firecracker |
| ITEM 2 | Flamethrower |
| HP | 20000 | XP | 22000 |
|---|---|---|---|
| TYPE | Boss |
|---|---|
| ZNY | 5800 |
| ITEM 1 | Fire Ward |
| ITEM 2 | Ambrosia |
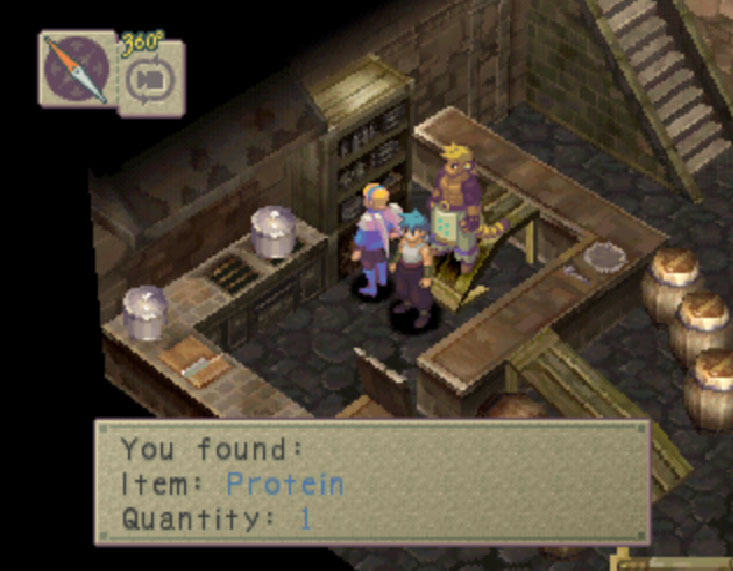
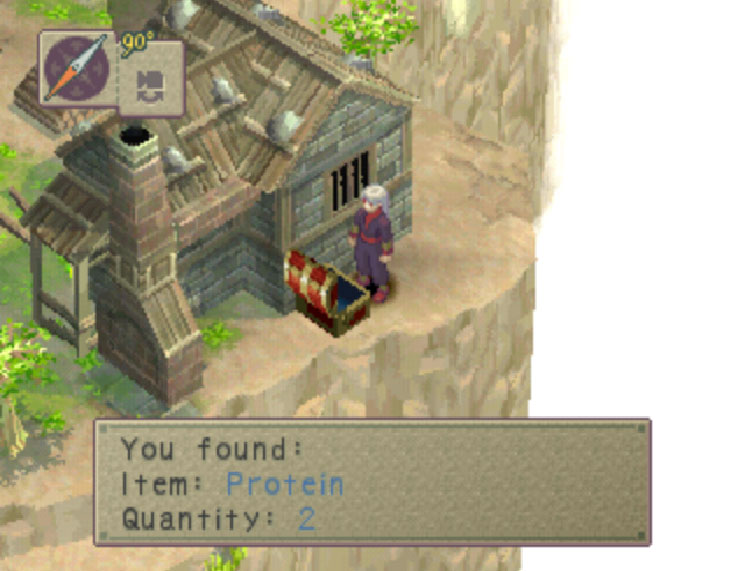
Leave the hut and go behind it to grab a chest with Protein x2 then go all the way down to the next area.
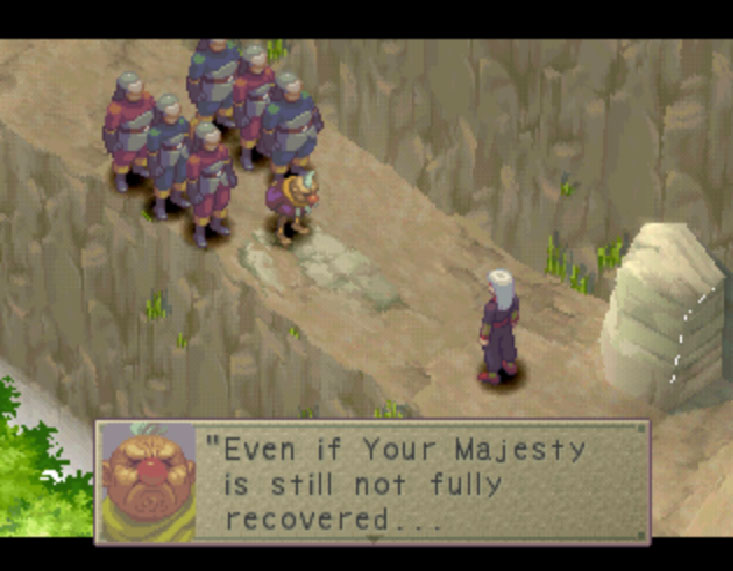
Keep going until you are blocked off by Yohm and his soldiers once again. A dialogue will take place between Fou-Lu and Yohm which will be followed by a boss fight.
Khafu
This bird is quite more powerful than what it looks. Its EldrichFlame is quite formidable multi-striking its target. Additionally, it absorbs Fire-Based attacks and as if it wasn't enough, it is capable of casting Firewind (Wind+Fire Magic). However, Lets not forget Fou-Lu is a god. Meditate into Astral and strike Khafu repeatedly with Frost Strike until it has been defeated.
Kyoin
Items Shop
| Item | Cost |
|---|---|
| Healing Herb | 20z |
| Vitamin | 100z |
| Antidote | 12z |
| Jabbergrass | 20z |
| Panacea | 100z |
| Ammonia | 250z |
| Molotov | 100z |
| Floater | 20z |
Weapons Shop
| Item | Cost |
|---|---|
| Scramasax | 1200z |
| Magic Wand | 800z |
| Steel Bat | 1000z |
| Wasitcloth | 320z |
| Chain Cap | 600z |
| Crepe Cape | 730z |
| Glass Domino | 220z |
| Soul Gem | 1000z |
Manillo Shop
| Item | Cost |
|---|---|
| N/A | N/A |
Causeway Temple: Levant Side
| HP | 550 | XP | 75 |
|---|---|---|---|
| TYPE | Beast |
|---|---|
| ZNY | 50 |
| ITEM 1 | Dragon Scale |
| ITEM 2 | Healing Herb |
| HP | 500 | XP | 60 |
|---|---|---|---|
| TYPE | Humanoid |
|---|---|
| ZNY | 80 |
| ITEM 1 | Moon Sword |
| ITEM 2 | Healing Herb |
| HP | 380 | XP | 55 |
|---|---|---|---|
| TYPE | Beast |
|---|---|
| ZNY | 25 |
| ITEM 1 | Ribs |
| ITEM 2 | Fish-Head |
Items
Objectives
Available Skill(s)
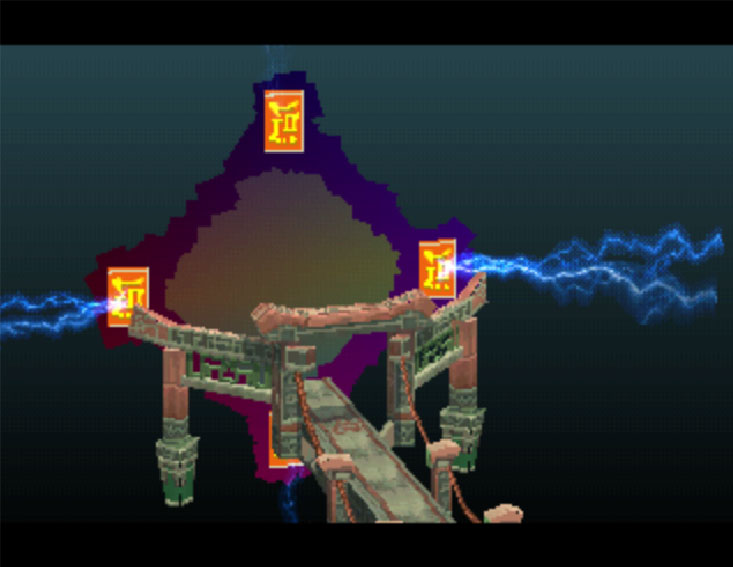
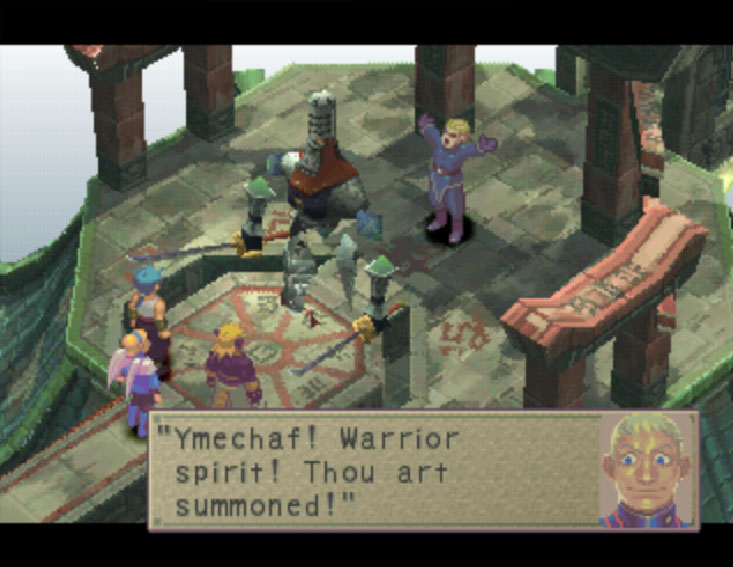
Ymechaf
Best course of tactic is perfom magic combos to make it lose its balance and unleash your strongest Melee attack (Preferably unleash a Focus(ed) character with a Melee attack). Rinse and repeat until Ymechaf falls.
Leaving a defeated Ymechaf behind, Ryu and his friends rush through the portal and find themselves at the Causway Temple on the Astana side.
Causeway Temple: Astana Side

| HP | 580 | XP | 80 |
|---|---|---|---|
| TYPE | Machine |
|---|---|
| ZNY | 55 |
| ITEM 1 | Raptor Claws |
| ITEM 2 | Cuirass |
| HP | 550 | XP | 75 |
|---|---|---|---|
| TYPE | Beast |
|---|---|
| ZNY | 50 |
| ITEM 1 | Dragon Scale |
| ITEM 2 | Healing Herb |
Nothing eventful takes place on this side of the portal. All there is to do is to collect the items contained in 2 chests (Locations show on the map above) and leave the Causeway.
Next stop. Astana!
Astana
Items Shop
| Item | Cost |
|---|---|
| Healing Herb | 20z |
| Vitamin | 100z |
| Antidote | 12z |
| Jabbergrass | 20z |
| Panacea | 100z |
| Ammonia | 250z |
Weapons Shop
| Item | Cost |
|---|---|
| Cuirass | 840z |
| Crepe Cape | 730z |
| Glass Domino | 450z |
| Faceguard | 450z |
| Aura Ring | 500z |
| Life Sandals | 500z |
| Talisman | 300z |
| Soul Gem | 1000z |
Manillo Shop
| Item | Cost |
|---|---|
| N/A | N/A |
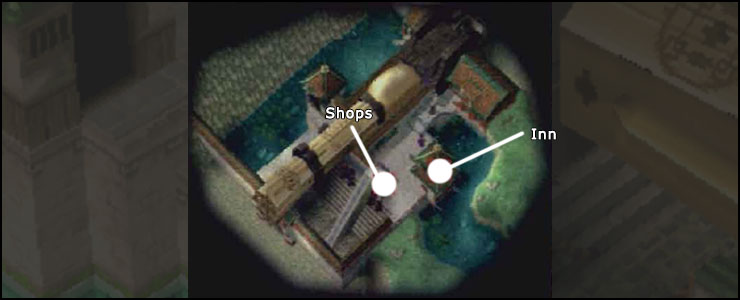
Only one thing to do here. Talk to the residents to gather information about the aqueduct. Once you have the information and any equipment you may want from the shops in this city, head over to the aqueduct.
Aqueduct
| HP | 150 | XP | 8 |
|---|---|---|---|
| TYPE | Beast |
|---|---|
| ZNY | 6 |
| ITEM 1 | Croc Tear |
| ITEM 2 | Healing Herb |
| HP | 200 | XP | 12 |
|---|---|---|---|
| TYPE | Beast |
|---|---|
| ZNY | 11 |
| ITEM 1 | Healing Herb |
| ITEM 2 | Wisom Seed |
| HP | 580 | XP | 80 |
|---|---|---|---|
| TYPE | Machine |
|---|---|
| ZNY | 55 |
| ITEM 1 | Raptor Claws |
| ITEM 2 | Cuirass |
| HP | 100 | XP | 45 |
|---|---|---|---|
| TYPE | Insect |
|---|---|
| ZNY | 15 |
| ITEM 1 | Twister |
| ITEM 2 | Antidote |
| HP | 550 | XP | 75 |
|---|---|---|---|
| TYPE | Beast |
|---|---|
| ZNY | 50 |
| ITEM 1 | Dragon Scale |
| ITEM 2 | Healing Herb |
| HP | 800 | XP | 50 |
|---|---|---|---|
| TYPE | Beast |
|---|---|
| ZNY | 30 |
| ITEM 1 | Apple |
| ITEM 2 | Ginseng |
Objectives
Available Skill(s)
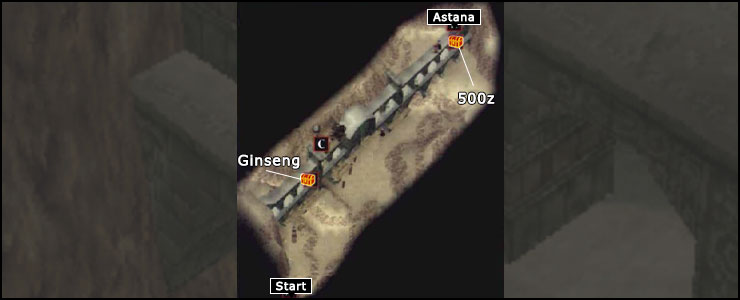
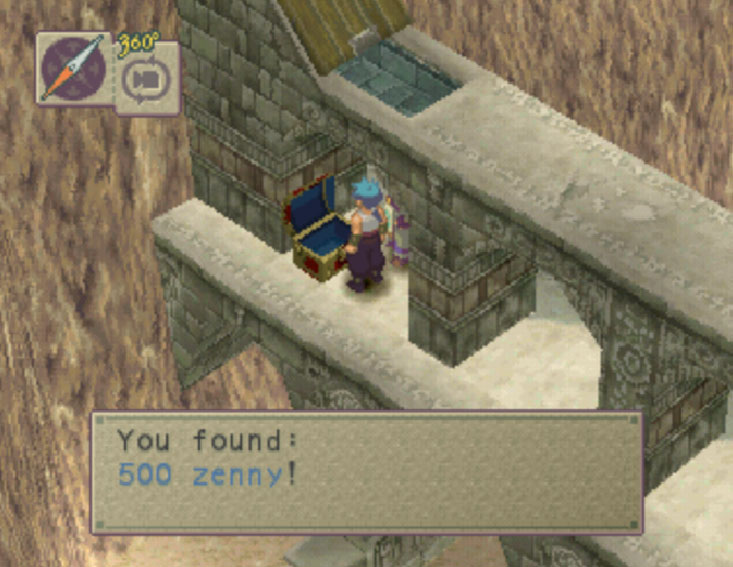
Collect the Ginseng x1 from the first chest you can find. Then climb all the way up and talk to the lift operator to allow you use it to go down to the planks. Head over to collect the chest that has 500z waiting for you. Then climb all the way up and enter the hatch opening that will take you to very familiar place.
Once inside the same place Ryu dreamed about. Everything is still the same. Same foes and same locations to find items. Only difference this time is the items available to be picked up.
Proceed exactly as you did in the dream until you reach the next scene leading to the conclusion of Chapter I.